Create a Vivado Project
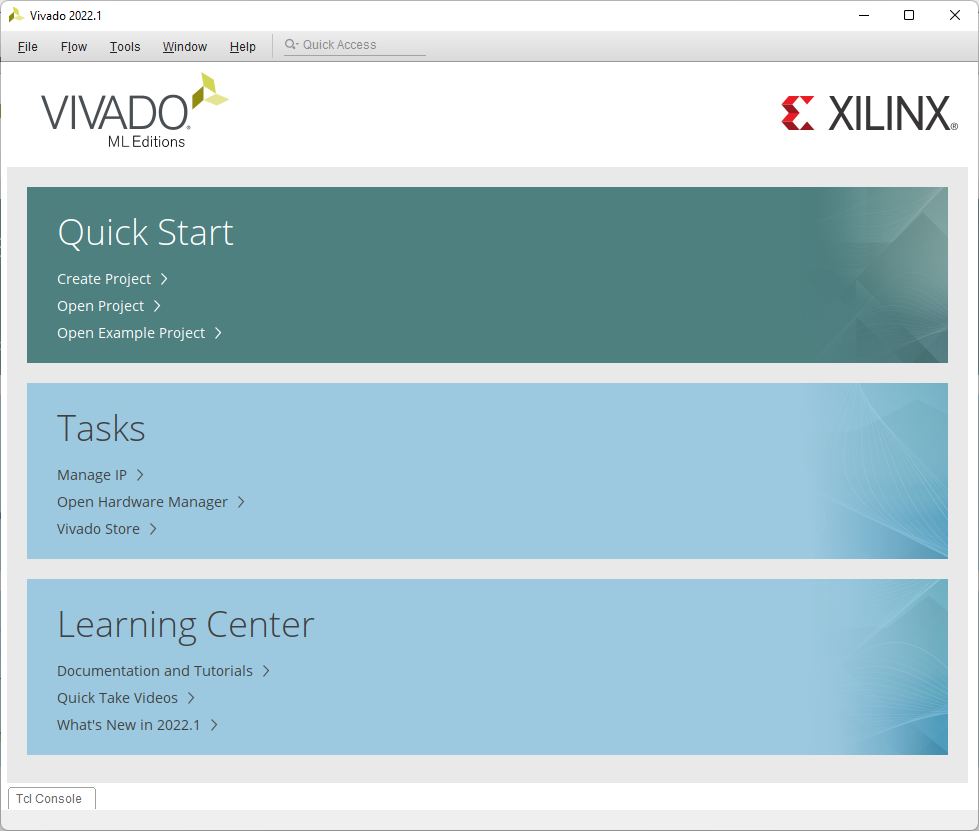
In Vivado's welcome screen, several options are presented:
- Create Project: Opens a wizard used to begin creating a Vivado project from scratch, which will be used here.
- Open Project: Can be used to open a Vivado project (defined by an XPR file) that has been previously created or downloaded from the internet.
- Open Hardware Manager: Can be used to program an FPGA development board with a bitstream, without opening the associated project.
Note: Various other options are available, but are not described here.
For the purposes of this guide, click the Create Project button.
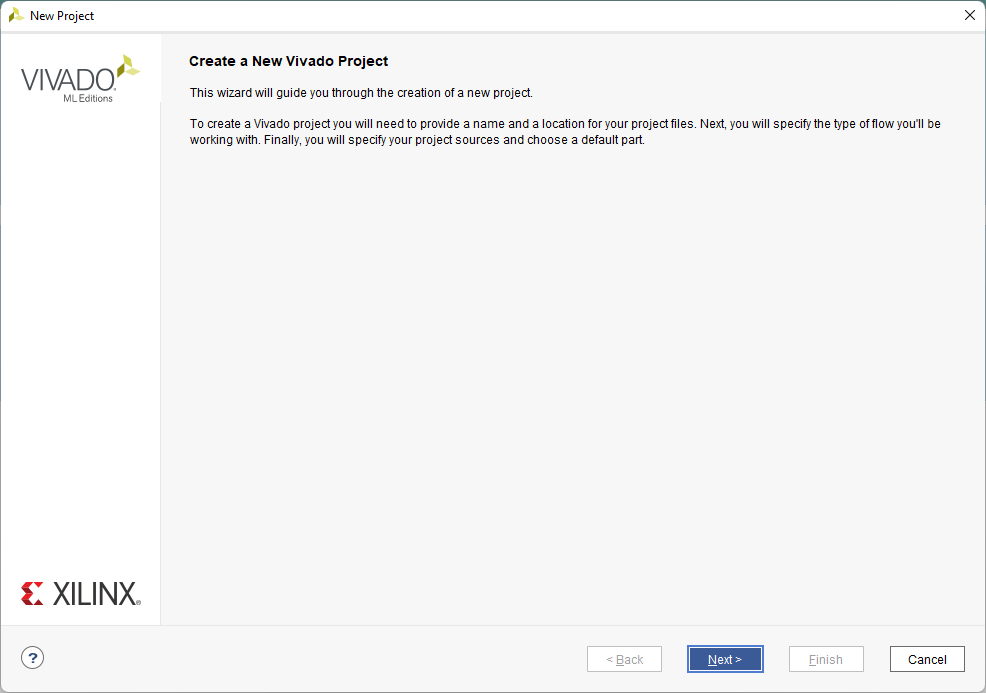
The first page of the New Project wizard summarizes the steps involved in creating a project. Click Next.
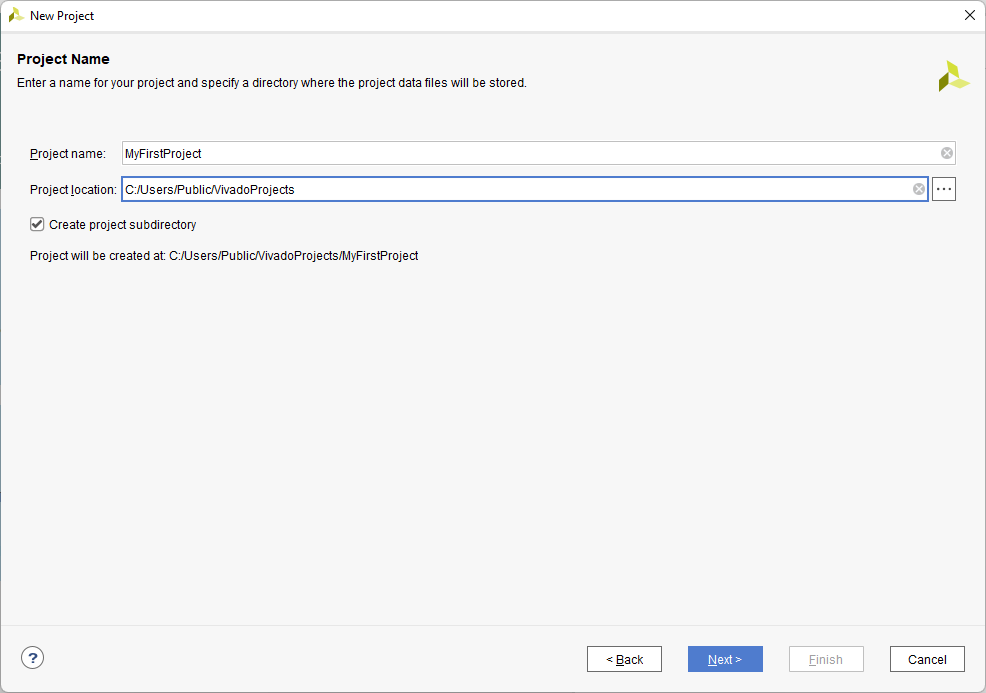
The first step is to set the name for the project. Vivado will use this name when generating its folder structure.
Important: Do NOT use spaces in the project name or location path. This will cause problems with Vivado. Instead use an underscore, a dash, or CamelCase.
Pick a memorable location in your filesystem to place the project.
Checking the Create project subdirectory box will create a new folder in the chosen location to store the project's files. This is recommended.
Click Next to continue.
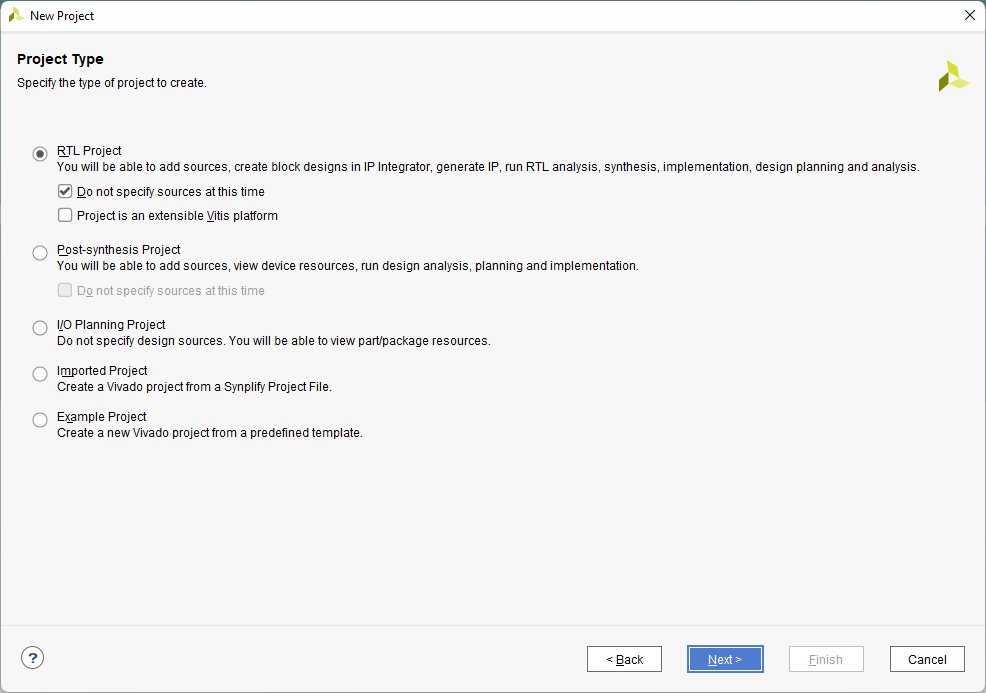
At the Select Project Type screen, choose RTL Project and check the Do not specify sources at this time box. Advanced users may want to use the other options on this screen, but they will not be covered here.
Click Next to continue.
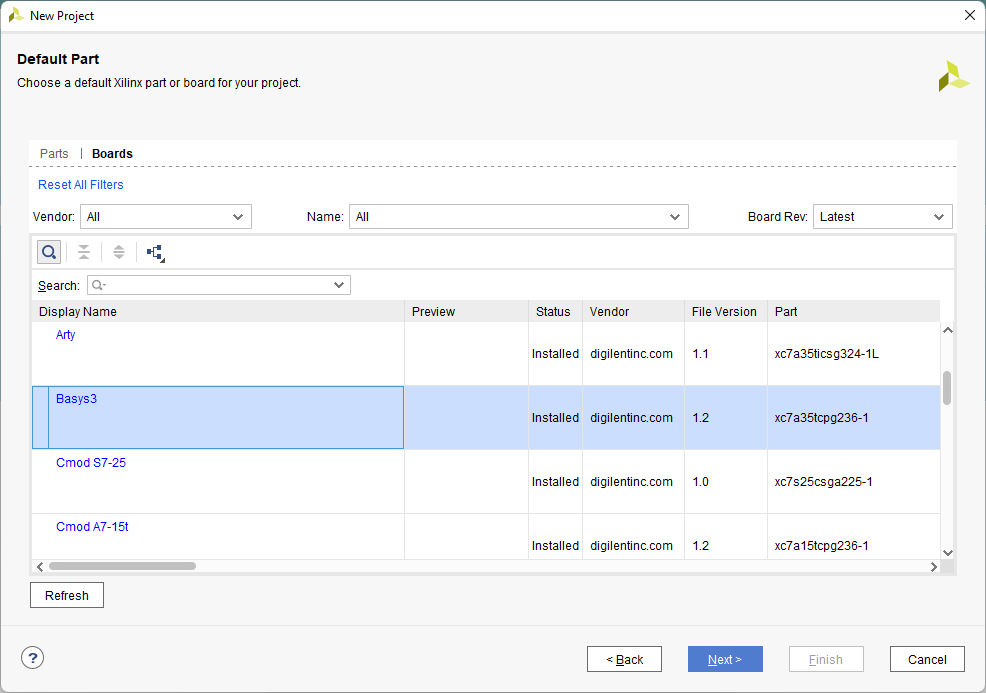
Next, a part or a board must be chosen for the project to target. The project will only be usable with the chosen device (though the selection can later be changed through the project's Settings).
Selecting a board over a part is recommended, as the board files provide additional configuration information for a variety of peripherals and components in a design. Click the Boards to open the board tab.
Search for your board and select it from the list.
Important: If your board does not appear in the list, Digilent's board files have not been installed. Review Installing Vivado, Vitis, and Digilent Board Files for instructions on installation of these files.
Click Next to continue.
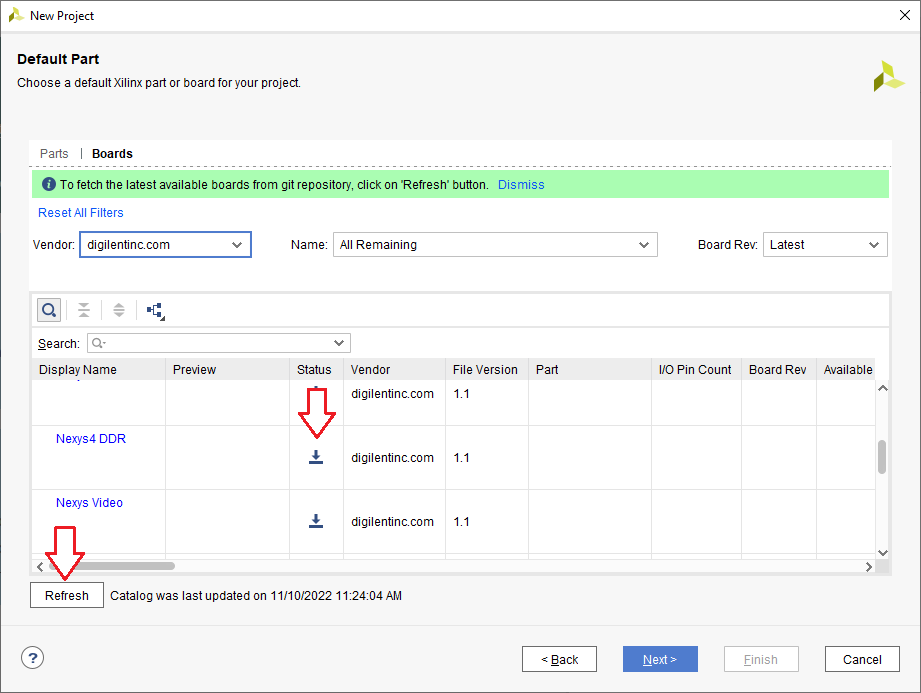
Important: If you have Vivado 2022.2, there is an extra step to Refresh the list and install the target board.
Click Next to continue.
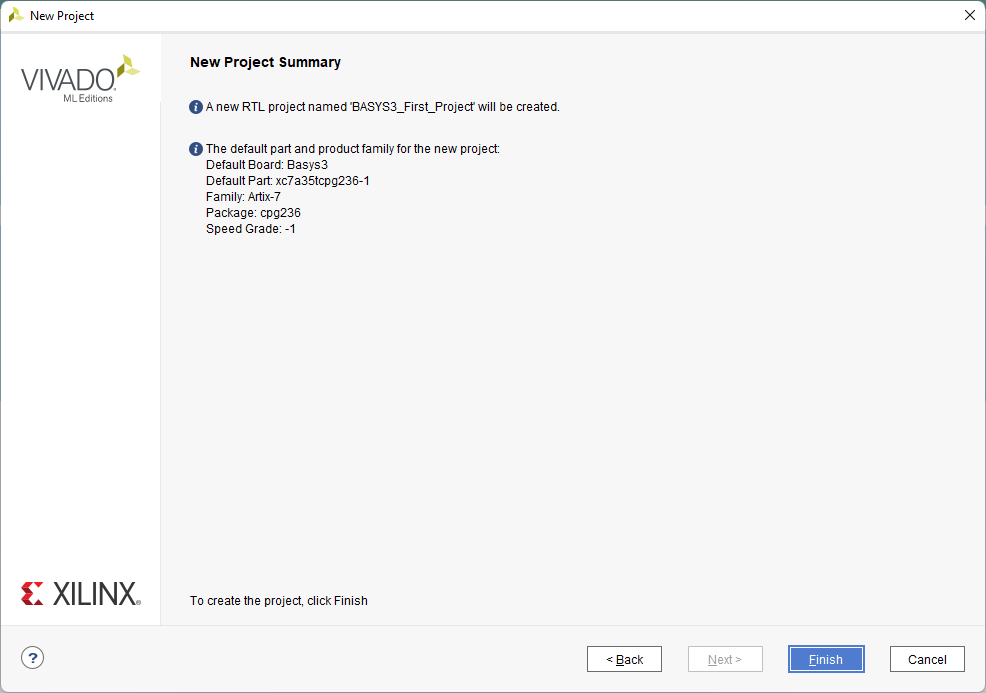
The last screen of the New Project wizard summarizes what was chosen in the previous screens. Click Finish to open your project.

