Add a Master XDC File to a Vivado Project
If your project doesn't contain the master Xilinx Design Constraint (XDC) file for your board, the dropdown below details how to add it. This file contains the constraints that your board places on designs using it - specific interfaces wired up to specific pins, clock frequencies, and FPGA bank voltages, for some examples. Click the dropdown below for a walkthrough of how to add this file to your project.
- Add a Master XDC File to a Vivado Project
-
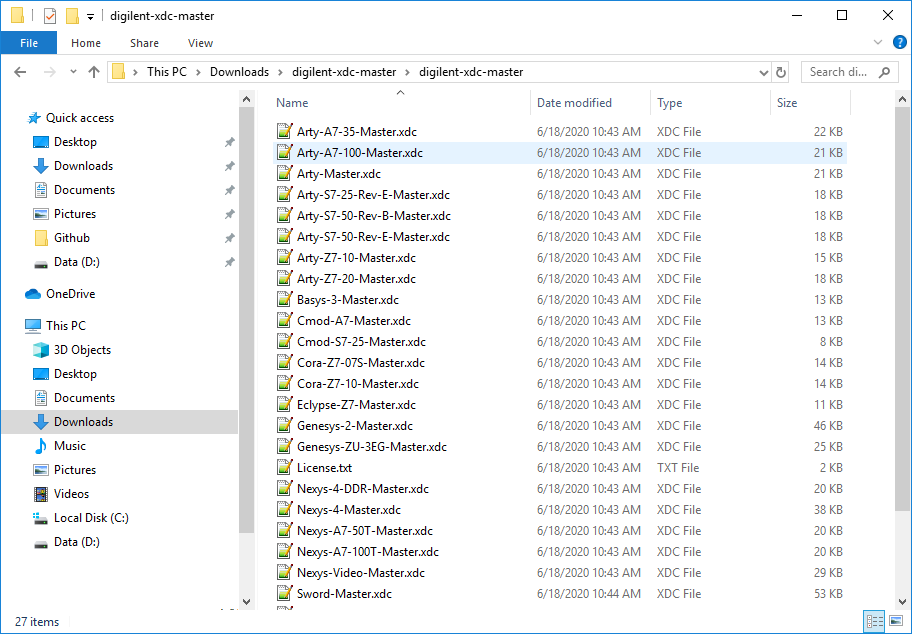
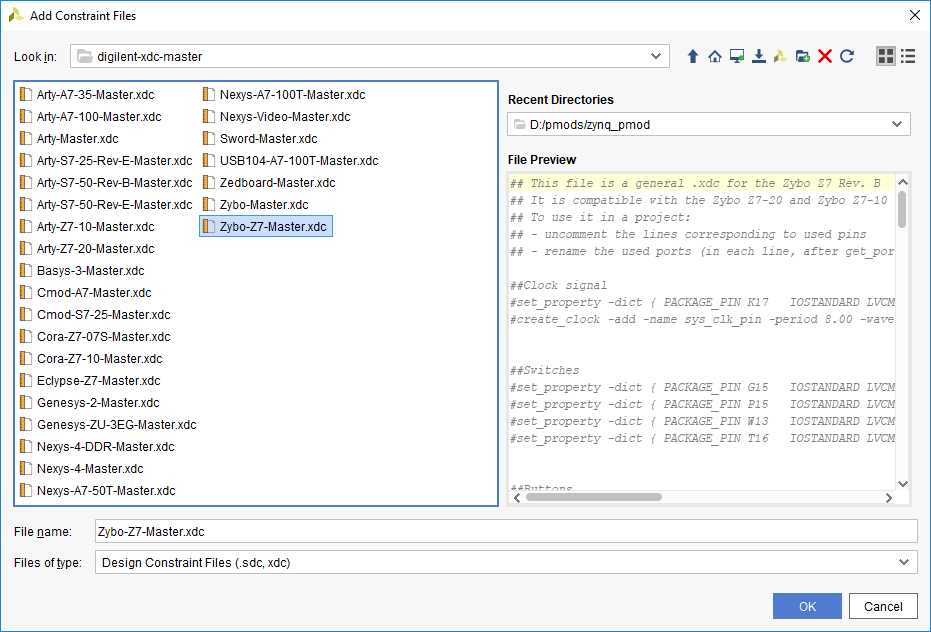
Download and extract digilent-xdc-master.zip. This file includes all of the latest template XDC files released for Digilent's boards, which are available on Github in the digilent-xdc repository.
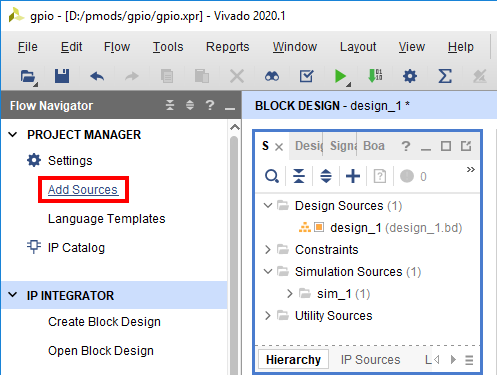
Returning to Vivado, click the Add Sources button in the Project Manager section of the Flow Navigator pane. This will launch a dialog that you can use to add a variety of types of source files to the project (or create new ones).
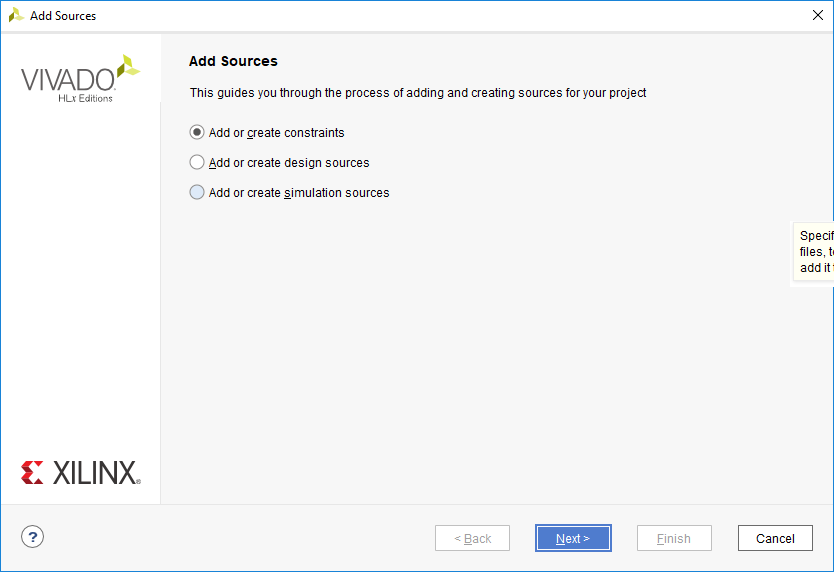
On the first screen, select Add or create constraints. Click Next to continue.
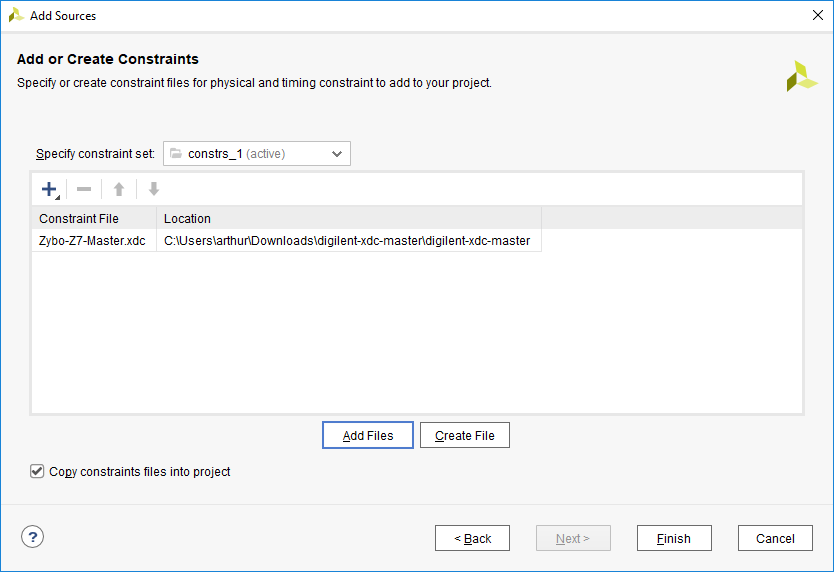
In the next screen, make sure that the constraint set specified (the one that the master XDC will be added to) is set to constrs_1, and that it is the active set. Click the Add Files button.

In the dialog that pops up, navigate to the folder that the digilent-xdc-master.zip file was extracted into. Highlight the XDC file for your board, then click OK to continue.
Back in the Add Sources dialog, make sure that your chosen constraint file appears in the table. Also, make sure that the Copy constraint files into project box is checked. If this box is unchecked, the file will be linked by your project, and any modifications made within the project will affect the version you downloaded. Since you may need to use this file again in other projects, copying the constraint file is recommended, so that you can always work from a fresh copy.
Click Finish to add the constraint file to your project.
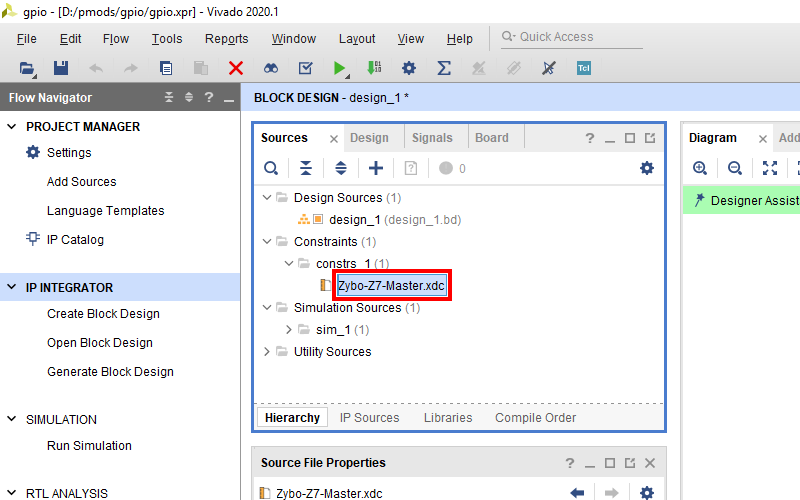
Once added, the XDC file will appear in the Sources tab (in the same pane as the Board tab). Double click it to open the file.