This is an old revision of the document!
Developing User Space Software for Eclypse
The flow that we will use for this is still under development. What is known about it is will be placed here as a placeholder.
The demo that provided for the Zmods can be run from within SDK and maybe (as yet undecided) will be loaded into the image as a binary file in the intramfs. The following assumes that Xilinx SDK 2019.1 is used to run the demo.
After booting Petalinux and reaching the Linux prompt, you can start running and tweaking the Zmod demo project using Xilinx SDK 2019.1. In order to set up your environment for it please follow this wiki page provided by Xilinx. Steps will be encapsulated by this guide.
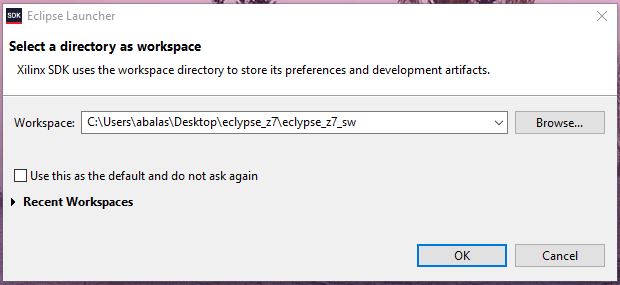
The SDK workspace will be provided by Digilent and the code is currently designed to support both bare-metal and Linux. The user can switch between them through the use of a “#define LINUX_APP” macro. However, this is a still a work in progress.
This guide will walk the user through the process of setting up the demo and running it on the Eclypse, then modifying the demo to do something interesting. It will be genericized such that any system personality can be used.
2.2. Environment Setup
2.2.1. Download the library
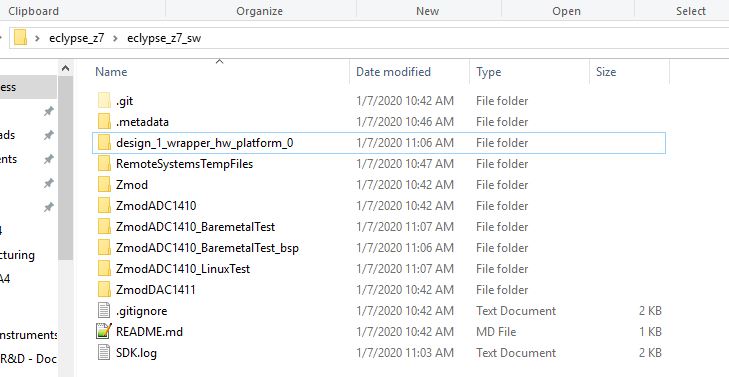
- Download (clone) the delivered sources to a specific location. This will be later used as Vivado SDK workspace location.
git clone https://git.digilentinc.com/digilent/eclypse_z7/eclypse_z7_sw.git -b demos/next
2.2.2. Add Vivado SDK workspace location
- The downloaded workspace contains demo applications for Linux and baremetal.
- <optional> In the Vivado SDK workspace location, folders regarding Zmods that are not being used can be removed. Also, the folders corresponding to the project demos that are not wanted can be removed.
- Open Vivado SDK 2019.1 and assign the workspace location to the library download location.
- If you want to use the demo projects, open the desired Linux or baremetal demo project. The projects are already configured and ready to be used.
- If you want to create your own project:
- Create a new application project (Linux or baremetal).
- Configure it as described on Project Settings section.
2.2.4. Vivado SDK Project Explorer

- If the user doesn't use the Linux demo, the ZmodADC1410_LinuxDemo project can be deleted or closed (right-click on project name→Delete or Close Project)
- If the user wants to use the Linux demo, then he must follow the steps from Linux Project configuration under Project Settings section.


