This is an old revision of the document!
Zedboard DMA Audio Demo
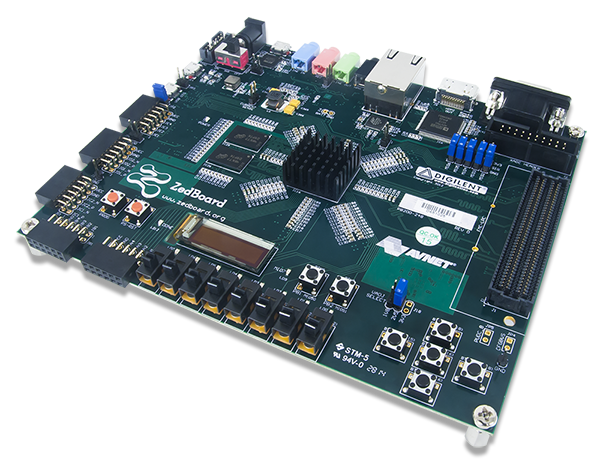
Overview
Features Used
| Not Used | Used | |
|---|---|---|
| 8 User Switches | X | |
| 9 User LEDs | X | |
| 7 User Push Buttons | X | |
| 512 MB DDR3 RAM | X | |
| 256 Mb QSPI Flash | X | |
| Five Digilent Pmod™ headers | X | |
| FMC Header | X | |
| USB-UART bridge | X | |
| HDMI Output | X | |
| VGA (12-bit Color) | X | |
| FMC Header | X | |
| 128×32 OLED Display | X | |
| Audio Codec | X | |
| SD Card Port | X |
Description
The audio demo records a 5 second sample from microphone(J12) or line in (J13) and plays it back on headphone out(J10) or line out (J12). Record and playback is started by push buttons:
| Button | Function |
|---|---|
| BTNL | play on Line out |
| BTNR | record from line in |
| BTNU | record from microphone |
| BTND | playback on headphone |
For example, with the push of BTNU this demo records 5 seconds of audio data from the MIC (J12) input. Consequently by pressing BTND the demo plays on the HPH OUT (J10) the recorded samples.
Prerequisites
Skills
- Basic familiarity with Vivado
- This experience can be found by walking through our “Getting Started with Vivado” guide
Hardware
- Zedboard FPGA board
- Micro-USB cable
- Zedboard Power Supply
- Headphones or Speakers
- Audio Input device (Aux-In, Guitar, etc.)
Software
- Vivado Design Suite 2016.X
- Newer/older versions can be used, but the procedure may vary slightly
1. Setup
Plug in your microphone or aux input into the respective jack on your Zedboard. Plug your speakers/headphones into the Line out jack. Plug in your Zedboard and power it on.
Downloads
How to...
1. Download the Project
1.1) Download the project zip file which can be downloaded here. Once you have downloaded the project, unzip it in the location of your choosing.
1.2) If you want to generate the project in Vivado, continue to step 2. If you want to move straight to Xilinx SDK, skip to step 5.
2. Generate the Project
2.1) If not already installed, install the Vivado Board Files for the Zedboard by following this guide: Installing Vivado Board Files for Digilent Boards.
2.2) Generate the dma project in the Projects folder by following this guide before continuing: How to Generate a Project from Digilent's Github. NOTE: This must be done in Vivado 2016.2
3. Build the Project
3.1) Click Generate Bitstream on the left hand menu towards the bottom. Vivado will run through both Run Synthesis and Run Implementation before it generates the bitstream automatically.
Note: If you want, you can click each step by itself in the order of Run Synthesis, Run Implementation and then Generate Bitstream.

4. Export to SDK
4.1) Export the microblaze project by going to File→Export→Export Hardware. Click the check box to Include the bitstream, and export it local to project. This will create a .sdk folder in your project directory. Afterwards, click File→Launch SDK. Both the exported location and workspace should be left as <Local to Project>. Click “OK” to launch Xilinx SDK.
4.2) Skip to step 6.
5. Open Xilinx SDK and create a workspace
5.1) Open up Xilinx SDK and create a workspace where your project will be saved.

6. Import the SDK files
6.1) In your project Explorer window on the left side, click File→Import, then under the general folder, select Existing projects. (Or just click Import Project on the main screen).

6.2) Navigate to where you saved the downloaded project, select the sdk folder, and click OK. In the Import window, click Finish to import the system hardware wrapper.

6.3) Import the projects by clicking Finish. You can ignore the warnings that may pop up.

7. Program the FPGA
7.1) Click Xilinx Tools→Program FPGA and click Program. Xilinx SDK will then program the FPGA with a bit file.

8. Program the Zynq processor
8.1) Right click on the demo folder and click Run as→Launch on Hardware(GDB). The microblaze program will be programmed onto your Zedboard.

Running the Zedboard DMA Audio Demo
This portion will help you run the demo and observe all its features.
1. Recording from an input
To record from the microphone input, press btnu. To record from the line input, press btnr. Once the recording is activated, the message “Start Recording…” will be sent over UART and the demo will record 5 seconds of audio. If any buttons are pressed during the recording, the message “Still Recording…” will be sent over UART.
2. Playing to an output
To play to the microphone input, press btnd. To play to the line output, press btnl. Once the playback is activated, the message “Start Playback…” will be sent over UART and the demo will play 5 seconds of audio. If any buttons are pressed during the playback, the message “Still Playing…” will be sent over UART.