This is an old revision of the document!
Using the Protocol Analyzer (Under Construction)

Introduction
This guide explains the use of the Protocol instrument in WaveForms. This instrument is used to send, receive, and spy on transactions in a variety of different digital communication protocols.
Prerequisites
- A Digilent Test & Measurement Device with Digital Input/Output Channels
- A Computer with WaveForms Software Installed
1. Opening the Protocol Analyzer
1.1
Plug in the Test & Measurement Device, then start WaveForms and make sure the device is connected.
If no device is connected to the host computer when WaveForms launches, the Device Manager will be launched. Make sure that the device is plugged in and turned on, at which point it will appear in the Device Manager's device list (1). Click on the device in the list to select it, then click the Select button (2) to close the Device Manager.
Note: “DEMO” devices are also listed, which allow the user to use WaveForms and create projects without a physical device.
Note: The Device Manager can be opened by clicking on the “Connected Device” button in the bottom right corner of the screen (3), or by selecting “Device Manager” from the “Settings” menu at the top of the screen.

1.2
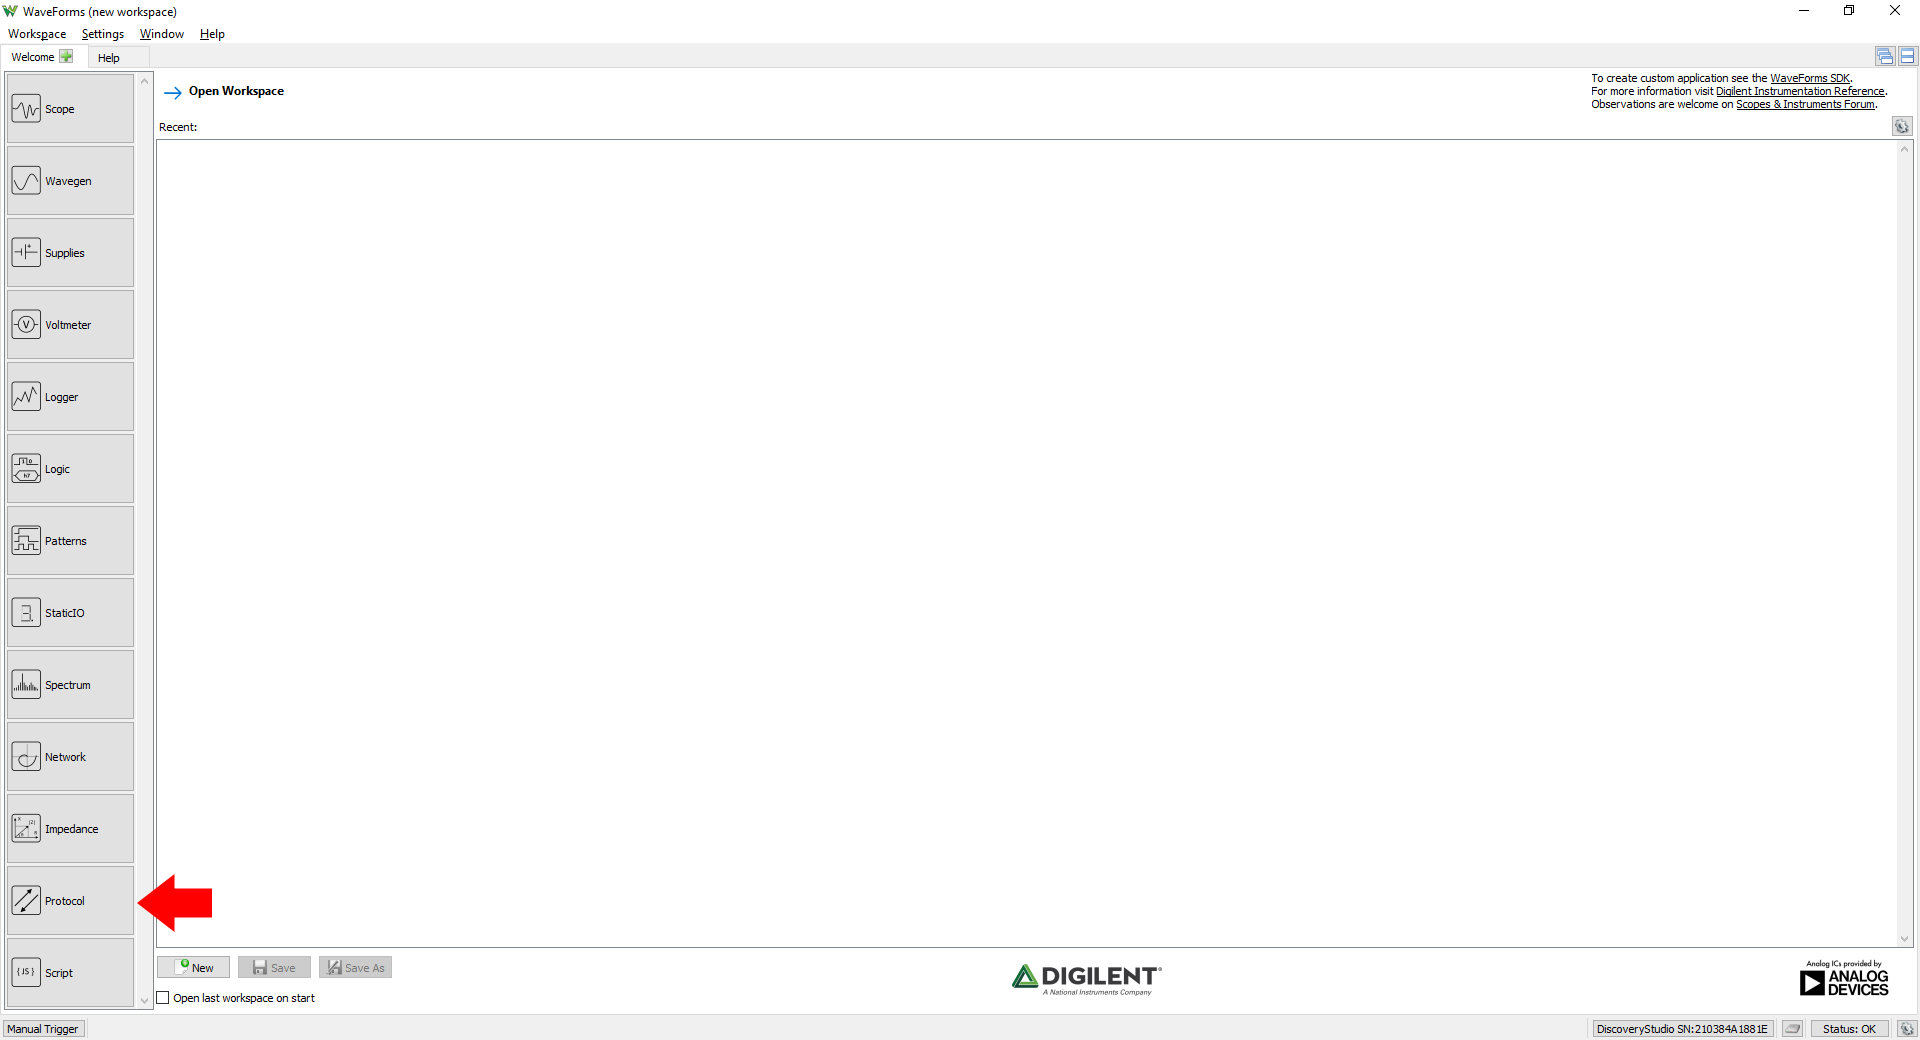
Once the Welcome page loads, in the instrument panel at the left side of the window, click on the Protocol button to open the Protocol Analyzer instrument.
1.3
Once the Protocol Analyzer instrument opens, the window contains the spy panel (1.) showing captured data, the configuration panel (2.) above the spy panel, and the control toolbar (3.) at the top of the window.
