This is an old revision of the document!
WaveForms Linux Installation
WaveForms is software developed by Digilent and intended for use with Discovery test and measurement devices. WaveForms provides a user interface for a 2-channel oscilloscope, logic analyzer, arbitrary waveform generator, digital I/O, and more. It's free to download and compatible with Mac (Apple), Windows, and Linux.
To get a complete breakdown on all of the accessories and features of the Analog Discovery 2, check out our unboxing tutorial and video.
- Download WaveForms
-
This tutorial will guide you through the steps involved in the installation process on Linux after downloading it from the website. We will be using Fedora 21 in this tutorial.
- Installing WaveForms
-
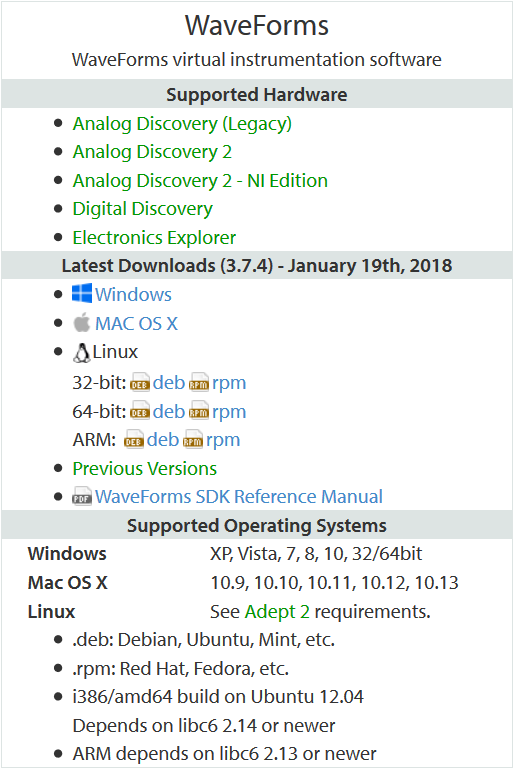
Step 1: Download WaveForms
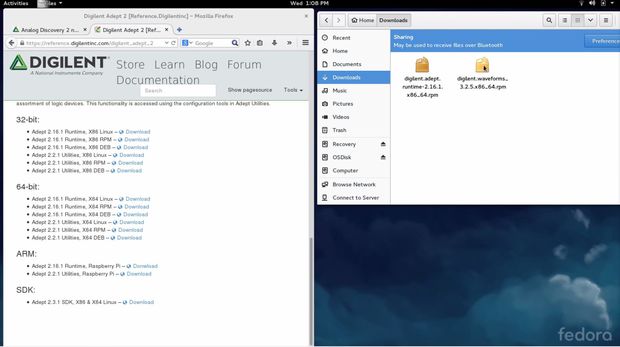
Download the correct installation file for WaveForms for your distribution of Linux. Since we are using a 64-bit machine with Fedora, we will choose the 64-bit RPM file.Step 2: Download Adept 2
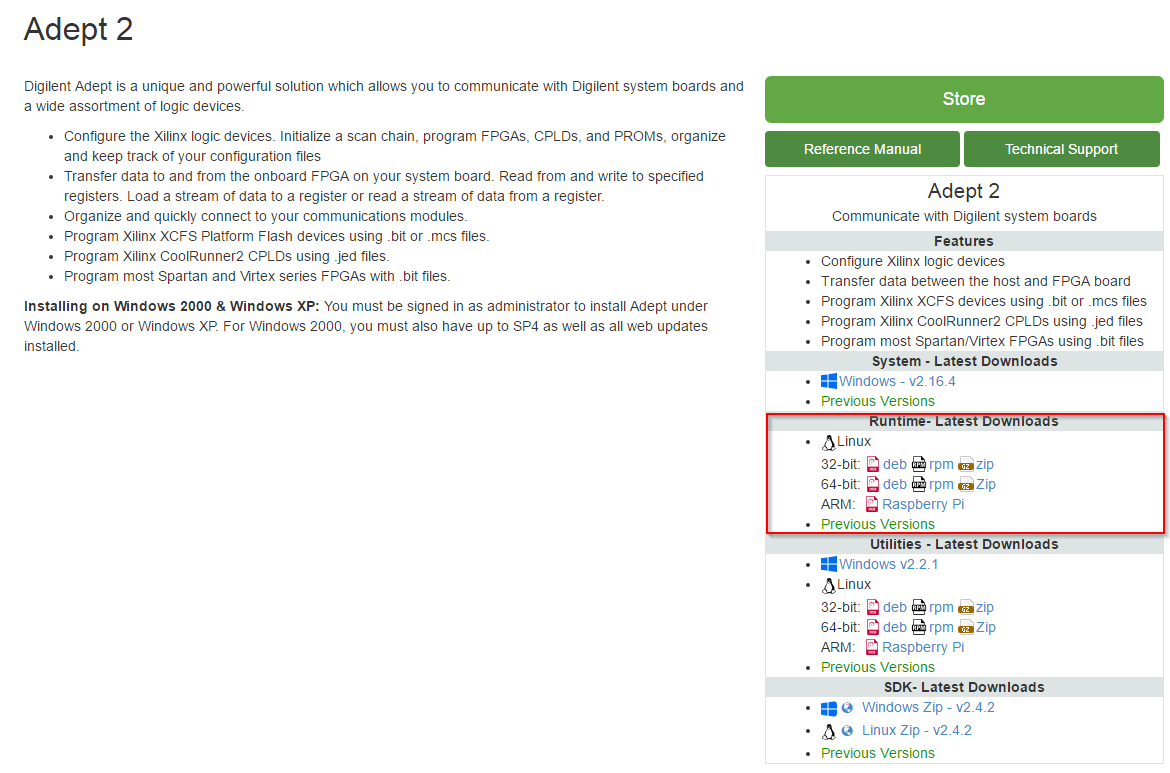
Download the correct version of Adept 2. Make sure that the version of the Adept install file is the same as WaveForms. We chose the 64-bit RPM for WaveForms, so we will use the 64-bit RPM for Adept.Step 3: Open the Adept 2 File
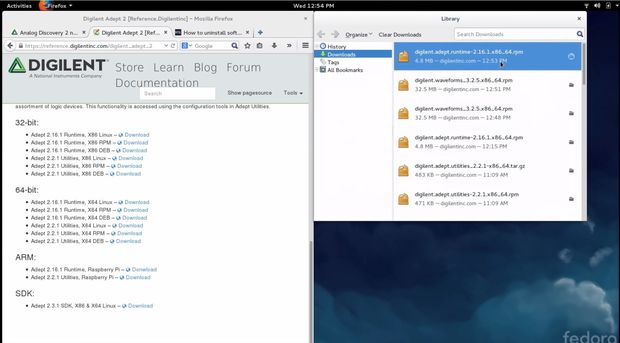
Open up the file you downloaded for Adept 2 in Step 2.Step 4: Click Install
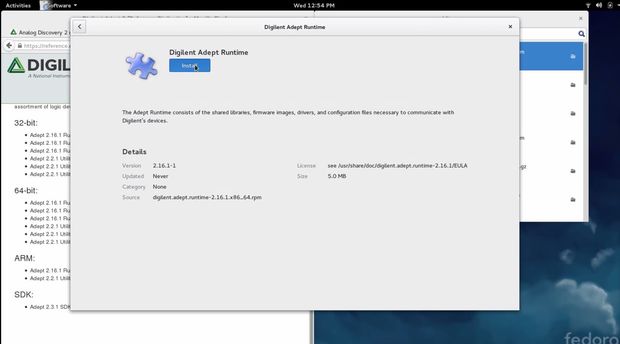
Click “Install” in the window when prompted.Step 5: Open the WaveForms File
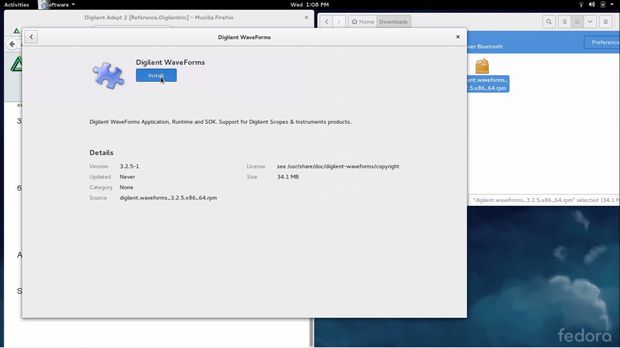
Open the file you downloaded to install WaveForms.Step 6: Click Install
Click “Install” in the window when prompted.Step 7: Open WaveForms
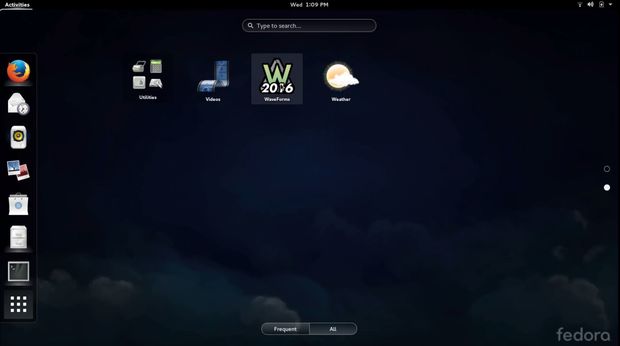
Go to your applications and open WaveForms.Step 8: No Device
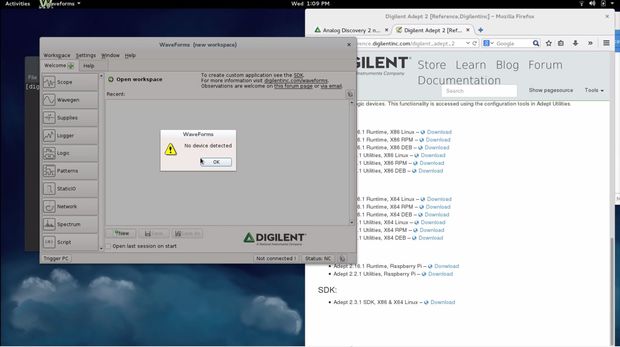
If you don't have an Analog Discovery 2 plugged in, a window will pop up with a warning stating that no device was detected. You don't need to have a device to run the software, so go ahead and click “OK” to proceed.Step 9: Run Demo Mode
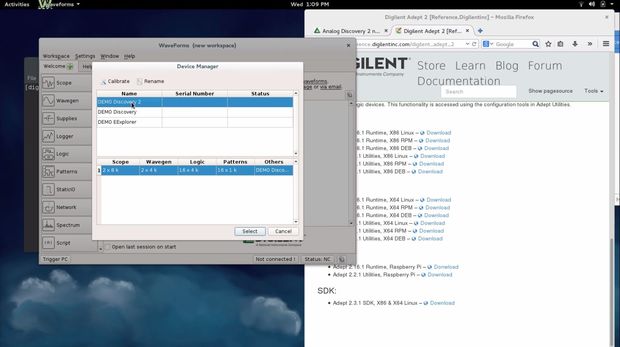
The device manager will now open. Click on “Demo Mode”, and then click “Select”.Step 10: Demo Mode Oscilloscope
As mentioned previously, if you don't have an Analog Discovery 2 yet, that's okay. You can still run WaveForms in demo mode and get a feel for the interface and capabilities.The below image is a demo of the oscilloscope displaying a sine and square wave.
Step 11: Plug in Analog Discovery 2
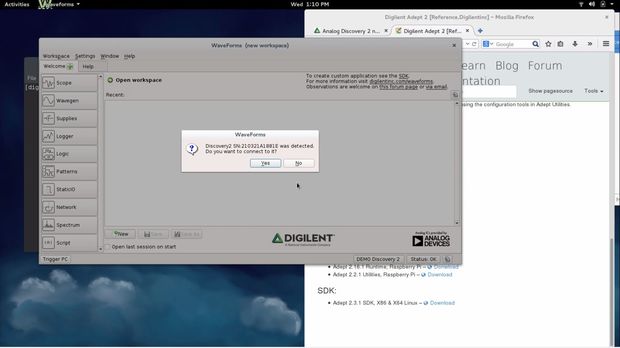
If you plug in the Analog Discovery 2, a window will pop up indicating that it was detected. Select “OK” to proceed.Step 12: Device Manager
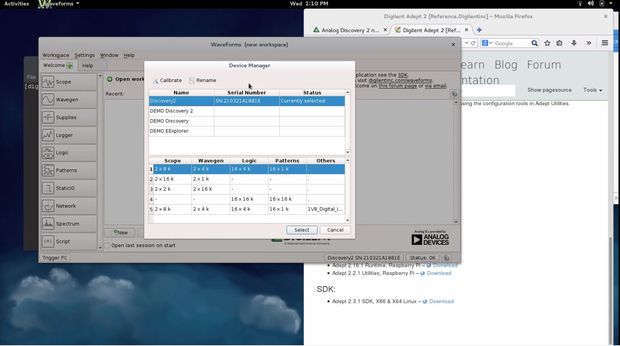
If you open the device manager, or you have the Analog Discovery 2 plugged in when WaveForms is open, the window displayed in the image below will appear. Select the Analog Discovery 2 just as you did for demo mode.Now that you are connected and have WaveForms installed, you can move on to calibrating your device.

