


Editor’s Note – In this series, we will take a behind the scenes look at how an engineer tackles a project from beginning to end. What challenges will come up? How can we face problems and come up with solutions? Aside from project completion, what are successes that we can celebrate along the way?
- Post 1 – Introducing Ryan
- Post 2 – Initial Considerations
- Post 3 – Designing a Zmod Peripheral
- Post 4 – Setting Up SYZYGY DNA
- Post 5 – Writing SYZYGY DNA Using the ADP3450
- Post 6 – Packing an IP in Vivado
Preparing a Vivado Project
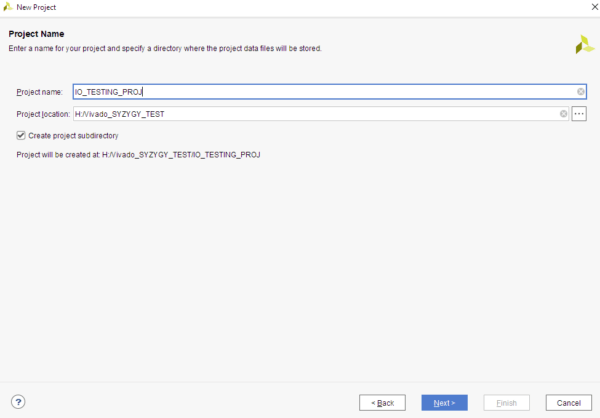
In this entry of “Engineers in the Wild”, a project in Vivado will be created. The design will make use of the IP packaged in the previous entry in order to test the I/Os on the designed Zmods. The below figures illustrate the create project wizard and the chosen setting in Vivado 2021.1.

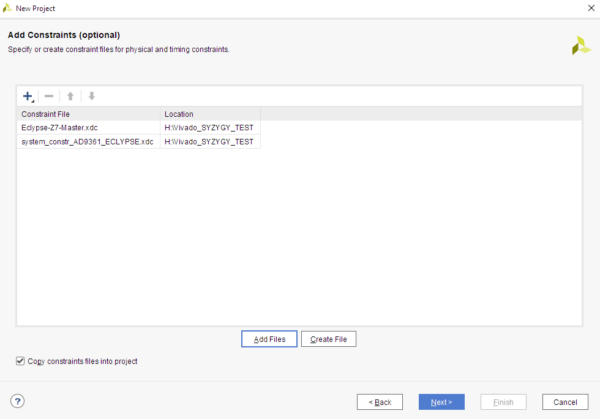
The constraints file provided from Digilent for the Eclypse Z7 board has been added together with a constraints file I have constructed for the new Zmods. The constraints file is simply the declaration of which I/Os are connected from the SoC to the Zmod ports.
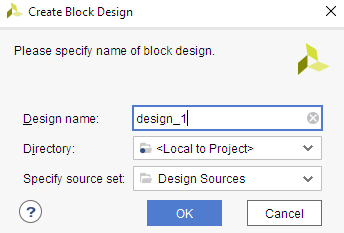
Once a new project has been created, a new block design must be added. This is done by clicking on the ‘Create Block Design’ button on the Vivado ‘Project Manager’ tab.
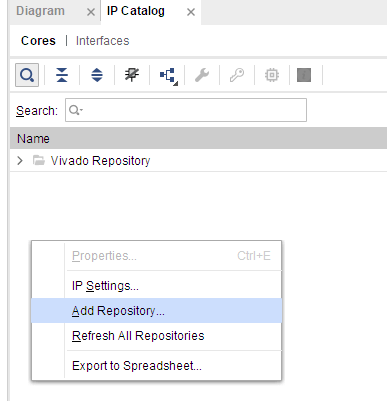
Now that the block design has been created, we will need to define the IP catalog. This is the folder where we have saved our custom IP in the previous entry. By clicking the ‘IP Catalog’ button on the ‘Project Manager’ tab of Vivado, the IP catalog tab will be opened. Right click on the empty space and click on ‘Add Repository’, as illustrated in Figure 5.
The next step is to navigate to the folder containing the repository and selecting it. Vivado should automatically find the IPs in the repository. And hence from the ‘add IP’ button in the block design the new IP should be visible.
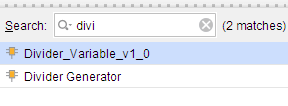
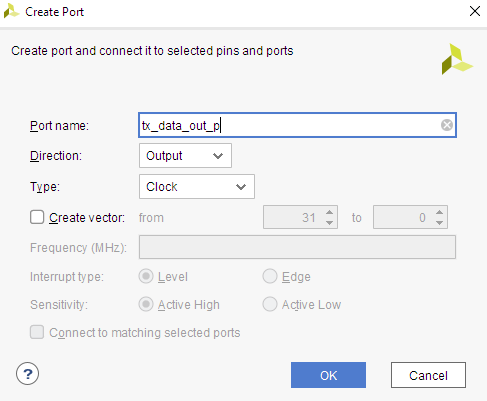
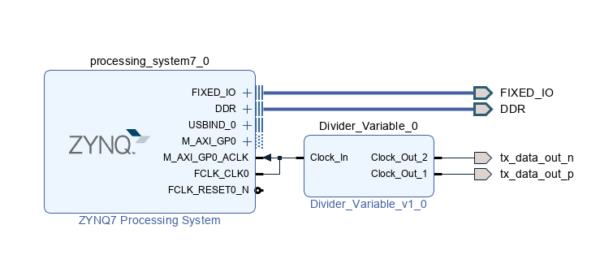
Besides our custom-made IP, we will also need the ZYNQ7 processing system. Right-click on an empty space on the block design and searching for the IP core. We will need to define the output ports which we will be testing on the Zmods. This is done by right-clicking on the block diagram and selecting the ‘add Port’ option (Figure 7). The output or input ports must match the names defined in the constraints files. The block design should look like Figure 8 below, after clicking on the ‘Run Connection Automation’ and ‘Run Block Automation’ buttons on the top side of the block design.
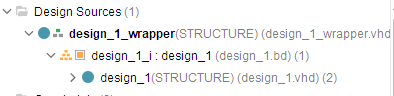
We must now create an HDL wrapper. You can do this is done by right-clicking on the block design file in the ‘Design Sources’ tab and selecting ‘Create HDL Wrapper’. Once the HDL wrapper has been created, the project files should look like Figure 10 below.

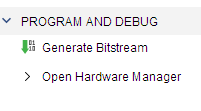
Once the HDL wrapper has been successfully created, we can now generate our bitstream. The bitstream is the file which will be loaded into the SoC and will also include hardware specification to be used by Vitis to program the processing system. The ‘Generate Bitstream’ button can be found on the bottom left corner of Vivado.
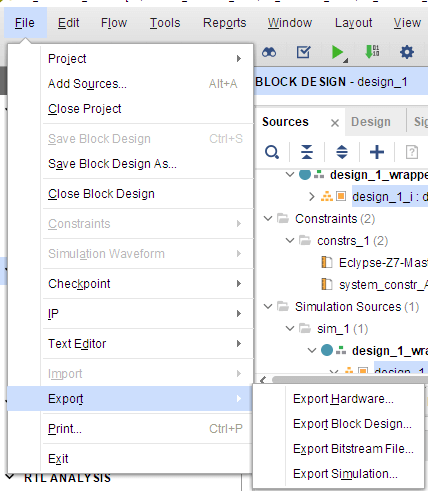
Once the design has finished generating the bitstream, the below window should pop up. I generally do not need to open the implemented design so here I suggest choosing cancel. We must now export the hardware so we can develop the processing system code and program the design into the SoC! This is done by going to ‘File’ -> ‘Export’ -> ‘Export Hardware’.
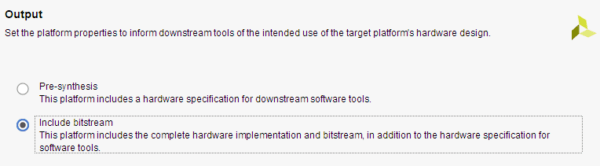
Make sure you select the “Include Bitstream” option!
Once the hardware specification of our design has been exported, the Vivado side of our project is now finished (unless we need to update in the future). In the next entry a Vitis application project based on this exported hardware specification will be created and loaded into the SoC on the Eclypse Z7! The ADP5250 will be used to analyze the resulting outputs from the Eclypse and designed Zmods!