This is an old revision of the document!
Basys3 Abacus Demo
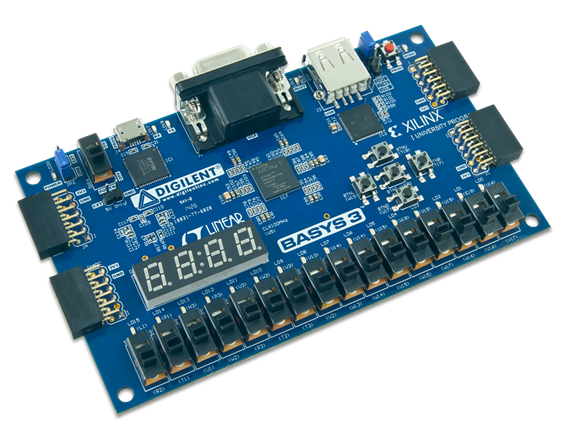
Overview
Features Used
| Not Used | Used | |
|---|---|---|
| 16 user switches | X | |
| 16 user LEDs | X | |
| 5 user pushbuttons | X | |
| 4-digit 7-segment display | X | |
| 4 Pmod connectors | X | |
| XADC Analog input | X | |
| 12-bit VGA output | X | |
| USB-UART Bridge | X | |
| Serial Flash for application data | X | |
| USB HID Host with mouse | X | |
| USB HID Host with keyboard | X |
Description
Abacus demonstration project that implements several arithmetic operations using the Basys3's switches, LEDs, buttons and 7-segment display. See this video for instructions on building the project from only source files.
Prerequisites
Skills
- Basic familiarity with Vivado
- This experience can be found by walking through our “Getting Started with Vivado” guide
Hardware
- Basys3 FPGA board
- Micro-USB cable
Software
- Vivado Design Suite 2015.1
- Newer/older versions can be used, but the procedure may vary slightly
Downloads
How to Build and Program
1. Generate the Project
1.1)Download the repository seen above and place it in the location of your choosing.
Tcl Script Format
If you are unfamiliar with how to run projects in this new format, see the guide on the usage of the new project format. Please read the short >document included within the project folder.
1.2) Within the project folder there will be two subfolders named “proj” and “src”.Go into the proj folder and right click the “create_project” file and select “Properties”. Highlight and copy the file's location.


1.3) Open a new Vivado window and enter the letters 'cd' (for change directory) followed by the file location you just copied into the Tcl Console window at the bottom.
As in the image above, once you have copied there may be a pop-up with a suggested 'proj/'. If you click on this, the Tcl Console will automatically flip the slashes in the address from back slashed ( / ) to forward slashes ( \ ). This is a bit mundane but is important since the console will not recognize the address with the backslashes. If it does not automatically correct them, just go in manually and replace each back slash with a forward slash.
Again, as illustrated in the images, type in “source ./” and select the auto-fill suggestion 'create_project.tcl' and hit enter. Your project will build and the window will look similar to the one pictured below.


2. Build the Project
2.1.) Click Generate Bitstream on the left hand menu towards the bottom. Vivado will run through both Run Synthesis and Run Implementation before it generates the bitstream automatically.
Note: If you want, you can click each step by itself in the order of Run Synthesis, Run Implementation and then Generate Bitstream.

4. Connect and Program the Basys3
Once you have generated your bit file, Click on the hardware manager and connect to your board by choosing the local server option.

After your board is connected, just click program to load the abacus demo onto your Basys3.
Running the Basys3 Abacus Demo
To run all the features of this demo, all you will need is your programmed Basys3. The abacus can preform 4 arithmatic functions on two 8-bit numbers. Switches 15-8 represent input A. Switches 7-0 represent input B. The abacus works by setting the slide switches to your desired operands and then selecting an operation with the buttons. The result will be displayed on the 7 segment display. On startup, the display will read 0.

1. Subtraction (BTNU)
When BTNU is pressed down, this activates subtraction. This function uses the formula A - B. While the button is held down, the display will show a static number that will also display whether it is positive or negative. When BTNU is released, the result will start to scroll through the LEDs.


2. Multiplication (BTND)
When BTND is pressed down, this activates multiplication. This function uses the formula A * B. While the button is held down, the display will show the product until the user releases BTND. The display will then return to whatever was last scrolling.

The abacus calculating 3*3
3. Division (BTNR)
When BTNR is pressed down, this activates division. This function uses the formula A / B. While the button is held down, the display will show the quotient until the user releases BTNR. The display will then return to whatever was last scrolling.

The abacus calculating 16 / 2
4. Modulo/Remainder (BTNL)
When BTNL is pressed down, this activates modulo. This function uses the formula A % B. While the button is held down, the display will show the remainder until the user releases BTNL. The display will then return to whatever was last scrolling.

The abacus calculating 17 % 2