

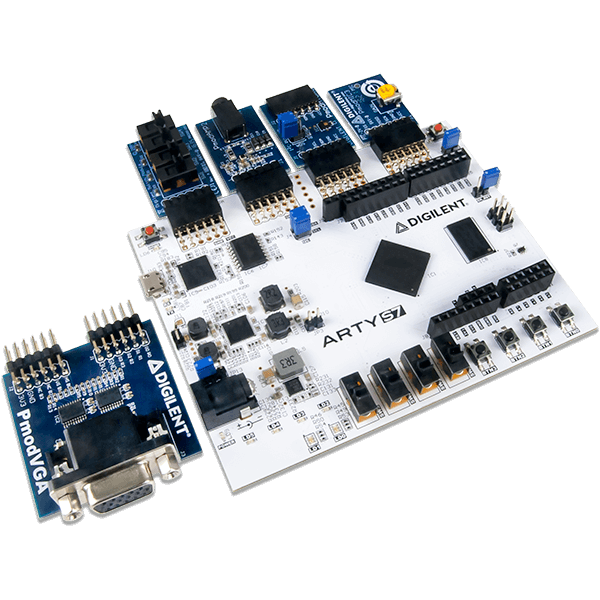
 We’re still on a high from releasing our newest Arty board for makers and hobbyists, the Arty S7! And what do you need to start making and hobbying with a new development board? Interesting applications of course. Aside from the Arty S7 getting started demos and tutorials that can be found on the Arty S7 Resource Center, we’ve also released the Arty S7 Pmod Pack to start getting the creativity flowing!
The Arty S7 features the new Spartan 7 FPGA from Xilinx plus a modest set of peripherals including four buttons, four switches, four LEDs, one RGB LED, a reset button and USB (JTAG programming circuitry and UART bridge). The idea was to offer a cost effective and low barrier to entry development board by stripping down the peripherals, but including four Pmod ports and Arduino shield headers for vast expansion capability.
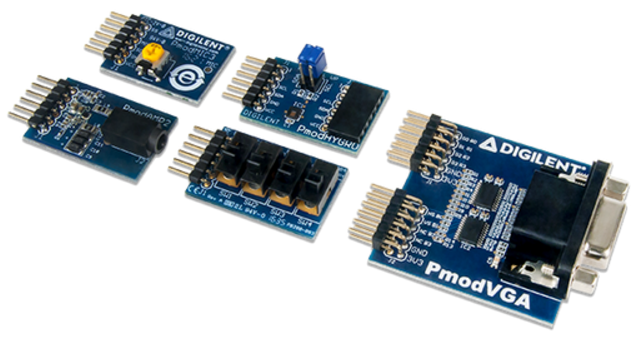
The Arty S7 Pmod Pack was chosen specifically to compliment the above features of the Arty S7 development board and includes the Pmod AMP2 audio amplifier, Pmod MIC3 MEMS microphone, Pmod HYGRO temperature and humidity sensor, Pmod VGA to drive a display and Pmod SWT four user switches for good measure.
Arty and Audio: Pmod AMP2 and Pmod MIC3
The Pmod MIC3 is a MEMS microphone powered by the Knowles Acoustics SPA2410LR5H-B microphone and the Texas Instruments ADCS7476 analog-to-digital converter. Users may adjust the incoming volume to the system board with the small potentiometer before they receive the 12 bits of data through SPI.
The Pmod AMP2 is a low power audio amplifier through the use of the Analog Devices SSM2377. With digital gain options and a pop-and-click feature, users are able to drive a variety of monophonic outputs through a standard headphone jack by providing a digital or analog signal.

With these two combined, your Arty S7 is capable of supporting a complete audio project!
Check out the Pmod MIC3 and Pmod AMP2 Resource Centers here and here respectively.
Arty and Video: Pmod VGA
This is one of our newest Pmods, released just in time to nicely compliment the Arty S7 which has no video output of its own. The VGA port can be used to drive standard displays such as televisions and monitors. The host board must be capable of driving a fast parallel data bus in order to properly drive a display with the Pmod VGA. Therefor, you will want to use the Pmod VGA with Pmod ports JA and JB on the Arty S7 as those are high-speed ports. See the image below.
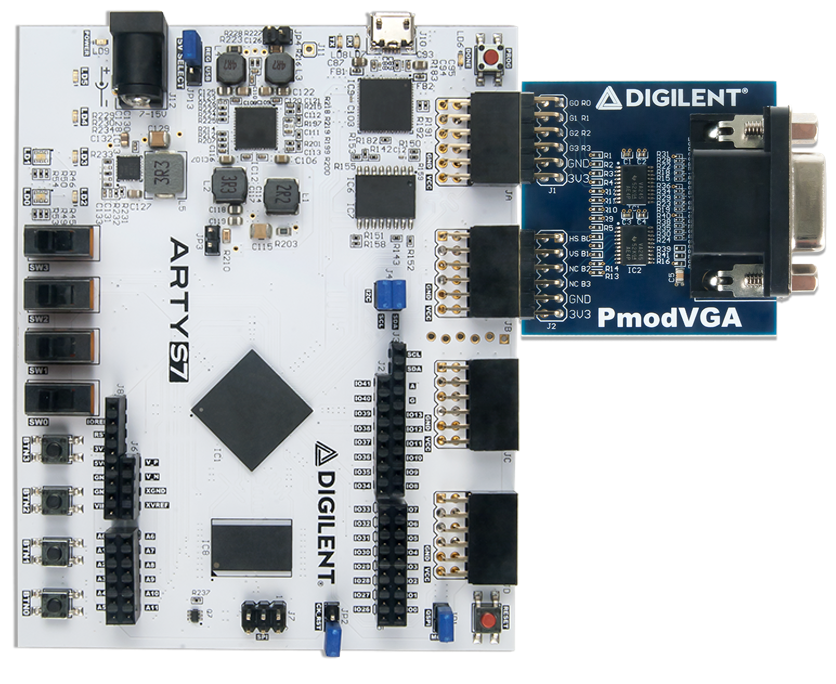
To find out more about high-speed Pmod ports, go to the Arty S7 Reference Manual!
Check out the Pmod VGA Resource Center here.
Arty and Environment Sensing: Pmod HYGRO
Another new Pmod, the Pmod HYGRO is a nifty little sensor that is great for projects. It is a relative humidity sensor with integrated temperature sensor for highly accurate measurements at low power. The on-board temperature sensor is not there just to improve accuracy of the relative humidity measurements, it also acts an an independent ambient temperature sensor. The HYGRO also has a resistive heating element that can be used to test the sensor or to drive off condensation that can accumulate over time.

The Pmod HYGRO is one of the first I2C Pmods to be released under the new Digilent Pmod Interface Specification 1.1.0. Check out the new I2C spec that greatly improves mechanical connection to system boards!
Check out the Pmod HYGRO Resource Center here.
Interacting with Arty: Pmod SWT
Lastly we have the Pmod SWT, four user slide switches. This one is quite self explanatory but is great for anyone needing more user input capability than the four switches and four buttons on the Arty S7 (without needing to deal with debouncing additional buttons). It’s also great to have more switches for teaching digital logic!
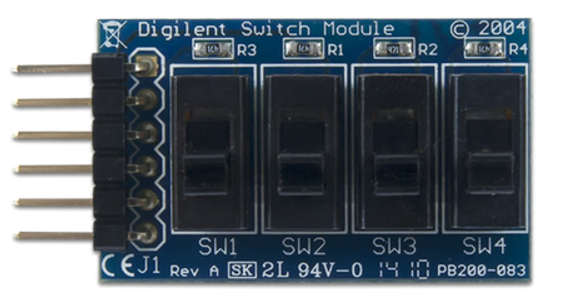
Never underestimate the utility of having additional switches lying around!
Check out the Pmod SWT Resource Center here.
Getting Started
To get started with the Arty S7 Pmod Pack, make sure to check out the Resource Center pages of each individual Pmod that have been linked throughout this post. There you’ll find example code for both FPGA and microcontroller projects, as well as our Using Pmod IPs tutorial for getting up and running quickly with Microblaze Projects.
Also be sure to browse through the Arty S7 Resource Center for links to our Getting Started with Vivado tutorial and more projects and documentation.
If you have any questions or comments, be sure to post in the comment section below or on the Digilent Forum!