

When learning about electronics, there are many situations that can range from the wonderful moments of discovery and understanding, to the teeth-gritting times of abject frustration. After all, dealing with these emotions is a big part of being human, but after the 8th hour you have spent holed up in a dark bedroom begging a circuit to work, one can at times forget exactly what being a human being feels like. To combat this, we have consulted some experts in the fields of both electronics engineering and being a person, and from them we have collected a few common scenarios you may have faced, or may soon face when progressing on your journey, as well as their advice on how best to handle them. Without further ado, check out our top three most common scenarios below!
It’s not working and I don’t understand why.
We will start with the obvious example- the project is simply not working. Whether you are trying to build your own bridge rectifier to explore the characteristics of rectifier circuits, or maybe you want to use SSH to setup communication with your Raspberry Pi the feeling of frustration is pretty universal. If you find yourself in this sitatuion, a good thing to do is to take a step back and first make sure that you have all the correct equipment. If you are uncertain make sure to check out comparison charts (such as this one for the Analog Discovery and Analog Discovery 2!) and reference pages, as well as selection guides.
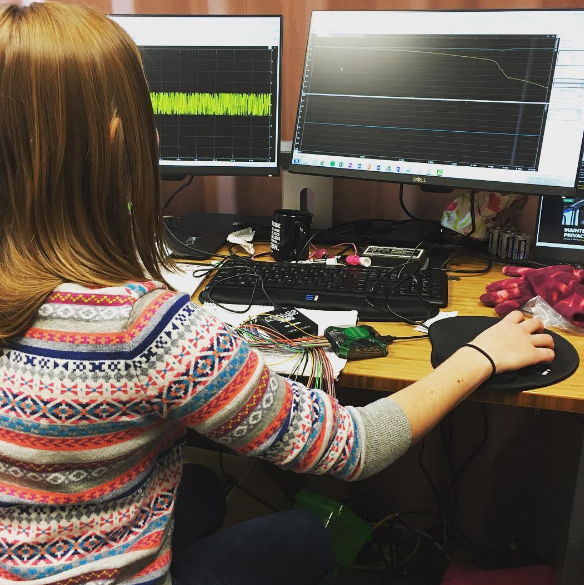
If you are confident in your equipment choices, the next step is often to start the process of debugging. One great tool for this process is the Analog Discovery 2, which can be incredibly helpful with digital logic projects. Kaitlyn even used it once to finish a majority of her EE324 (Digital Logic Circuits 2) labs in a period of two weeks!
About a week or so in, I was in the lab, probably around one in the morning working on my SPI controller. Despite thinking that my SPI controller was working, nothing was coming out of the PmodMIC3. Imagine my frustration, and concern. Not a great combination for clear thinking.
Luckily, one of my friends who happened to be in the lab late (it happens more often than you would think) had an Analog Discovery, and suggested that I scope my signals.
So, I plugged in the Analog Discovery’s digital inputs to MISO, SCLK, and CS. Imagine my shock when I discovered that SCLK wasn’t outputting anything. I probably wouldn’t have discovered this nearly as quickly without seeing the output live.
Learn how to take advantage of it yourself as a debugging tool with Kaitlyn’s extensive Instructable!
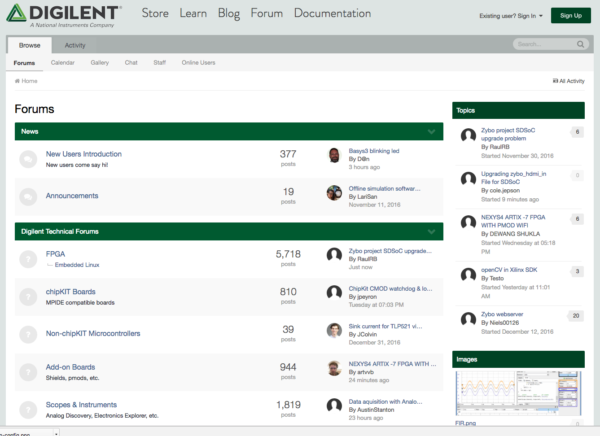
Last but not least, always feel free to head over to the Digilent Forum and ask your questions over there!
It’s working and I don’t understand why.
The lesser known yet only slightly less infuriating cousin of the above scenario, you have managed to get the project to work…. but you cannot explain why. This can seem acceptable at the time, but in the long run it can create problems and even suspicion if you are unable to replicate your results. To avoid this, a good option is always to post on the Forum with details of what you did and how it turned out, as well as which points you are confused about. Remember, you it doesn’t always have to be a problem with the project to constitute a valid question on the Forum!
I think I may have broken/burnt/blown up something.
If you are familiar with our Electronics Horror Stories installment, you probably are aware that we at Digilent are sometimes very familiar with the telltale scent of electrical failure. But since mistakes are a critical step in learning, we are more than happy to sacrifice a LED here and there! That being said, if you are concerned about breaking something a bit more expensive, (or trying to figure out if you have already broken it) make sure to reference the documentation before attempting something risky. You know what they say, always check your specs before you wreck your specs!
However if it is perhaps too late for that or you are tempted to give into the little voice in your head whispering to “just do it” then just be prepared for what you are going to do if it doesn’t go quite as planned.If you are concerned that you already might have a damaged component or board, make sure to run some tests or try to get a simpler circuit to work (such as blinking an LED) to test the integrity of your parts.
Remember, your time is more valuable than a $0.25 cent resistor, so make sure that you are not wasting both time and energy later down the line due to cutting an corner earlier. If you have found out that a piece needs replacing, check out our Analog Parts kit for some amazing deals on all sorts of commonly used electronic components.
Hopefully this guide can be of assistance those who find themselves in these situations, and feel free to comment below with your own experiences and advice! Happy making!
The information is very helpful to those who are related to electronics. Thanks for explaining briefly the Electronics Scenarios with us.