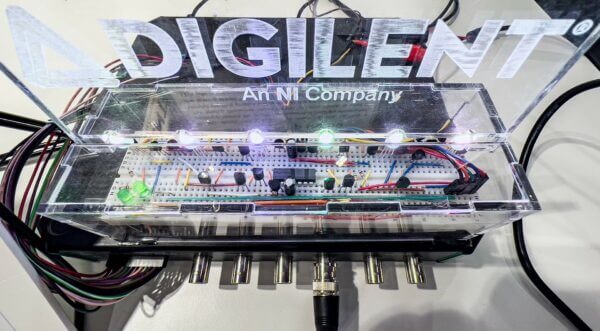
This is the first part of a series of four blog posts where we will design a smart RGB-lamp which is powered by a battery and controlled through an app running on a smartphone. Lamp and smartphone communicate through Bluetooth Low Energy (BLE). Besides setting the luminosity and the color of the LED, the system also measures the ambient lighting, so users can switch off the light once it is no longer needed. Or do that even automatically, if needed.
Digilent’s Analog Discovery Pro ADP3450 running in Linux Mode is at the heart of the system: it collects the data from a Pmod ALS ambient light sensor and receives the settings from the smartphone’s app through a Pmod BLE. It also applies the brightness and color of the LED based on these data sets or switches the on/off state.

Getting a HAL for the Analog Discovery Pro
In our project, we control the Analog Discovery Pro (ADP) through the WaveForms SDK with a Python script. For this, we need several functions for each of the instruments, like read, write, and initialization and control functions. Communication over SPI (Serial Peripheral Interface) and UART (Universal Asynchronous Receiver-Transmitter) is also necessary. This means that we require some sort of abstraction to simplify the interaction with the hardware: a Hardware Abstraction Layer (HAL).
There are two ways to get the HAL functions for our project: One way is that you follow the directions given in the Getting Started with WaveForms SDK guide. The other way is that you download them from Digilent’s GitHub repository. There, you will also find a list of the functionality each module provides and a couple of test routines.
Once you created or downloaded the HAL functions for the SDK, create a new folder and copy the files into it. Also, duplicate the file dwfconstants.py from the Python examples folder of your WaveForms installation into the new directory. The default installation path is C:\Program Files (x86)\Digilent\WaveFormsSDK\samples\py\dwfconstants.py. This file contains all the constants used by the SDK.
Now that you have created or copied the HAL functions, you are done with this part of the blog post series. In the next installment, we’ll talk about the library for the Pmods, testing their functionality, and generating the Android app.


2 Comments on “Build a Smart Lamp Using an Analog Discovery Pro ADP3450 – Part 1”