

Recently, I’ve been abandoning my digital roots, and looking more into the analog side of the world. I started by using the Analog Discovery 2 to scope digital signals and I got to tell everyone at ECEDHA about the logic analyzer and network analyzer, then I found an Analog Discovery being used by a start up company. Well, up until now those have all been brief encounters. Recently I got my own Analog Discovery 2 and have been playing around with it and it’s accessory friends.
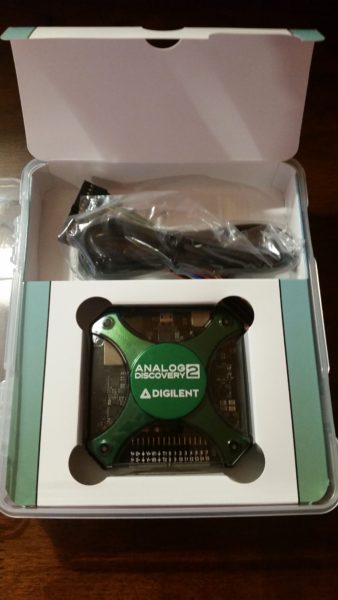
The Analog Discovery 2 packaging consists of cleverly folded and cut cardboard inserts put inside a project box. When I opened mine, I couldn’t wait to get it out of the box. In fact, if you are anything like me and happen to lack a delicate touch, you probably ripped the packaging trying to get it open.
If you have never taken the cardboard insert out of the project box, then you’ve never discovered the secret hidden behind it, the helpful pin diagram. The pin diagram shows all of the input and output pins of the Analog Discovery 2. The two channel oscilloscope, variable power supply, waveform generators, triggers, digital inputs and outputs, and the grounds.
You can also see a sneak peak of some of the accessories. I know the first thing I do when I get a new tool is to see what accessories I can get for it.

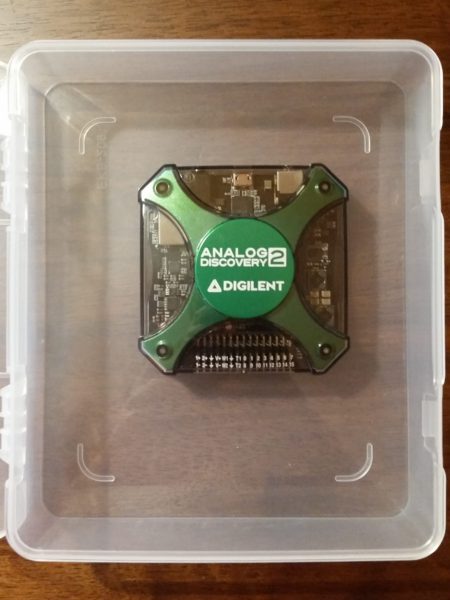
However, after I had recycled all of that cardboard, I felt like I left the Analog Discovery 2 all alone… in a great big box.
So I thought, maybe if I put the accessories that ship along with the Analog Discovery 2 in the box, I might feel better about it. Nothing, not even an inanimate 2-channel USB oscilloscope deserves to be lonely.
But I was wrong. Listen to that thing rattle around in the box.
I know the polycarbonate case will protect the my Analog Discovery 2 from any damage, but I just hate wasting that much usable space. So I decided to see what other useful things might fit into the case:
One of the accessories that I had on hand was the BNC adapter.
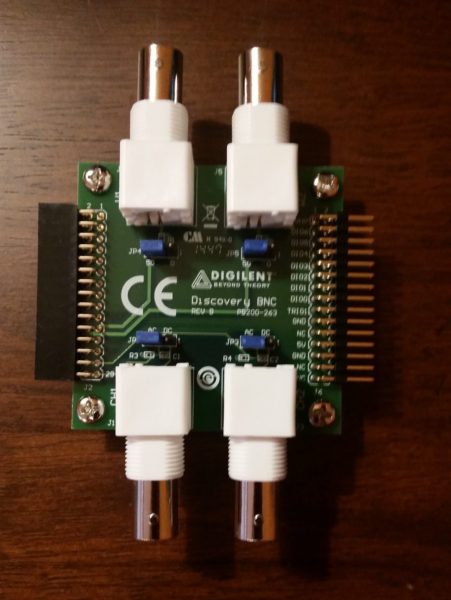
The BNC adapter allows you to take channel 1 and 2 of the Oscilloscope, and waveform generator 1 and 2, and access them via BNC oscilloscope probes. Now, it is important to note that these outputs and inputs are not differential. You will still need to apply a ground to your circuit, but it will not be using the grounds of the BNC probes.
There are also jumpers on the adapter to allow you to either AC or DC couple your probes. The Waveform generator then allows you to terminate with either a 50 Ohm or 0 Ohm output impedance.
The BNC adapter passes through the normal 30 pin connector of the Analog Discovery 2, so you still have access to all of the other tools that you may need.
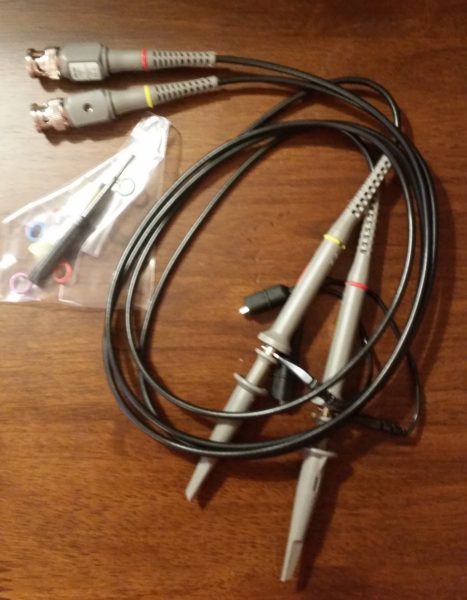
You can also get handy BNC Oscilloscope probes with selectable 1X or 10X input attenuation, if you don’t already have some.
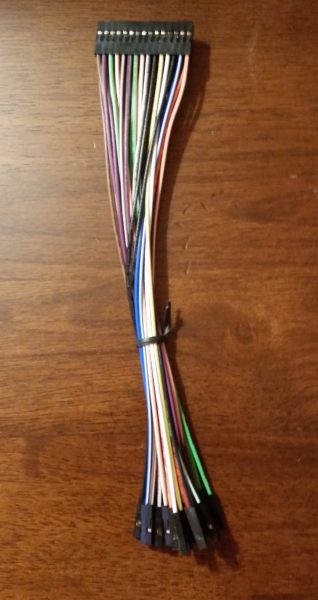
I also decided that another set of flywires would be handy. I remembered all the times in the EE352 class where I had to demonstrate two circuits for one lab. This meant that I had to call the TA over and show them my circuit, then unplug the flywires from that circuit and rewire it up to the new circuit, and then again wait for the TA again. If I had had another set, I could have had both circuits wired up and just unplugged the 30 pin connector.
On top of the delay, sometimes when I intended to unplug just the flywire I would accidentally unplug a bunch of other circuit components around it. This was again due to the lack of a delicate touch, and was super frustrating.

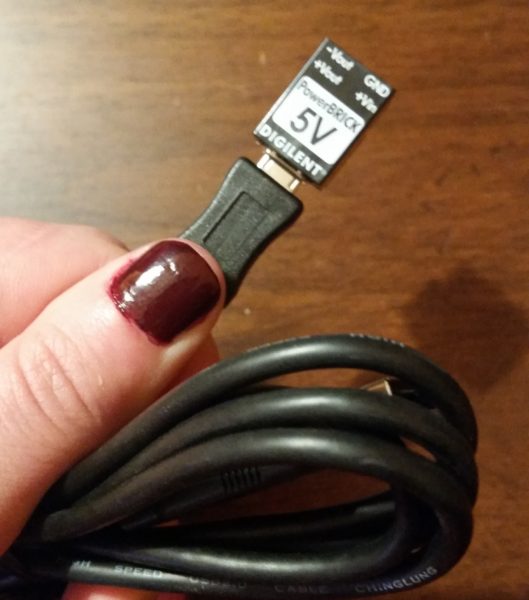
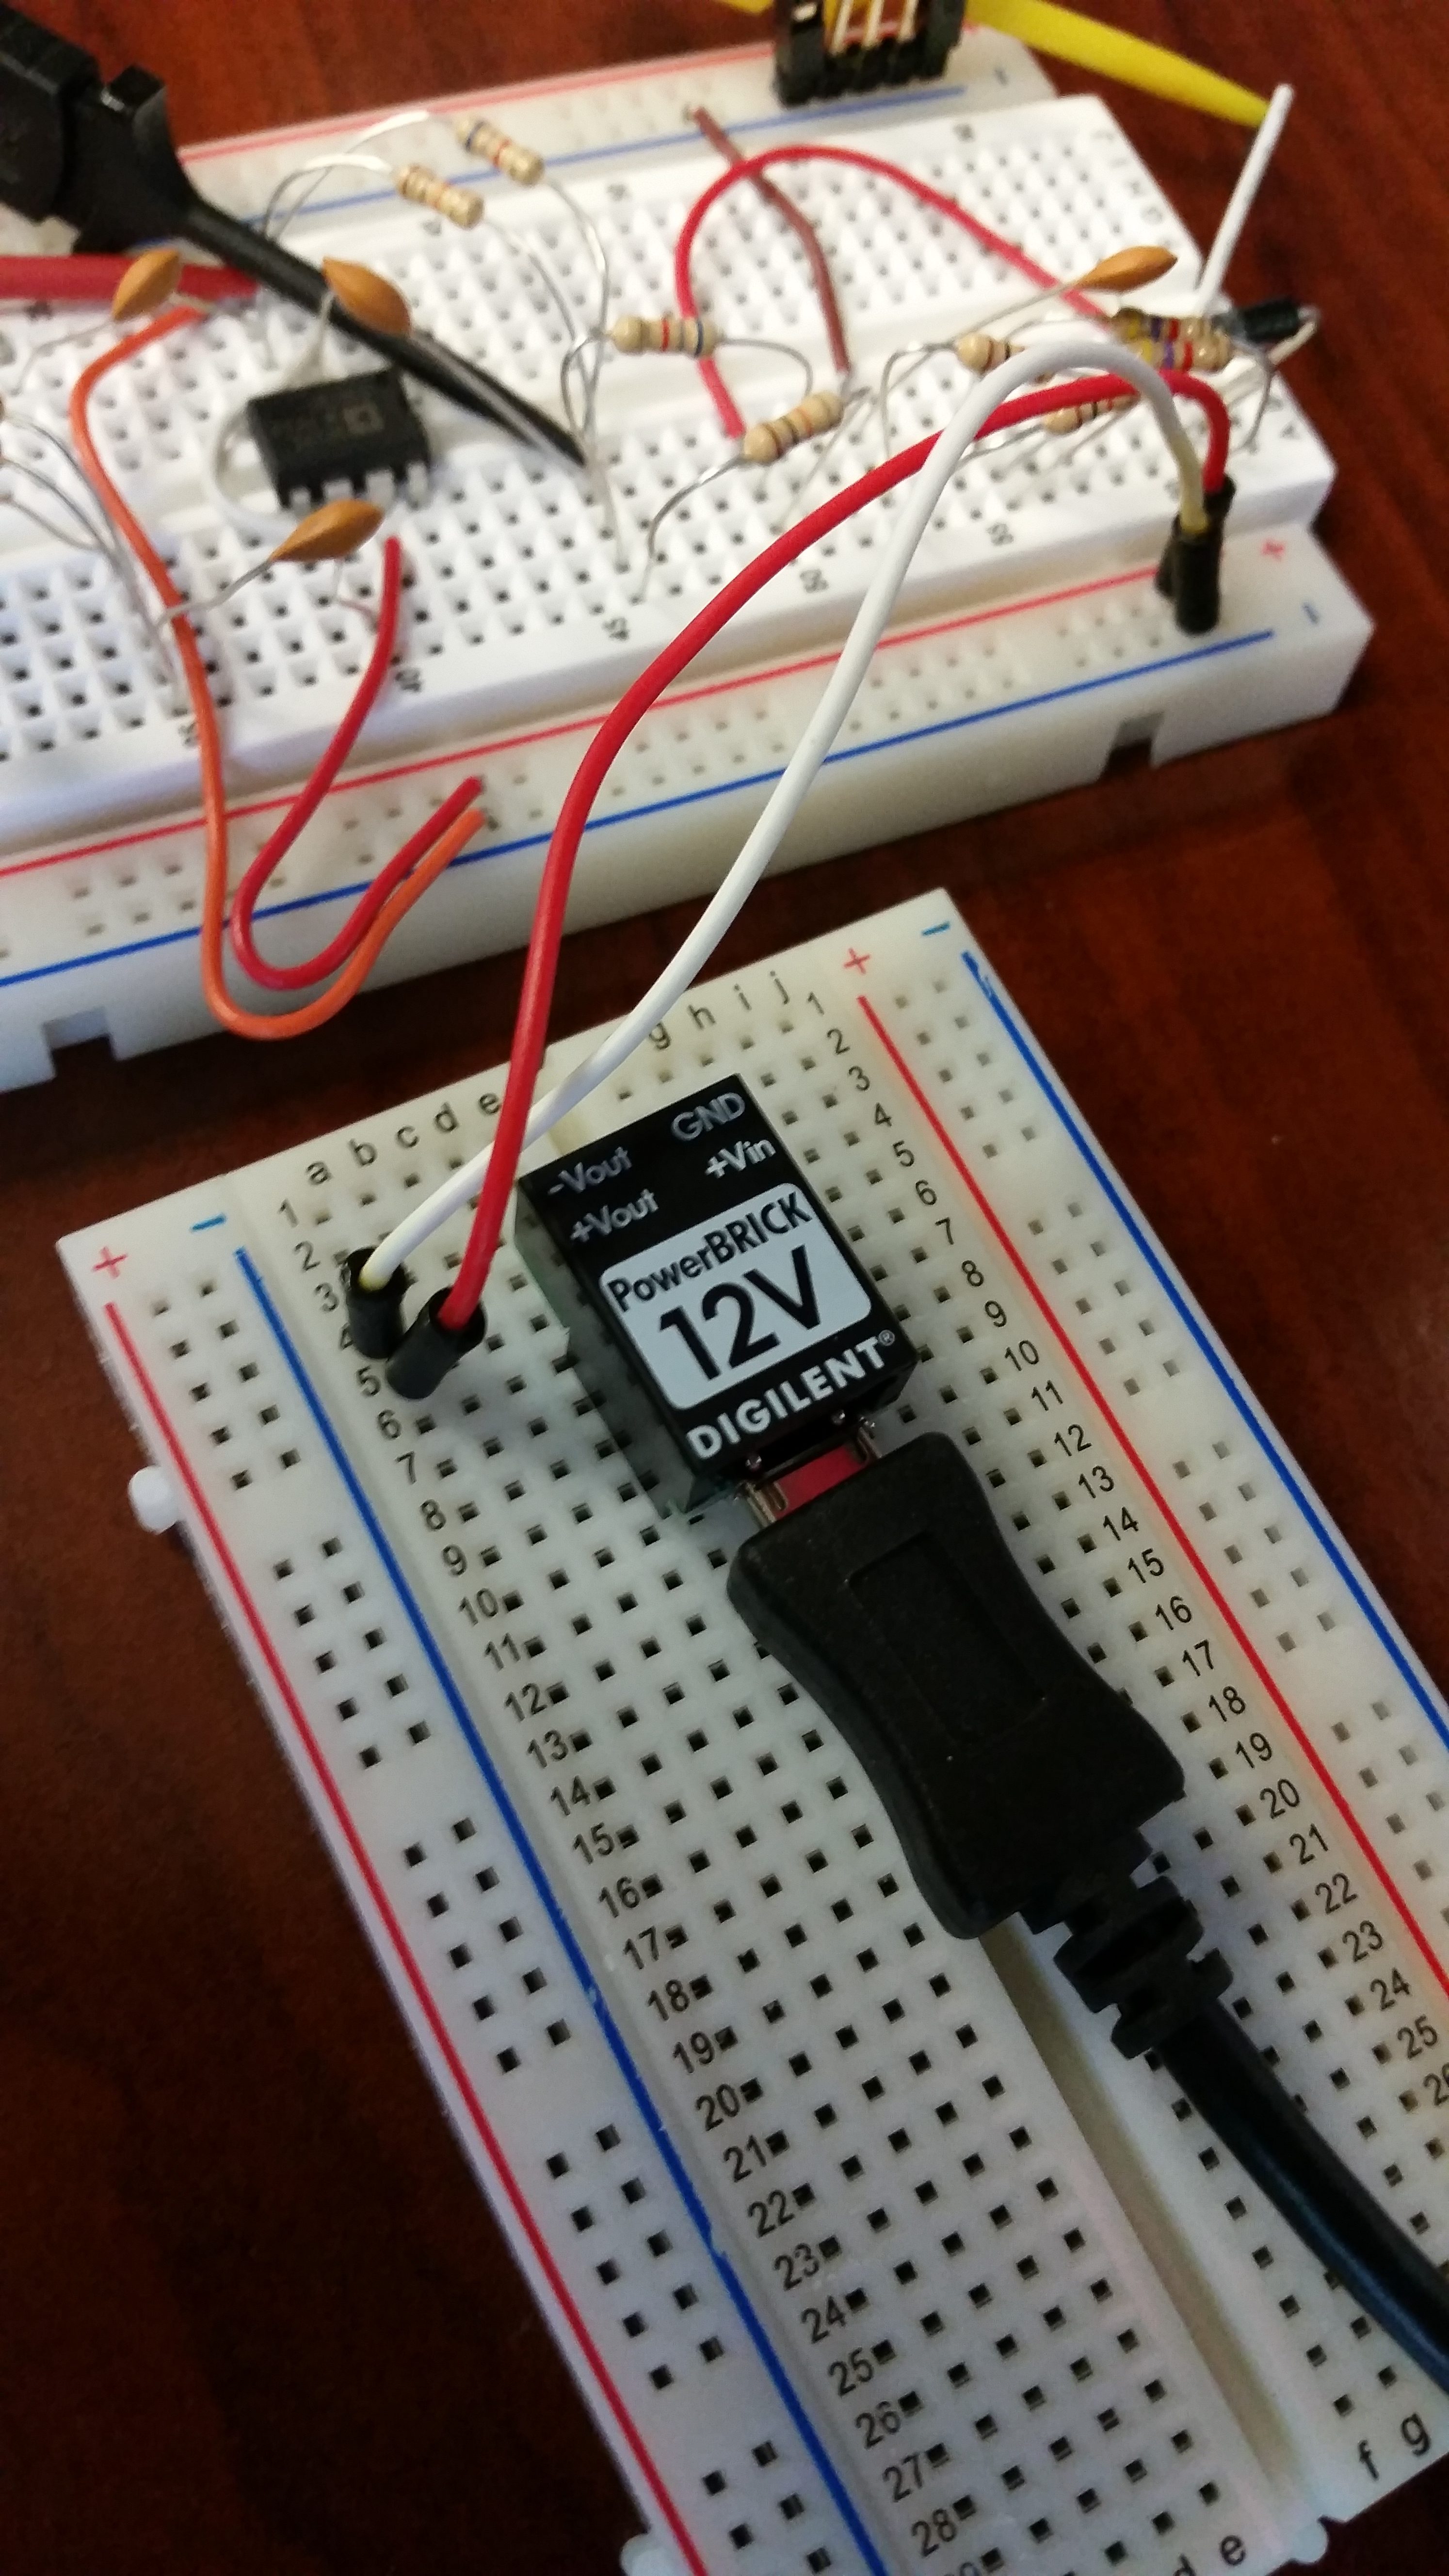
Another handy group of accessories are the Power Bricks. These allow you to pull power from a separate USB port and provide a constant voltage, at 4 possible levels, and use that as a power source. USB ports have severely limited current output, so being able to use multiple ports will come in very handy. I’m going to use that 12V Power Brick when 5V just doesn’t cut it.
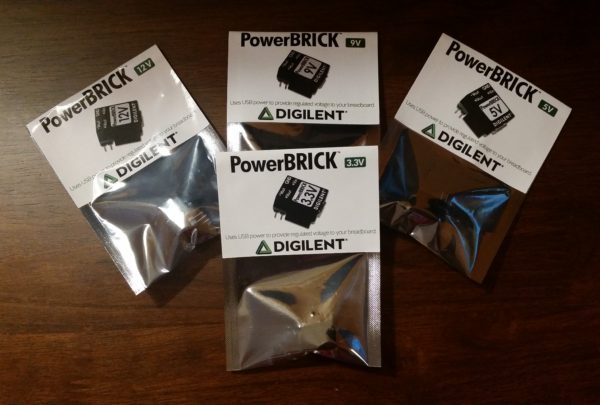
The Power Bricks can be connected to your computer via a USB A to micro B cable. Then you can plug the pins on the bottom side into your breadboard.
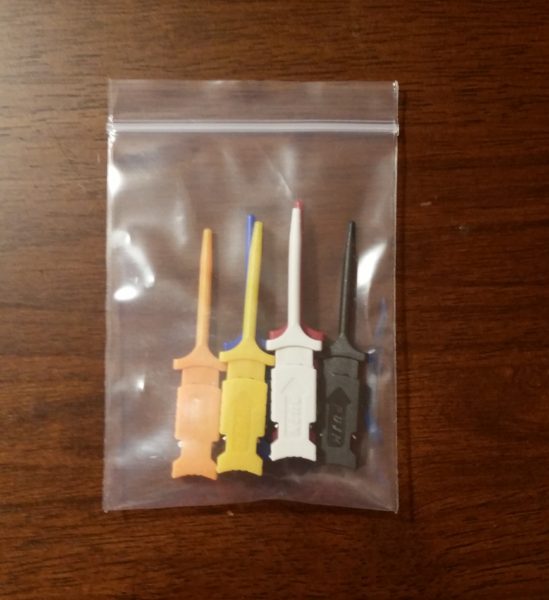
Lastly are the mini grabber test clips, something I wish I had known about a long time ago. The flywire connections on the Analog Discovery 2 alone require that you either plug into a male pin header or breadboard wire. Either of these options require saving a space in the particular node you want to probe, or apply a waveform or voltage to, for the connection.
Well, sometimes this requires connecting multiple nodes or rearranging the circuit when you failed to have the forethought to consider this. Many times it would just be easier to be able to hook the connection on to your circuit quickly. The Mini Grabber Clips solve that problem.
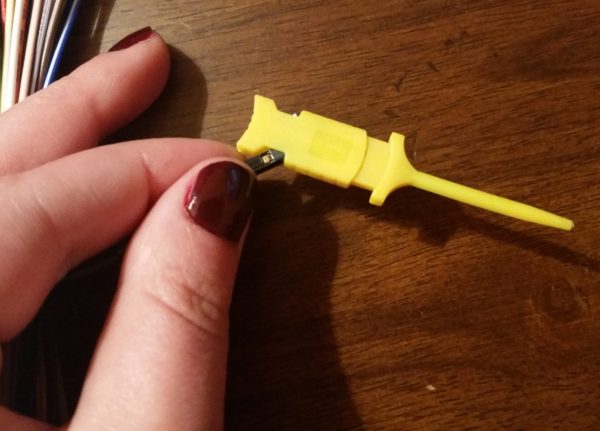
The flywire connects to a pin protruding out the side of the clip; you squeeze it to attach.

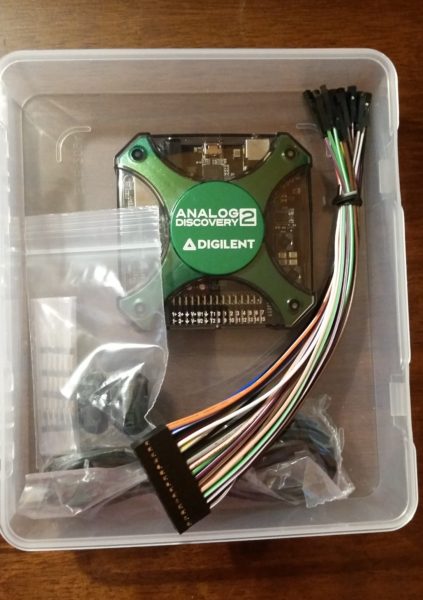
And here are all of my accessories and Analog Discovery 2 that happen to fit perfectly inside the project box. Now I can take everything I need in one handy box.
You could hear a little bit of rattling from the Power Bricks, but the Analog Discovery 2 is snuggled up with all of it’s accessories.
I made a handy wishlist on the store site to get everything included in my project box, but you can also grab items off the wishlist individually.
Hi Kaitlyn
Good article! I think the Analog Discovery 2 is one of the best pieces of hardware ever (for engineers and their ilk) and I use the case in a similar fashion as you describe. But my cables always get jumbled together at the end of the day, when I’m too lazy to put them back in carefully. And I’ve wondered if the case could be modified so the device could be used in the case, with BNC breakout. And I want some protection for the BNC breakout, which I feel is too exposed for a messy workbench (like mine).
Thank You – Phil
Hi, Phil:
My AD2 hasn’t arrived yet, but I’m absolutely tempted to 3D print a set of modular inserts for the project case that safely retain to AD2 and its BNC adaptor, with trays that can be lifted out with various options. I thing to use the AD2 in the box, especially with the flywires, I’d need to bring it up closer to the top of the case, so maybe its holder stacks on top of a tray. So then for a quick test, it could be used in the box, but when you want to do larger work, the trays can be lifted out to bring all of the accessories close to hand in your favorite work area, or on a mission to solve a deep signal problem. slide the box the box into your go-bag along with a few other tools and your laptop, and you’re ready for adventure!
Many thanks for inspiring a mobile AD2 kit. Ideas always welcome.
— Amelia
Although it is not easy to damage most modern electronic equipment with electro-static discharges, it can happen. For a bit of static protection, I suggest an electro-static plastic ( slightly conductive material ) to be used for the box and or the inserts you mention.
Have great fun with this really neat equipment.
Jaye