From time to time I will post small projects, such as controlling a stepper motor with the Basys 3 and how to use the PmodJSTK to control a stepper motor with the Basys 3. For those of you that read those posts, you know exactly why I wrote those. For those of you that didn’t, they were pieces of a large demo I had been working on.
I, along with many other people, have childhood memories of walking into a movie theater, grocery store, or arcade and seeing a large glass box filled with toys. There was always that one toy either buried or perched right on top that I wanted. All I had to do was get some money from my parents and move the claw over the toy and press the button. In my childish innocence, it seemed so simple.

However, as many of you can probably guess, I soon found out I was wrong. It was nearly impossible to grab any toy, let alone the one I wanted.
Well I decided, by Larissa’s suggestion to turn the Basys 3 into the brain of one of these devices.
Being that this is such a big project, I’m going to be making Instructables for each piece, and putting them into one collection. You can view this collection and the Instructables that I’ve created thus far in The Claw.

One of the awesome things about the claw game is that designing it in FPGA used almost all of the FPGA skills that I have learned so far in school. It uses state machines, PWM, SPI, debouncing, and a multitude of other topics. This makes it a pretty flashy and cool way to get someone into FPGA. So, to help facilitate the process I will be making an Instructable on each piece of the design.
Now I’m sure you all have a burning question in your mind, Why tarnish the pure reputation of the Basys 3 by turning it into such an evil device?
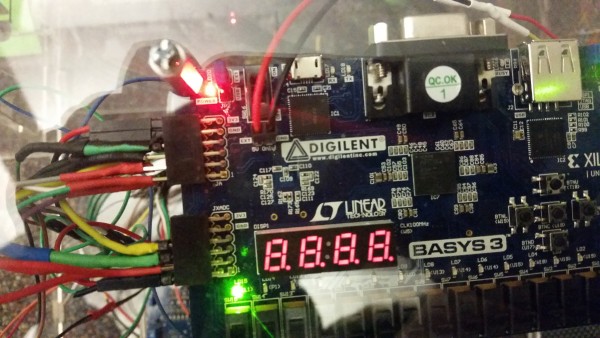
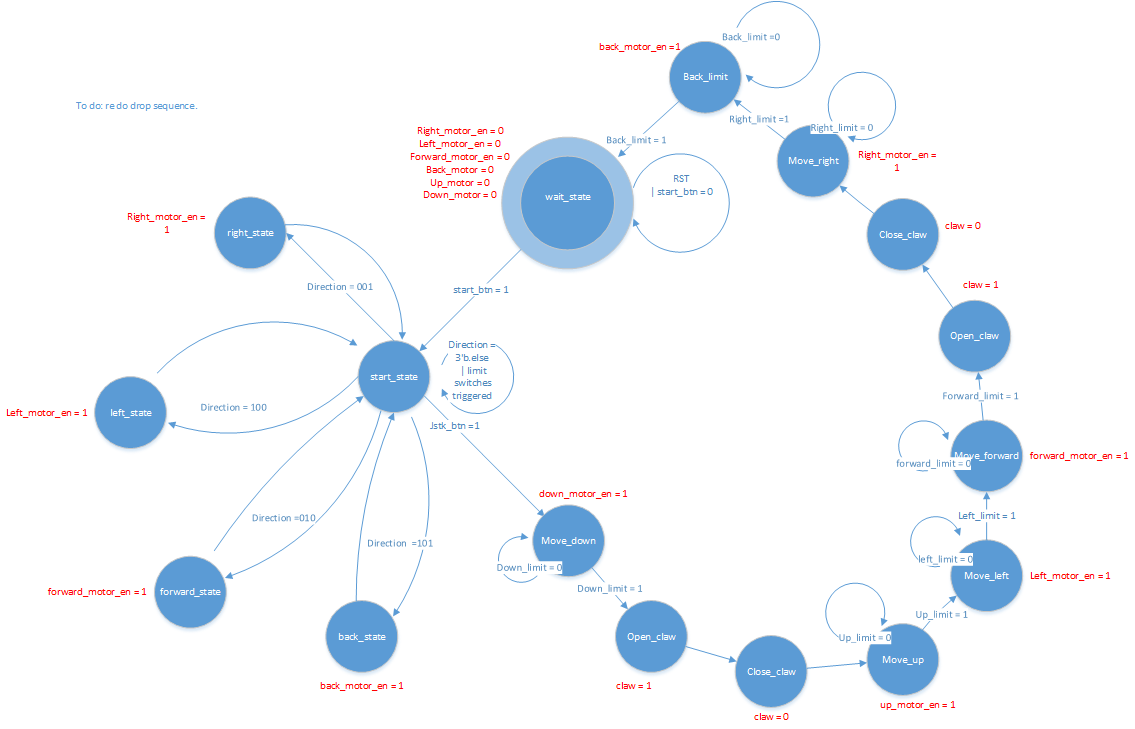
Well the claw game has a relatively simple state machine and doesn’t use any super complex logic, by FPGA standards, so I didn’t need a large FPGA. The Basys 3 also has 32 I/O pins accessible via the Pmod ports. I happened to need 30 of them, which makes it almost meant to be.
Why so many I/O pins, you ask? Well, there were a lot of limit switches involved in the design. After working on it for three straight days I had to recruit some help from Tommy…it turned out all they needed was debouncing.
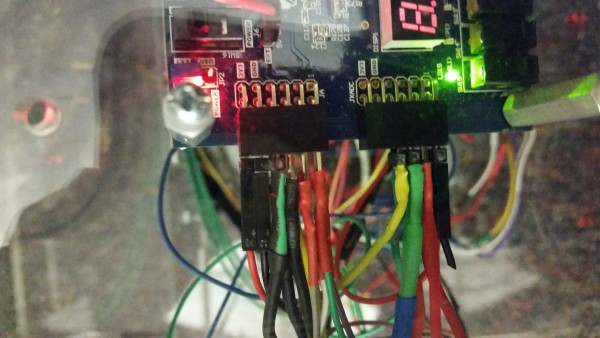
I also needed three of the Pmod ports for 3 PmodSTEPs, which controlled the stepper motors, and one PmodJSTK, for controlling the X, Y movement. Then of course we had to reserve 2 I/O pins for a big arcade style button.
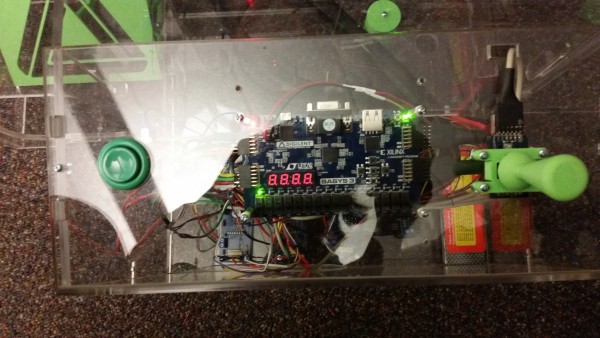
For updates keep and eye on the collection as I continue to finish Instructables, and of course keep following the blog!
And now finally, The Claw!!!

