Welcome back to the Digilent Blog!
MPIDE comes with a nice serial monitor where you are able to print out values that your system board has measured onto your computer screen. But if you are able to print things onto your computer screen, wouldn’t it make sense if the chipKIT board also accepted and processed values that we typed into the serial monitor? It would make a lot of sense, which is probably why we can do just that. Let’s find out how.
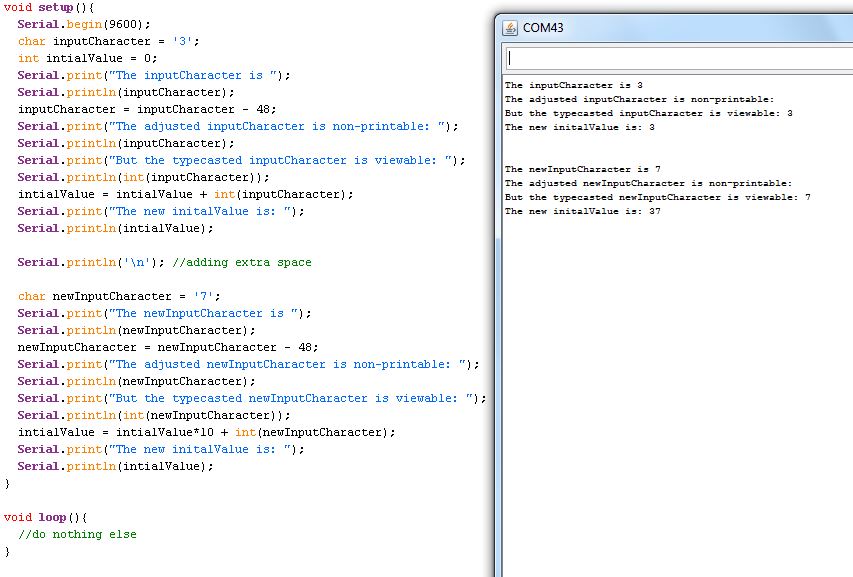
For those of you who might not know, the MPIDE’s serial monitor is a type of interface that monitors (no surprise there) and displays what is happening in the USB-UART terminal that is connecting your chipKIT to the computer. Whenever you call the “Serial.print” function, all of the information that is sent to this UART interface is displayed on your computer screen.

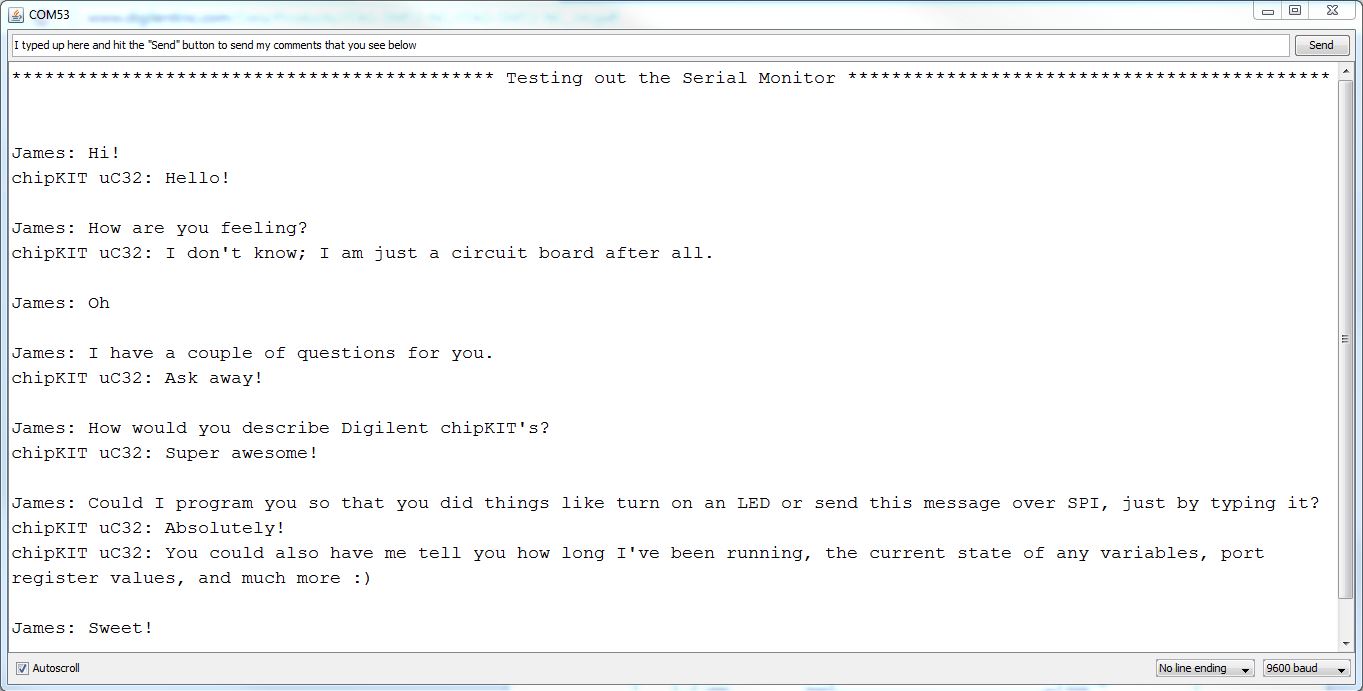
What this picture does not show is that there is a text box and a “Send” button where you are able to type text into the Serial Monitor and send it off to the chipKIT board. Naturally, the chipKIT board will only respond to this information if it has been programmed to do so. Luckily, this is surprisingly easy to do with the Serial.available() and Serial.read() functions. The Serial.available() checks to see if any data is available in UART buffer. If there is, then it will return how many bytes are currently present inside the buffer.
Serial.read() will read and remove one byte at a time from the UART buffer. The single removal makes it very convenient to combine this function with a while loop. That way, we can tell the chipKIT board:

Once all of the characters have been collected, you can compare your set of characters (also known as a string) to a user defined set of options. If the set of characters matches one of the options, you can then have the chipKIT board send a response back over the serial monitor or run a routine such as flashing an LED multiple times.

Check it out!

