

We’ve been working with Pavel Demin, a research engineer based in Belgium, on several projects related to the Eclypse.
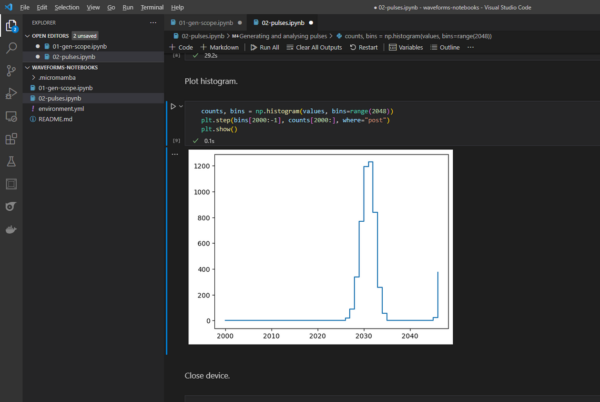
For the first, to demonstrate approaches to rapid prototyping, he put together a Jupyter Notebook that uses the Eclypse Z7 to detect the heights of a series of pulses applied to a Zmod Scope input. Python implementation of a signal processing algorithm like this is an easy first step to proving that the algorithm will perform how you want before taking the more complex and time-consuming step of implementing that same algorithm in FPGA fabric. The algorithm prototyped here, which performs pulse height analysis, is useful in several different systems and experiments, like optical particle counters and spectroscopy in nuclear physics. A histogram of the heights of 10,000 captured pulses is plotted. In these applications, this comparison might show you distributions of sizes of particles or of the energies of elementary particles, respectively, which gives meaningful information about the results of an experiment.
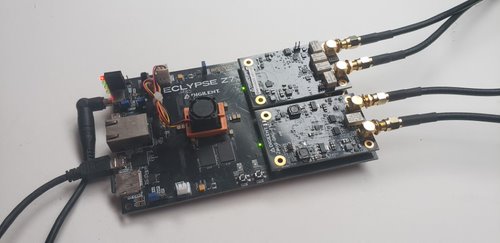
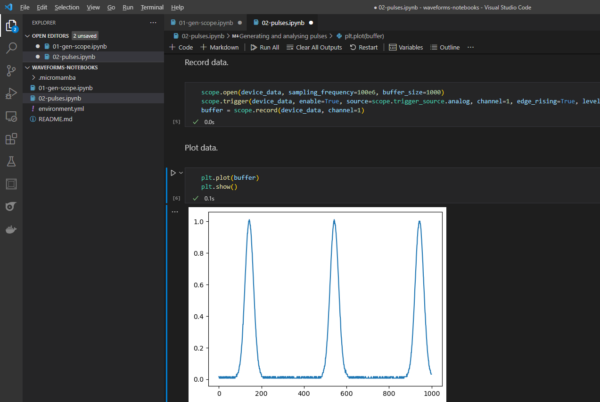
The Jupyter Notebooks environment leverages WaveForms SDK to control the Eclypse. It uses the Micromamba plugin to allow Jupyter Notebooks to be run entirely within VS Code, across various host operating systems. Two scripts are included. The first generates a sine wave and reads it back as a quick confirmation that the notebook works as intended. The second script implements the pulse height measurement algorithm described above. Using the AWG, it generates a chain of pulses which are used to stimulate a circuit under test. The generated pulses are captured by the Scope and are passed through a prototype peak detection algorithm, which could later be implemented in FPGA fabric. Results of running 10k pulses through this system are plotted in histogram form, leveraging Python’s matplotlib library to visualize this data and generate several other diagrams easily. Using Python in this way lets you easily test out a concept in a matter of minutes, well before implementing the same algorithm in hardware.
But if you can do the measurements easily using Python, why would you want to implement it in an FPGA? There’s always the case where you’re designing your own product and don’t want to include an entire dev kit in the final shipped design. Outside of that, by leveraging FPGA fabric differently than WaveForms for Eclypse does, you can greatly speed up your system: to naively show this, a test run measuring 10,000 pulses using the scripts described here takes 20+ seconds, while the actual frequency at which pulses are generated is 10,000 pulses per second; a dedicated FPGA-based pulse height measurement system would easily be able to measure and record all of these pulses in real-time. If you wanted to measure many more pulses more quickly, you could use this pulse height analysis algorithm to greatly decrease the amount of data that you might need to save – processing data early, in the FPGA, on the edge, saves vast amounts of data transfer capacity further up the chain. Of course, to do so, you need to be sure precisely what processing you want to apply to the data, and that’s where prototyping comes in.
That said, if the performance of the Eclypse Z7 with WaveForms SDK is sufficient for your needs on its own, it could just be the complete solution you’re looking for.
Check out the code here: https://github.com/pavel-demin/waveforms-notebooks
As the next step, Pavel implemented the FPGA-based pulse height measurement system using the USB104 A7 and Zmod Digitizer. Its description can be found here: https://pavel-demin.github.io/usb104-a7-notes/mcpha
One Comment on “Rapid Prototyping of a Pulse Height Detector System”