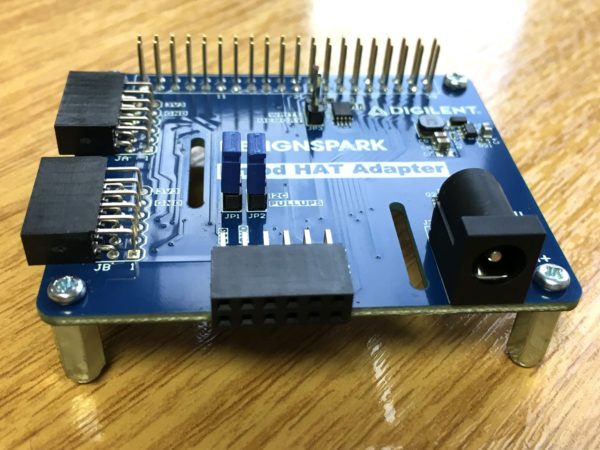
Recently, DesignSpark discussed how to get the Raspberry Pi up and running with the Pmod HAT using Andrew Back’s Python library.

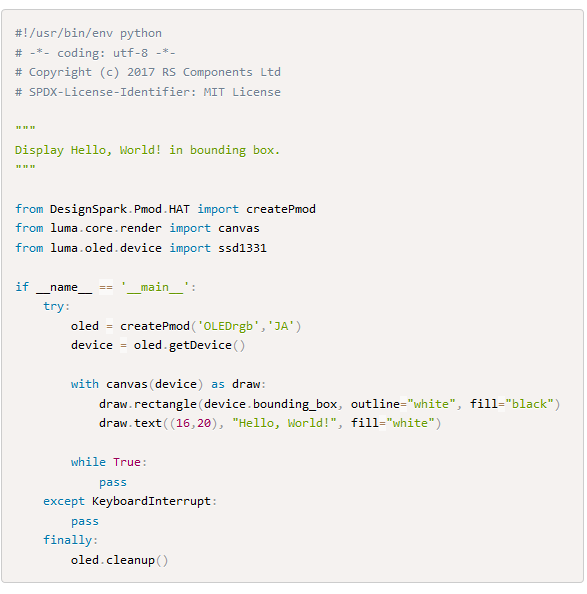
First of all, you must install the libraries, which is covered thoroughly in Andrew Back’s original article. After the installation, there is a set of examples for the Pmods. The article then goes into the Pmod OLEDrgb “Hello World” example. The Python code for this is shown below:

The advantage of this setup is the fact that there is very little hardware set-up time to run the programs. If you want to attach a different sensor, it is a simple matter of switching the Pmods out to take a different measurement.
The author shares some final thoughts on the project:
Andrew Back’s library is a great starting point for a project as you can quickly and easily validate your hardware with the examples before using those examples as a jumping-off point for whatever it is you want to try out for yourself. Getting to grips with LED screens can be a bit daunting at first, but the examples really do give you what you need to get some pretty sophisticated screen displays up in record time.
Altogether, the Pmod HAT and Andrew’s library make a powerful ‘quickstart’ kit for your next project by allowing you to quickly (and cheaply) try things out, before settling on a hardware combination that you want to move forward with.
To find detailed instructions and more examples on this project, please check out DesignSpark’s full article!

