

Welcome back to the Digilent Blog!
This week happens to be National Library week, and although Digilent is not a library, we certainly use them! I’m not referring to public libraries, though (although I am personally a fan of them); rather, I’m talking about the C++ libraries that are widely used with our microcontrollers. Although C++ libraries are not quite the same as an IP for FPGAs, they serve a similar purpose. These libraries include a set of predefined functions that perform a specific task, such as sending and receiving a set of data over SPI, that the user can use without having to define what they do.
There are two main components that make up a C++ library: a source file and a header file. The header file (a .h file) lists of the functions that will be available for use as well as any constants that might need to be used within the library; it is the file that we include with our main program so that we are able to access the library. The source file (generally a .cpp file) defines what each of the functions will actually do in code and is set up in a very similar style to how users may create their own functions within their main program. You can check out an example of how this is done in our Multiplexer Guessing Game Learn Module.
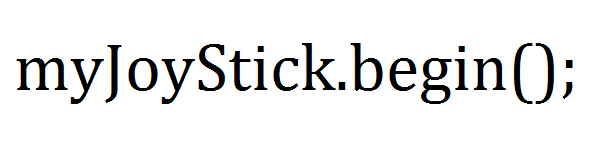
In general, users want functions that are associated with a particular library to only ever be accessible when they specifically call them. Otherwise, you may have multiple libraries that share a function name such as begin() that all do slightly different things. There would be no way for the compiler to tell which particular begin() you wanted to use. To get around this, C++ libraries each have what is called a class associated with them. In layman’s terms, a class is kind of like a extracurricular club — you only get access to the library’s particular functions when you use a member of their club. Luckily, creating a member of a library’s class is easy to do. For the PmodJSTK, when you include its library (JSTK.h), the compiler knows that the library has its own class, called JSTK. You can create a member of the JSTK class called myJoyStick by typing:

The myJoyStick member now has access to all of the functions within the JSTK library and can use them by typing the name of the function after the member:
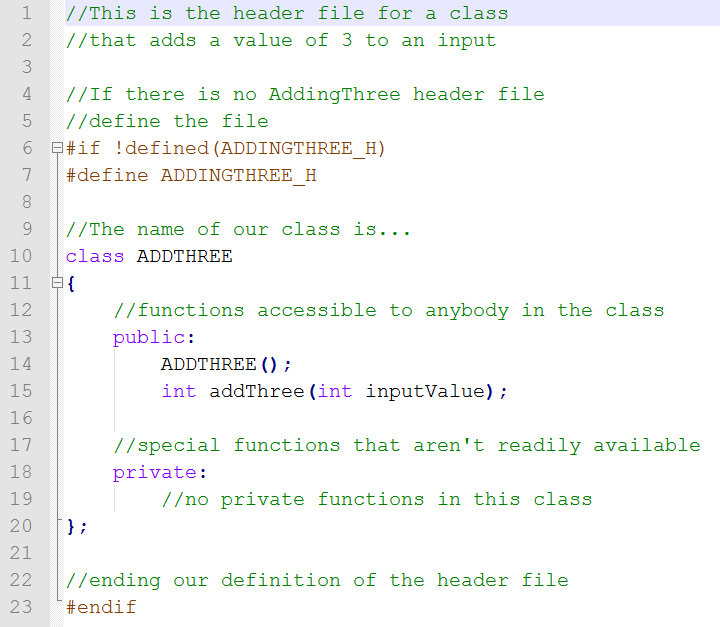
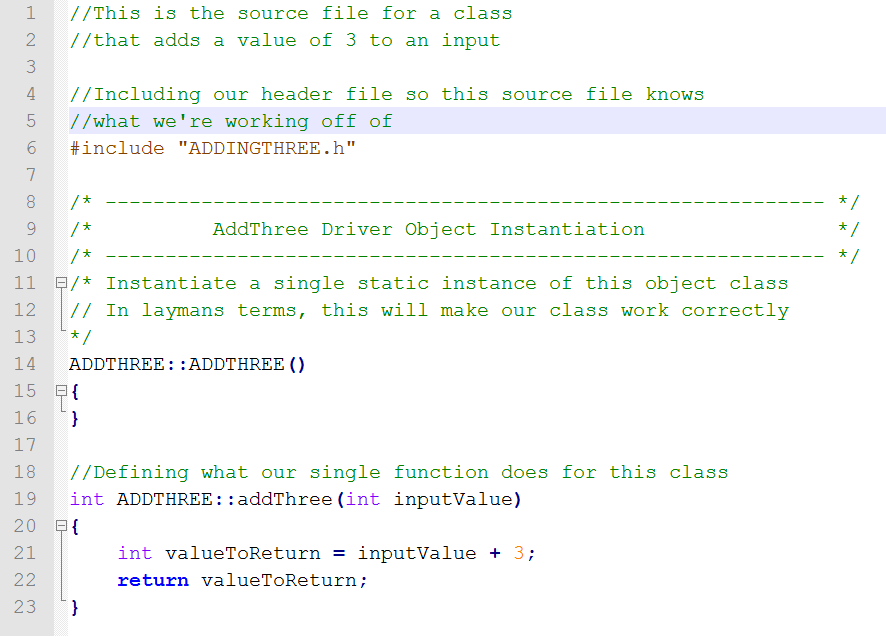
But how does one actually create a library? If you already know what you want your library to do, it’s not too hard. We need to type out our two files in a program like Notepad++ that will let us save the files in the appropriate file types. Some screenshots of a simple C++ library that I created that adds a numeric value of 3 to whatever you gave as an input parameter are shown below:
Now go and create your own library…or go visit the library.