

If you are beginning to get into the world of FPGAs, one of the first things you need to know is how to program your board (starting with the Basys 3 is a fine idea). That includes how to get the bit file loaded, to configuring the hardware on the board. When I was first learning, I was only taught how to program the board via JTAG.
This configures the hardware, but does not load the bit file into memory, meaning that if the board is power-cycled for any reason the program is lost. Now it can be reprogrammed, but that can be time consuming. And if you need to demonstrate to a class or if you want to send your board with the code loaded to something like a Tradeshow you need the code to stay even when the board is powered off!
Well in case you didn’t know, there are 4 ways to program your FPGA board. They include JTAG, Quad SPI Flash, USB and Micro SD. All four are described in handy programming guides on each FPGA’s respective resource center. Note that not all FPGAs can be programmed by all four methods. This blog post will address how to get started when programming some of Digilents most popular FPGAs!
The Basys 3 can be programmed via JTAG, Quad SPI Flash and USB. The Arty can be programmed via Quad SPI flash and JTAG, and the Nexys 4 DDR can be programmed all 4 ways!
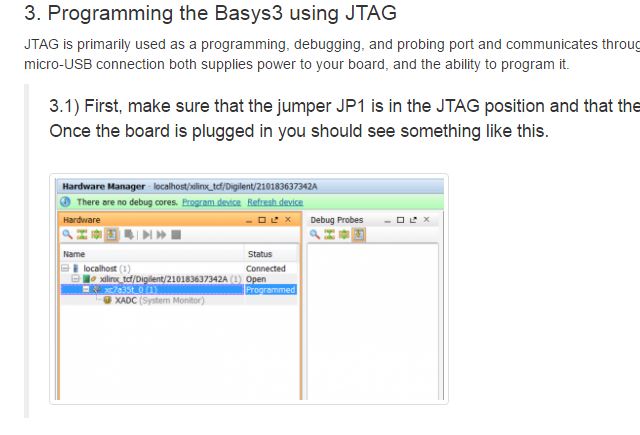
The first method involves programming the volatile memory on the board via JTAG. To program via JTAG:
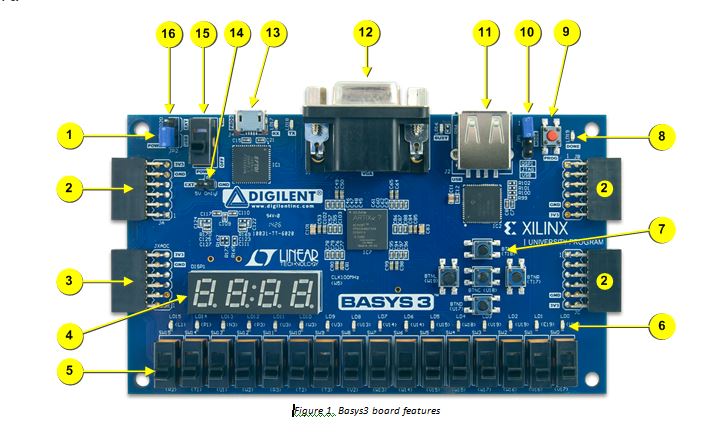
- Make sure the programming jumper is in the JTAG position.
- Click program device, select the device, and select the correct bit file
- Click program
The second method is to load the bit file onto the non-volatile quad SPI flash memory on board.
- Make sure the programming jumper is in the QSPI position
- In the Hardware Manager click on the device, and add configuration memory device
- Select the memory device on your board
- Select the bit file and click Okay
- This file will now load during start up
The third is via USB memory stick or Micro SD Card.
- Make sure the programming jumper is in the USB/SD position and the media select jumper position is in either the USB or SD position depending on what you want to use
- Plug the USB drive or Micro SD Card into your computer
- Copy the bit file into the root of the USB device or Micro SD Card
- Plug the USB device or Micro SD Card into your board
- Power and turn onto the board
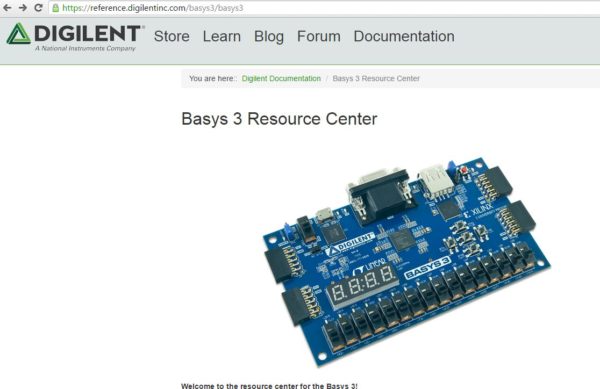
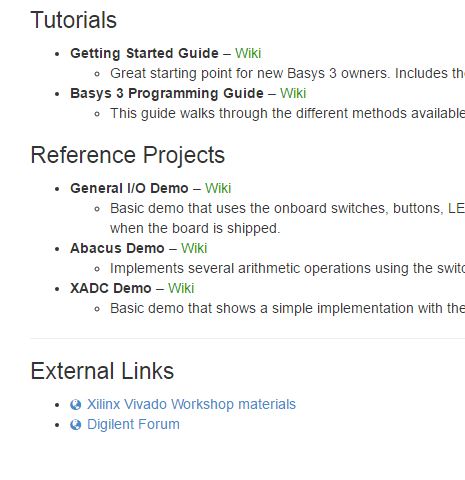
You can find the details of each process in the resource center for the FPGA board you have. The programming guide for the Basys 3 for example, can be found here.
Whats your favorite programming method for FPGA?
i had a problem with my device, i removed the hardware name from list in the open hardware. Now i can’t use my device, it said “no hardware detected”. even i tried it on the diverent pc/laptop. do you know something about this? thanks for help..
i had a problem with my device, i removed the hardware name from list in the open hardware. Now i can’t use my device, it said “no hardware detected”. even i tried it on the different pc/laptop. do you know something about this? thanks for help..