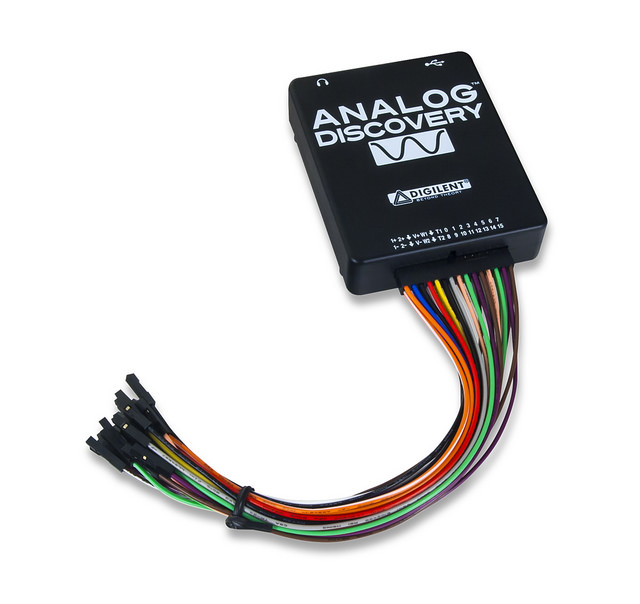
Have you ever struggled with a project and not known why? You’ve tested the code and it still isn’t working. You’re considering throwing your board against the wall (but please don’t). You’re glaring at your resistors. What to do?! Sometimes it’s a bad digital pin. Save time, energy, and anger by by testing your microcontroller before you get to work on your project. Instructables user Proto G uses the Analog Discovery’s logic analyzer to do this.

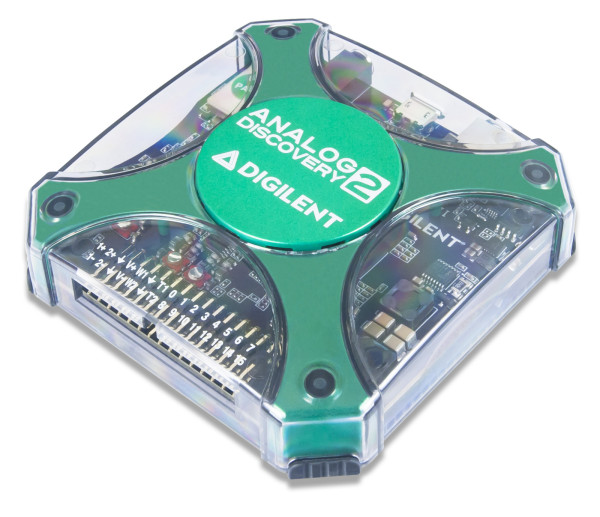
After you’ve picked your logic analyzer (we recommend upgrading to the Analog Discovery 2), then pick your microcontroller board! Upload your code and connect your logic analyzer to your board. Connect each pin you’re testing to a different channel, which should provide a reasonable test of each.

Obvious, logic analyzers have plenty more uses, and the problem might actually be in the code, but this is a great Instructable!


Thanks! Great article. Please mention some critical info such as specs on this. GHz or MHz?
For more information on the product, be sure to check out the product specs that are featured on its page on our main site. Thanks for commenting!
where is the online documentation for the Analog Discovery product ?
Documentation is included on each individual webpage, or you can find out more at reference.blog.digilentinc.com!