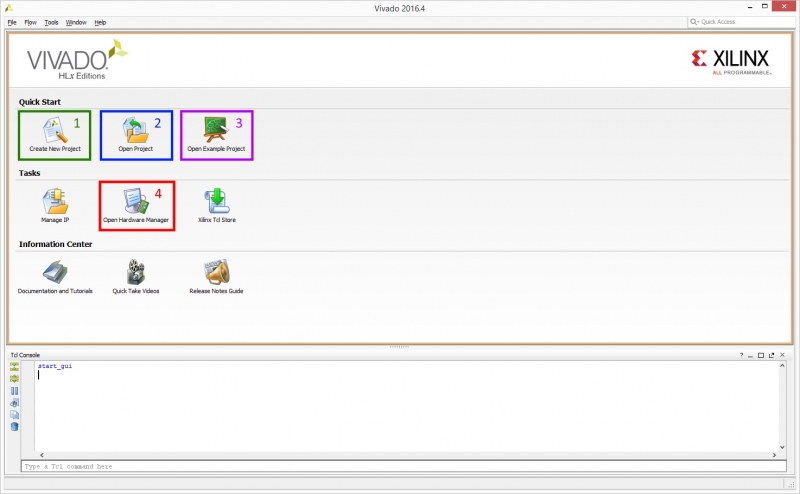
When your fresh-faced recruits are green and bright-eyed in the early days of the academic year, the last thing you’ll want to do is spend extensive amounts of time connecting, installing, downloading, and fiddling in general with the equipment that they’ll be getting their hands-on experience with. We’re here to help guide you through the process, minus the headache, with this post.
If you’re using our Digilent development boards (and really, why wouldn’t you be?), you’re likely working with a Xilinx FPGA, and therefore will be using Vivado. The first thing you’ll want to do is download and install Vivado on each of your lab machines, which you can find here. The latest update of the 2019.1 HL Editions should be your target. Xilinx offers the free version (WebPACK), HL Design Edition, HL System Edition, and the HL Lab Edition. Choose which one works best for your lab and budget. The 30-day trial contains features from all editions. Keep in mind that you’ll need about 20 Gb of hard drive space for this.

After Vivado installation, you’ll also need to install the cable drivers (if you’re using Linux) and install the correct board files for whichever Digilent board that you’re using in the lab from our GitHub Archive. We have created a step-by-step tutorial of the installation here.
When all drivers and files are in place, it’s time to get into Vivado and prime it for your students! There are essentially 8 steps:
- Create New Project
- Add the correct constraint file through the Project Manager
- Create an RTL design
- Synthesis
- Implementation
- Bitstream Generation
- Connect through the Hardware Manager
- Program Device
There are, of course, more details to getting started in Vivado, and those can be found here. When you’ve completed the above steps, you should see the board blinking, and you’ll know you’re done! If this information isn’t new to you, then feel free to disseminate the tutorials to your students, who might not have encountered Vivado before.
That’s as easy as we can make it – now, hopefully your classes aren’t TOO big, and you can move to the good stuff quickly… cheers, and good luck this year!


The very latest Vivado (version 2021.1) does not have the ‘/data/boards/board_files’ directory – instead there is a ‘/data/boards/board_schemas’ directory. Also the program now has a ‘Tools/Vivado Store…’. Do you have an updated install for the Digilent Boards? The latest Nexys A7 board is not in the Xilinx repository.