

Recently I announced that National Instruments has released a set of example labs designed to show you how you can get the full use of your Analog Discovery 2. If you have since forgotten and want to review the summaries and mission of the seven labs, you can check out the original post here.
Over the next few weeks I’ll be covering each lab, the tools it uses, and concepts that can help you teach your students. In my previous post I went over Lab 6: UART Serial Communication. In this post I’ll be going over Lab 7: SPI Communication.
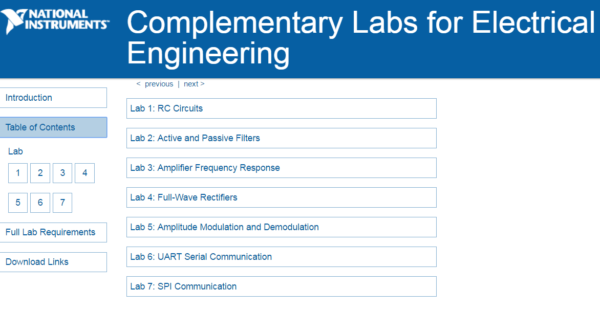
Lab 7: SPI Communication is design to teach students about SPI communication. They will learn about the functionality of the different SPI lines, how to transmit SPI from a master device, and validate the data sent from the master to check for data integrity. By the end of the lab students will be able to send, receive, and decode data from a SPI bus.
This lab utilizes 1 set of software, LabVIEW.
LabVIEW is a development environment design specifically to accelerate the productivity of engineers and scientists. It features a graphical programming syntax that makes it simple to visualize, create, and code engineering systems.
For this lab students will need:
- An Analog Discovery 2
- Digilent uC32 or other LINX supported microcontroller
- Jumper wires
- LabVIEW 2015 or Later (available from Studica)
- Digilent WaveForms VIs (A Free Download)
- Digilent LINX
Similar to Lab 6, Lab 7 goes through theory, simulation, and practical analysis.
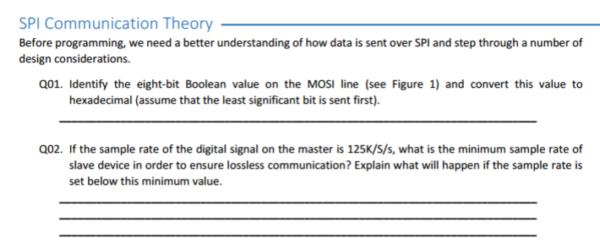
The lab starts by going through the theory behind SPI communication: explaining slave select, clock, MOSI, and MISO.
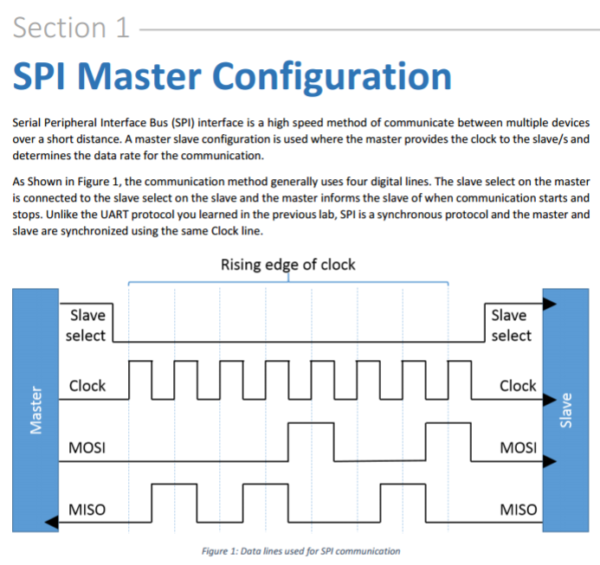
First, students are asked to analyze example signals given in the lab. Then they are asked to analyze the effect of changing certain parameters.
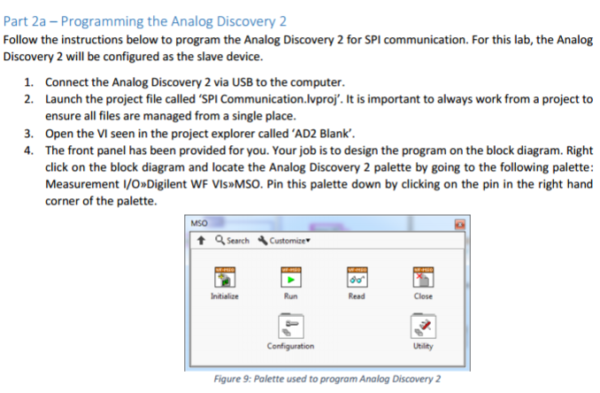
Once the lab moves on to examining SPI signals in practice, students set up a LabVIEW VI to send and receive SPI data from a microcontroller.
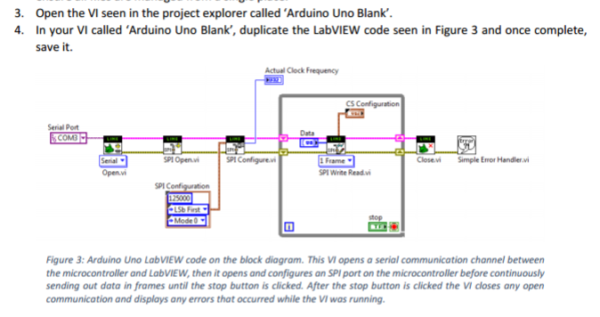
That data is then read by the Analog Discovery 2 and displayed in a LabVIEW window. From here students can learn the real implications of adjusting SPI parameters, and how the data is decoded.
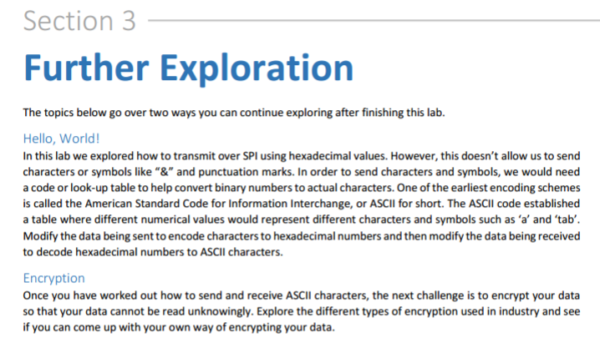
For more advanced students that want to challenge themselves, they can design a LabVIEW VI to transmit, receive, and decode ASCII characters. They can also continue and explore encryption.
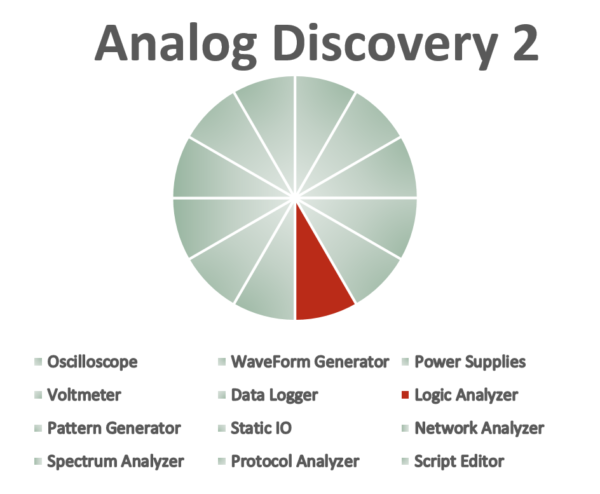
Now that you’ve seen a preview of each lab, download and checkout the labs yourself. If you are interested in the tools that the Analog Discovery 2 has to offer, more information can be found on its Wiki Page.