Welcome back to the Digilent Blog! Some of you have heard or seen us occasionally mention using a Pmod™, but also likely noticed that there wasn’t very much detail on them.

But no more! The realm of Digilent’s Pmod line shall now be explored like never before! Starting today, we shall start a new weekly series highlighting a new Pmod; what it is, what it can do, and if we’re lucky, some history behind the Pmod.
Before we get ahead of ourselves, though, let’s take a step back and answer some of the more important questions. What is a Pmod? What does it take to become a Pmod? How did the Pmods come to be in the first place?
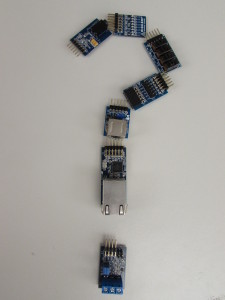
Pmod™ is Digilent’s name for the line of over 60 peripheral modules that we offer to add extra functionality to both microcontrollers and FPGAs (field-programmable gate array). This functionality includes audio amplifiers, GPS receivers, USB to UART interface, seven-segment displays, accelerometers, H-bridges with input feedback, analog-to-digital converters, and much more.
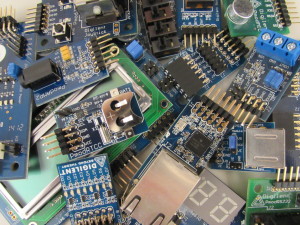
There are two main categories of Pmod interface that are available: the original peripheral modules with 6 pins (or a stack of two 6-pin sets for 12 pins) and an interface that uses the I²C interface. In the early days of Digilent, peripheral modules that used the I²C interface were to be called Imods, since the I²C interface only uses 4 pins (or 8 if two 4 pins were stacked together) which does not nicely coincide with the original line of peripheral modules in terms of number of pins. However, considering that Digilent was still a fairly new company, it was decided to release the “Imods” under the same name of Pmod with the other peripheral modules.
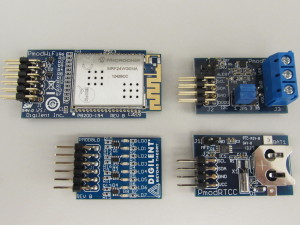
All of the Pmod headers are designed very consistently with the standard 100 mil (0.1 inches) pitch between each of the pins and a total width of 0.8 inches. This ensures multiple peripheral modules are able to be plugged directly into the system board without interfering with one another, both physically and digitally.
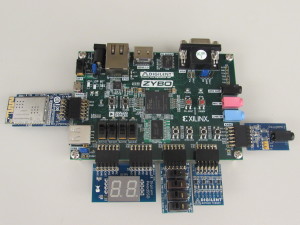
All of the peripheral modules are powered by the host board through the power pin on the interface. The host will be able to power the Pmods at either 3.3V or at 5V power, depending on the requirements of the Pmod. Also, because the peripheral modules may instead be attached to the host by a cable up to 18 inches in length (in case there is a area restriction), the drivers on the host or the peripheral module in general should be able to source or sink at 5 mA of current to ensure that any communication across the cable is accurate.
While we can all agree that Pmods are great, a question still remains–where did they come from?
This takes us back to 2003, when Gene Apperson started developing the first Pmod. He had a pass-through board with a 2×20 pin header on it to be able to connect to one of the early gate arrays. However, very few components use the 36 input/output pins (the remaining four are two pairs of power and ground pins), so if you wanted to attach a component like an H-bridge, you would end up rendering all of those remaining pins useless.
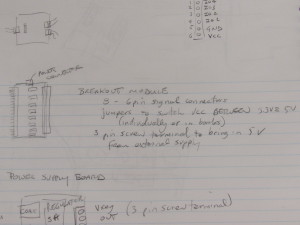
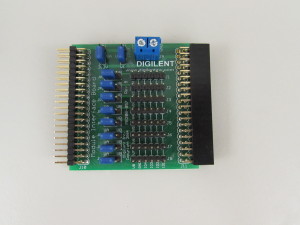
Since this is rather inefficient, Gene decided to add 8 sets of 1×6 pins to the board so that a user could attach 8 different components to the board with their own power and ground pins, as well as 4 available input/output pins, creating what he called the “breakout module”. True to the forthcoming Pmod standard, you were able to switch between 3.3V and 5V power for each set of pins. You can see the original notes and final result of that concept below.
Come back next week to find out more about Digilent’s Pmods!


3 Comments on “Digilent Pmods – an Introduction”