

Hello and welcome back to the Digilent Blog!
I recently had a rare moment of free time and decided that I was out of excuses and that it was time to take the plunge into the world of FPGAs. The main reason (well, excuse) that I was avoiding them was that I kept telling myself that I did not know how to use Vivado, nor did I have any familiarity with writing in a hardware description language (HDL). Perhaps some of you may also be avoiding working with FPGAs for similar reasons. Unfortunately, these are rather flimsy excuses considering that at one point I didn’t know how to use a microcontrollers programming environment or C++, that is, until I took the time to learn it.
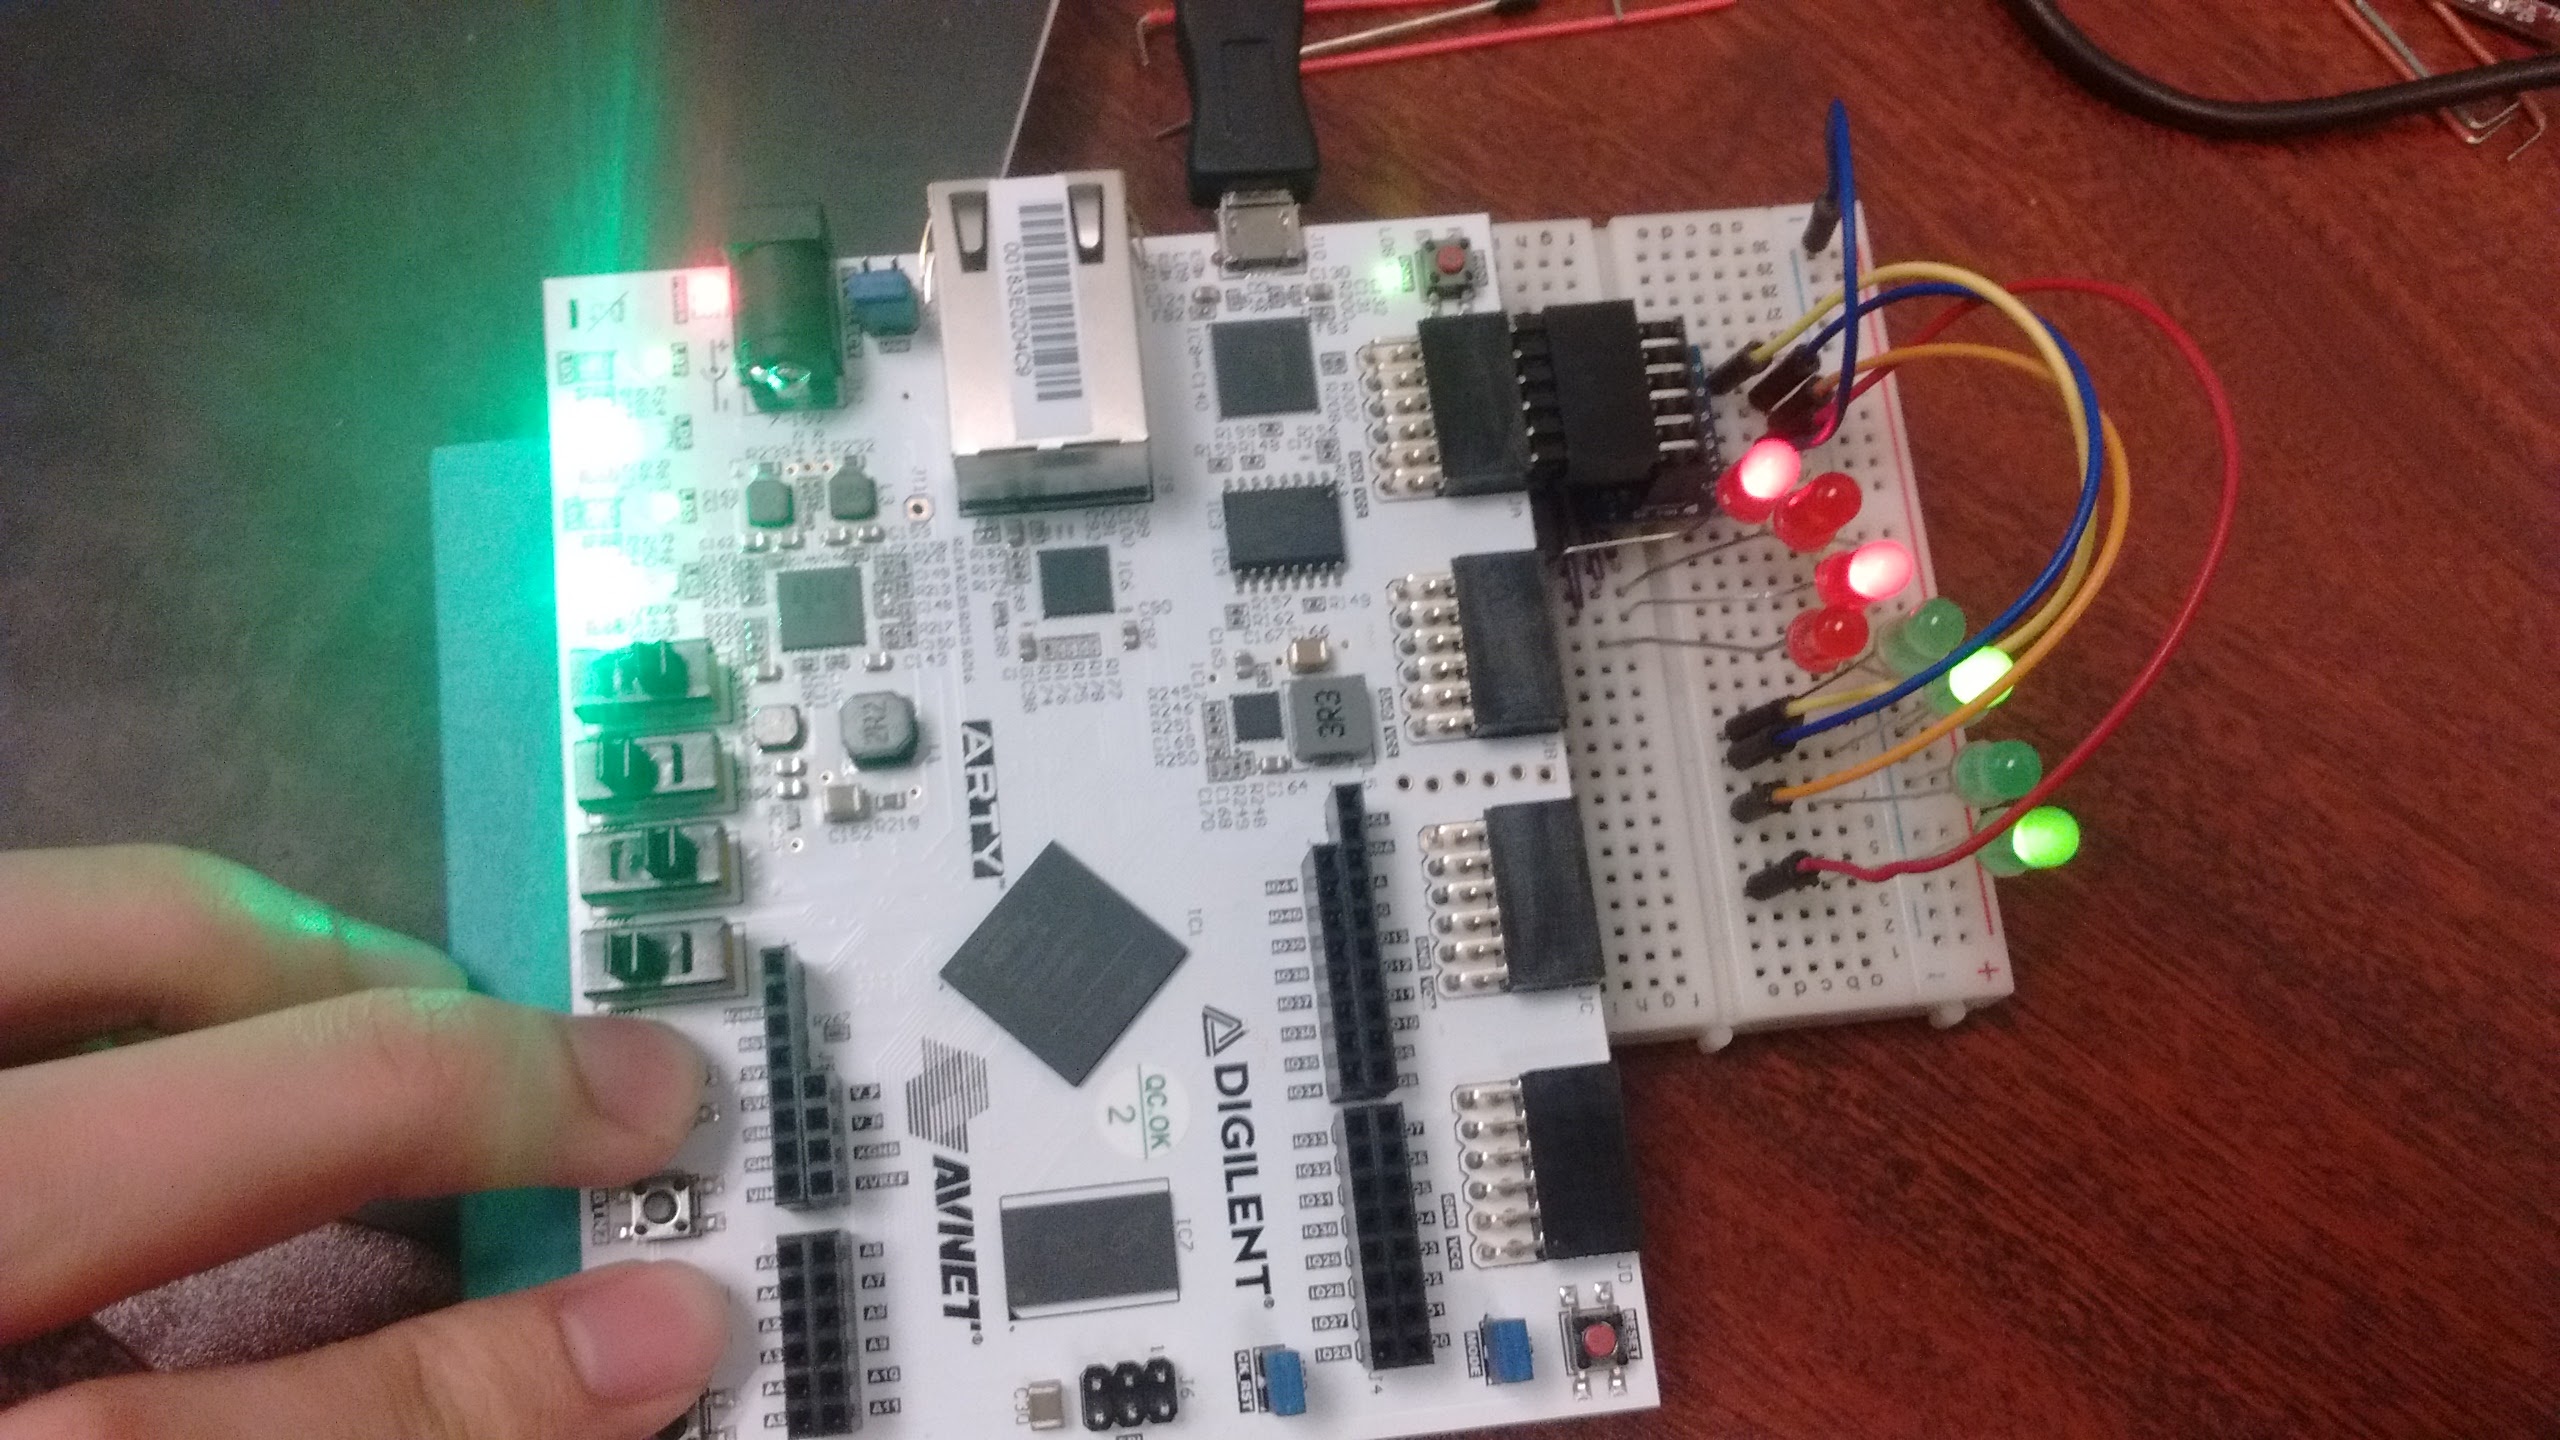
Similarly, I know I could learn to cook if I took the time to practice cooking in the kitchen and learning the various intricacies that are involved (presuming my wife allowed me to experiment in the kitchen). On top of that, I work at Digilent which is renowned for making FPGA development boards, so there are countless learning materials and far more experienced FPGA users that I can talk to if I run into problems. Basically, I had no further excuses to not learn how to use the Arty board that was sitting on my desk.
Okay, so maybe my desk isn’t quite that cool.
Let’s go ahead and get started!
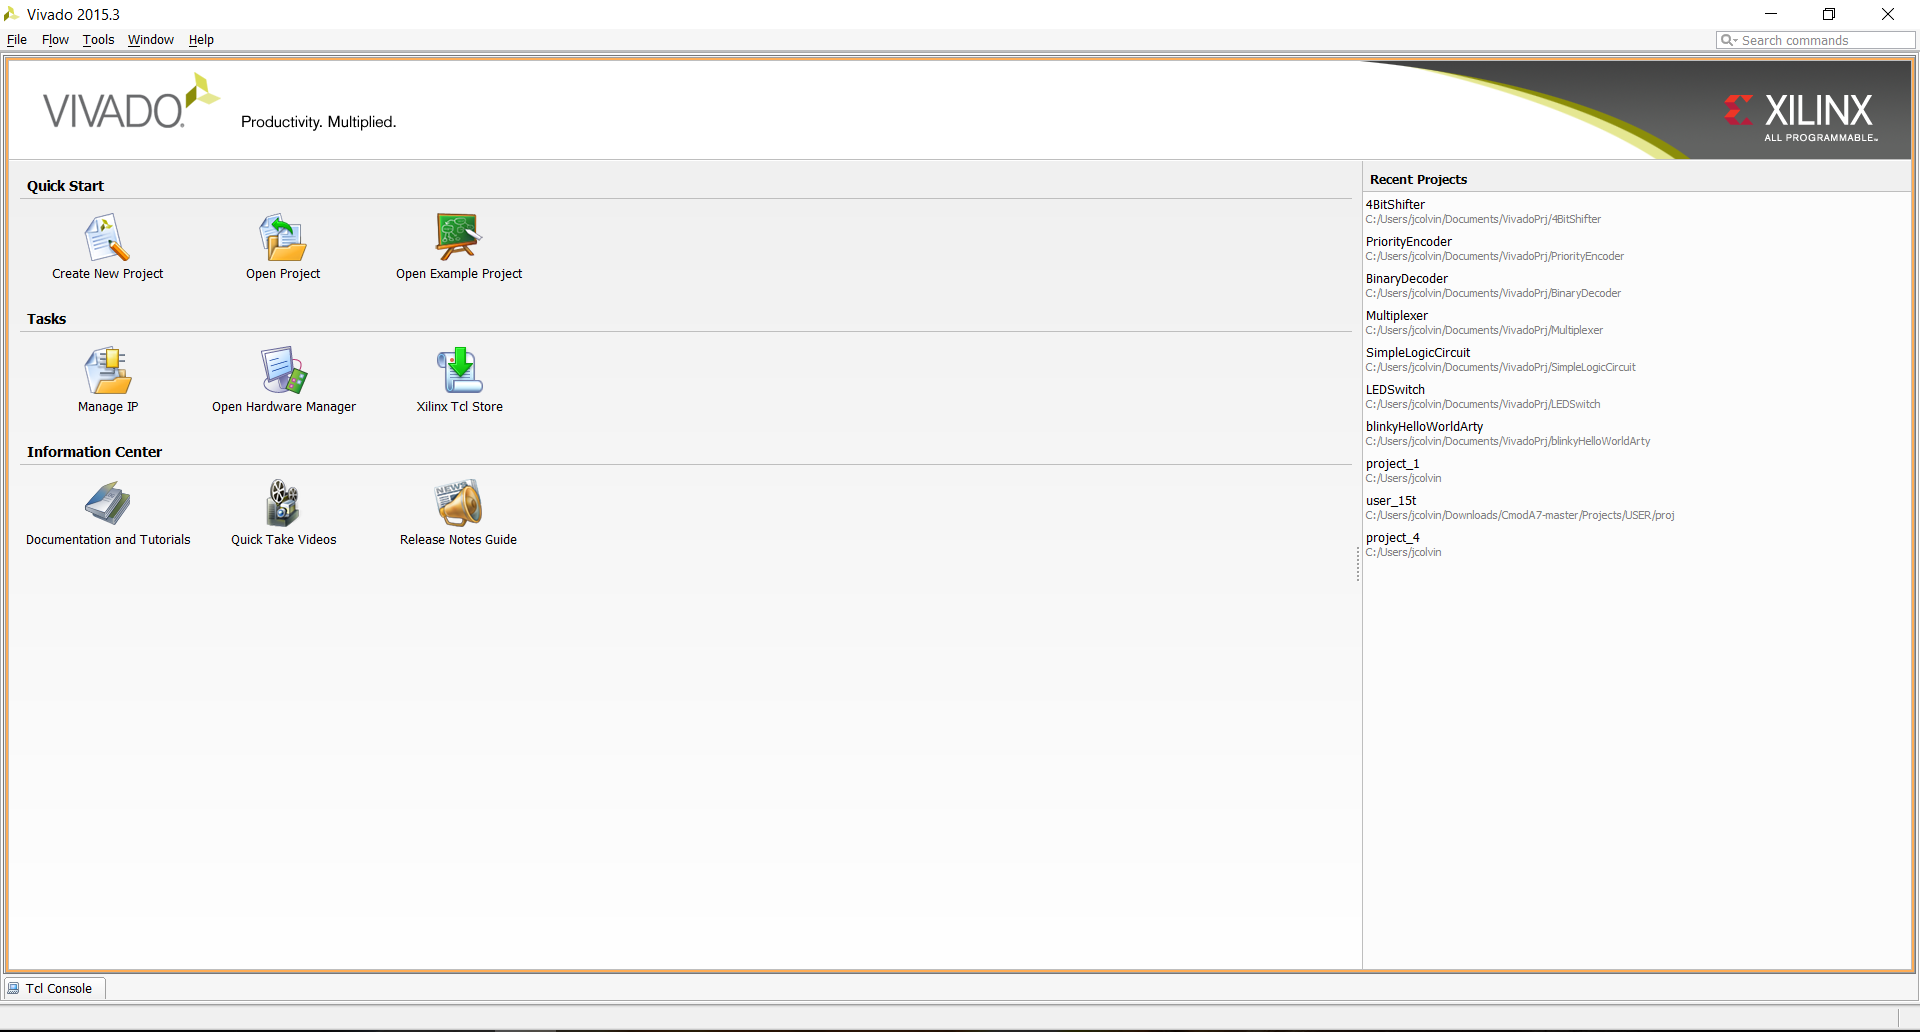
Naturally, before we can use Vivado and program the FPGA (whether it is a Cmod A7, a Basys 3, or a Nexys Video), we need to install Vivado first. I had heard that the installation process for Vivado doesn’t always go smoothly for everybody, so I followed the Installing Vivado guide available on Digilent’s reference site and installed Vivado 15.3. Some of you may notice that this is not the most recent edition of Vivado that is currently available; that’s because I have previously attempted to learn how to use FPGAs when version 15.3 was the most recent edition, but never got any farther than installing Vivado itself. Once Vivado was installed, I double-clicked on the Vivado symbol and encountered a friendly opening screen.
Encouraged that Vivado seemed to start right up, I went ahead and clicked on the “Create New Project” button since that seemed like the most reasonable thing to do and clicked “Next” on the introductory page for the new project wizard that popped up and then chose a location for where to store my “project_1” … so far so good, maybe I was worrying about learning Vivado for nothing. Then I encountered the next screen:
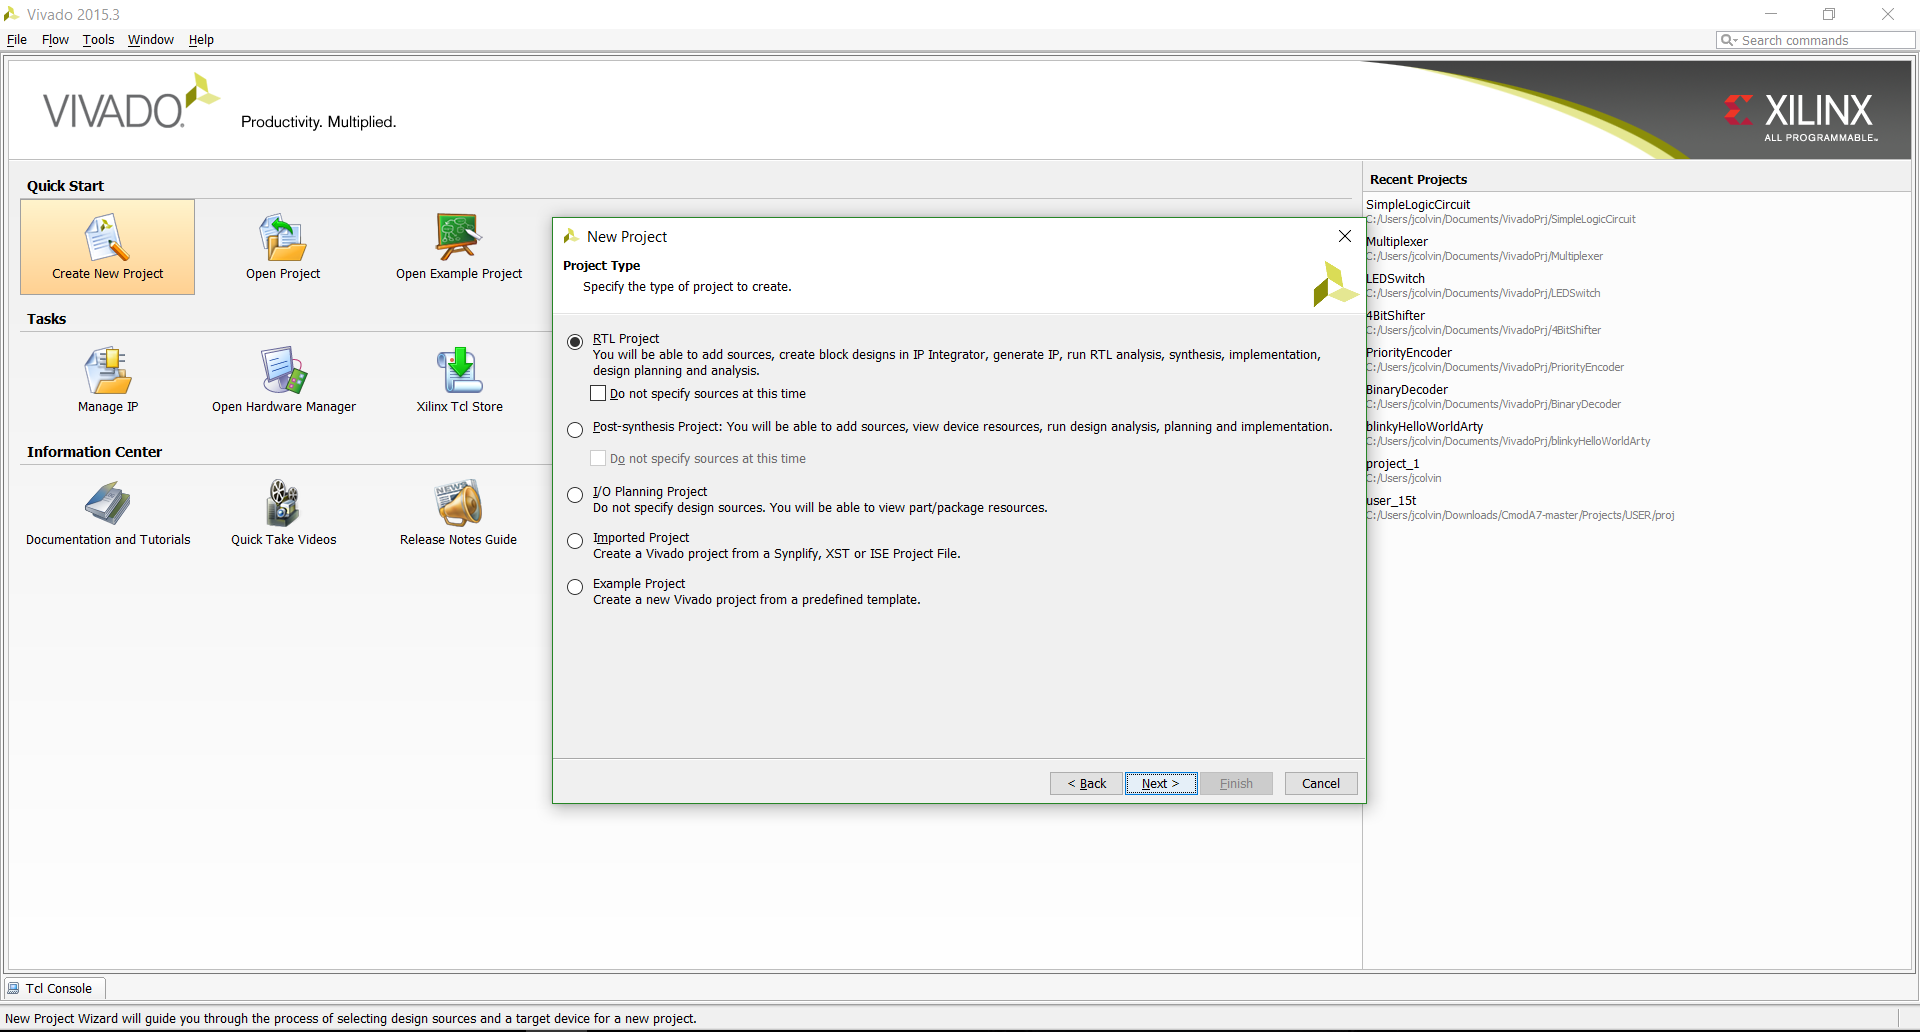
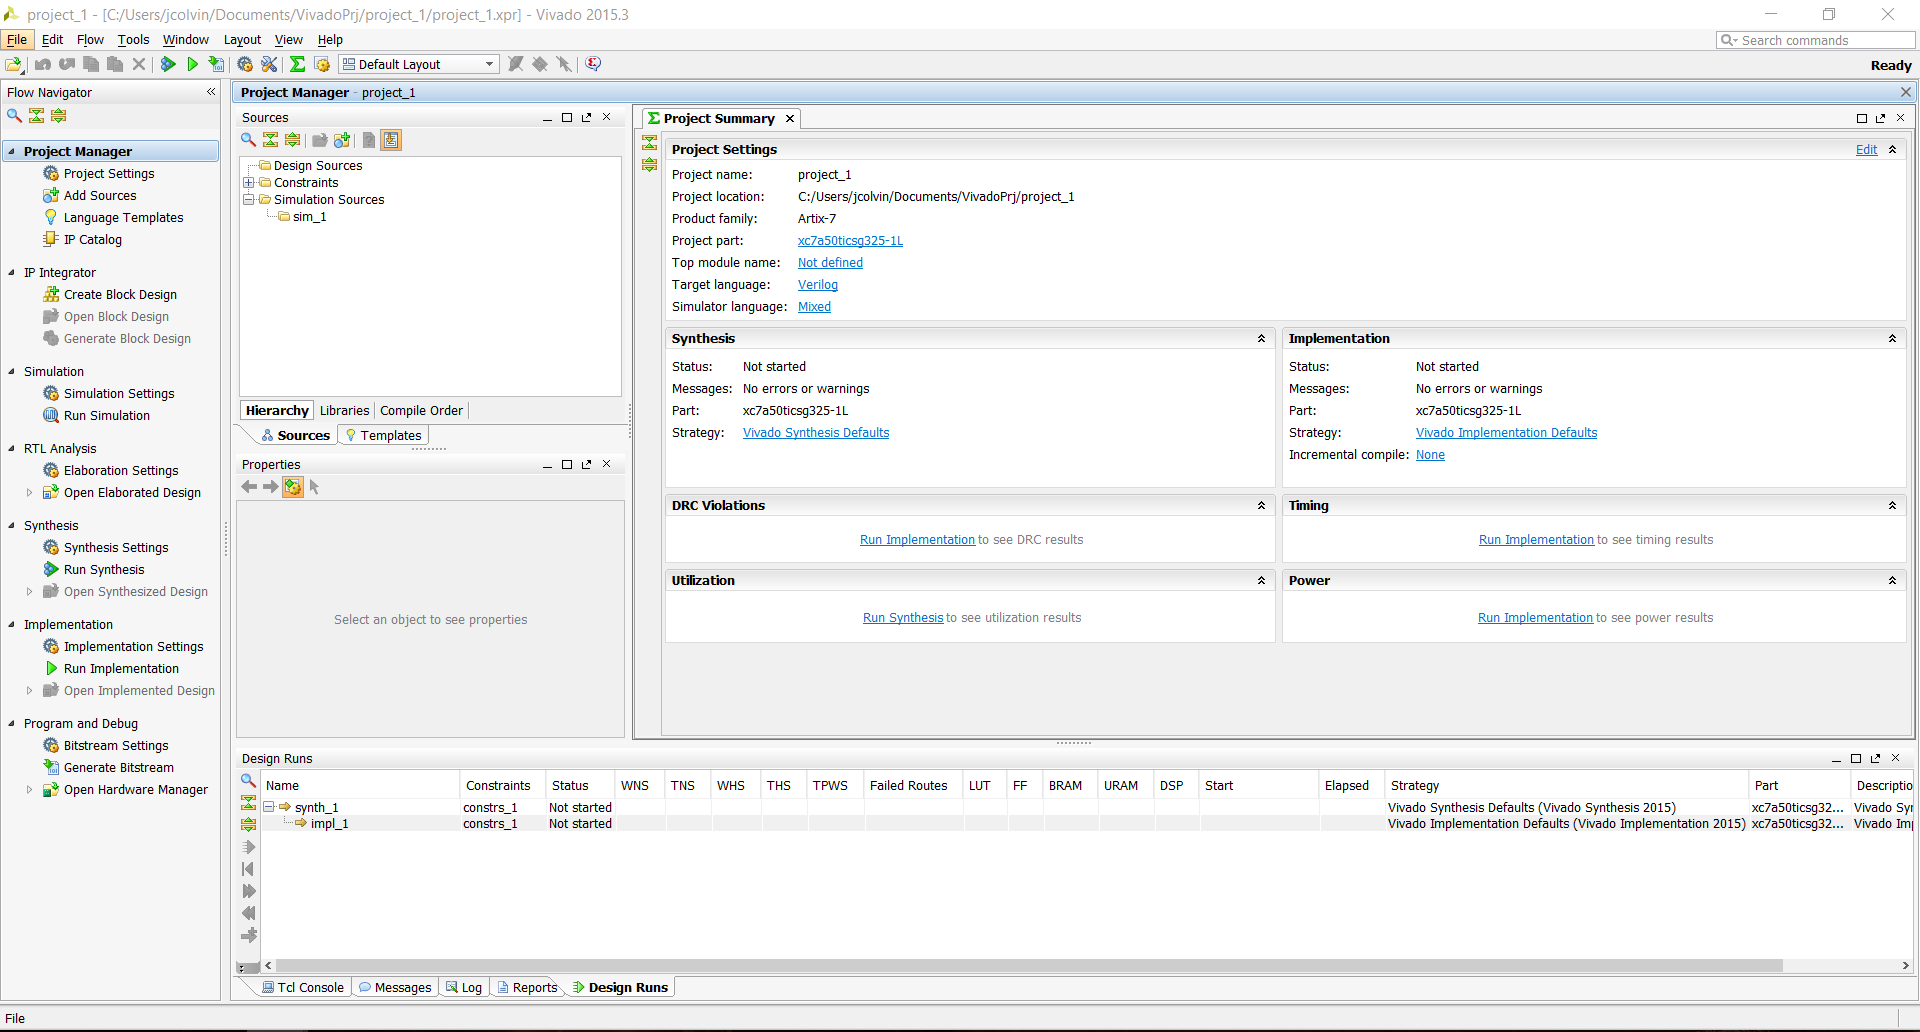
After taking several moments to recover from the fact that I didn’t have any idea sort of project I was going to be doing nor what any of the project names and descriptions meant, I figured that I should try out the default option that was chosen for me. I then essentially skipped the next three steps since I didn’t know what kind of sources or IP or constraints I would need and then found that I need to inform Vivado which board I was using for my project. Not seeing anything listed under the boards tab, I went to the Arty Reference Manual, found the part that it used (a xc7a35tisg324-1L), selected it on the parts list in Vivado, and clicked the “Finish” button on the wizard to arrive at the main Vivado page.
At this point, I was forced to admit that I was not necessarily able to figure out what I would need to do to program the FPGA by myself and needed some outside resources in order to continue on with my endeavor. As you can imagine, I was feeling pretty overwhelmed at this point since I had multiple points in the process in which I did not know what I needed to do, rather than just a single situation where I was at loss. I needed to find a classic Hello, World or blink an LED tutorial that walked me through the basics.
Luckily, I was able to find a Getting Started with Vivado guide on the Digilent Reference Site that walked me through how to properly set up a blinking LED project inside of Vivado, and more importantly explained what each portion of the process does and the various options available to us within Vivado.
With this, I was able to gain enough confidence to go ahead and try out the Learn Modules on Digital Logic that are available on the Digilent Learn site. All of the modules available are designed for Xilinx’s ISE rather than Vivado, but all of the Verilog HDL that is presented is still viable to programming the FPGA.
And so far it’s been going great! I’ve completed multiple projects that are available on the Learn site and am very confident in my ability to set up some logic circuits to run the embedded (or external) LEDs or other simple I/O devices in whatever combination I need. I definitely still have a long way to go in my learning process, but I encourage people to take a few hours to try it out; it’s pretty satisfying to get a simple, but complex looking project working.
I’m looking forward into diving into some other essential parts of the FPGA world (clocks here I come!) when I get the chance and sharing what I find, as well as starting some new projects with these powerful boards!
Hi James,
There are learn modules available for Vivado as well. https://learn.blog.digilentinc.com/list?search=vivado.
Kaitlyn
Hi Kaitlyn,
Thanks for the tip! I’ll definitely be sure to check those out when I get the opportunity. Where do you recommend I go (in terms of resources) if I have a question about the demo code that is provided?
Thanks,
James Colvin
Hi James,
You can go to forum.blog.digilentinc.com and get help from our whole community of users. If you post in the FPGA thread you’ll get the help you need.
Kaitlyn