Sometimes no matter how much you plan on everything going right, things still manage to go wrong. In fact sometimes the best way to prepare for anything involving is to prepare for things to go wrong. This is especially relevant if you are trying to show a project off at a trade show or other event, when attempting to troubleshoot and repair a project, or even during the build process itself!
If you are curious what materials can make up a modern day Macgyver’s toolbox, check out Kaitlyn’s post on what occupies her demo fixing kit.
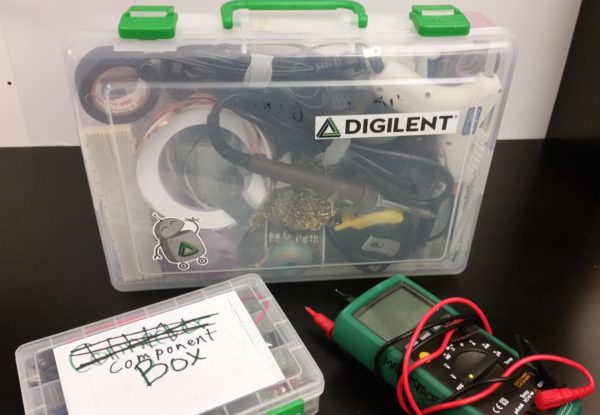
When working with electronics in particular, it can be a fine line between a story of glory and a story of gore-y mistakes. But in this blog post we aim to give some examples of times that we here at Digilent encountered situations that required some quick or clever problem solving, and what worked for us to resolve some headache-inducing, smoke-producing, random-part-using situations.
Kaitlyn: Grasping at Claws
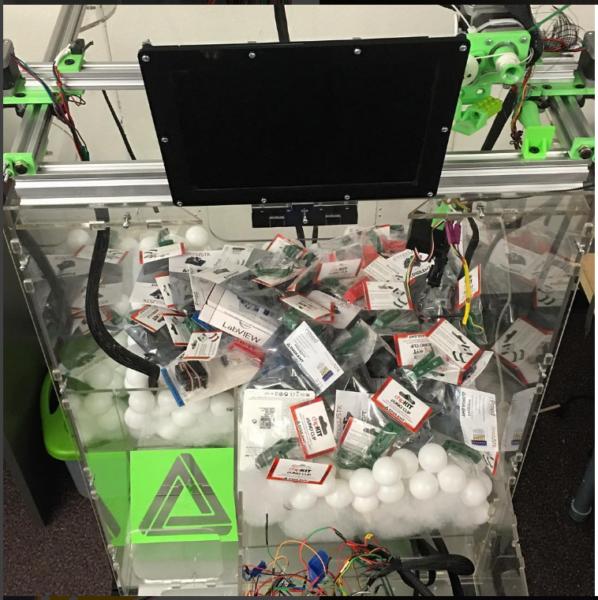
When working with the Claw Game at a tradeshow, we were having a lot of trouble with the cables getting crushed and being too floppy. So on the front right corner is a extra joystick that I glued on, because the Lego piece I made fell off. But it was because the cables got crushed in shipping and wouldn’t stay up any more, which made them floppy and get stuck on other parts of the claw machine during movement so to prevent that I made a little Lego outcropping so the switch would get triggered sooner.
On the part with the spool of thread there are also random 3D printed pieces and Legos glued on because the claw kept turning and sometimes the switch on it wouldn’t trigger. So I made a Lego outcropping that completely surrounded the thread. That way no matter which way it was turned it would trigger the switch. This I glued to the stepper motor that held the spool of thread, and controlled the claw movement.
There was also the time it was shipped to us and arrived in pieces. It was successfully taped back together for the acrylic, and hot glue for the 3D printed pieces, after a night of blood, sweat and tears.. literally. After the show we debated triumphantly throwing it into the dumpster, but we weren’t allowed to.
Quinn: A Monstrous Annoyance
In my Monster Book of Monsters project I was having a lot of trouble making the mouth look the way I wanted it to. I thought about getting a part 3D printed, but that seemed like it would take a lot of time.
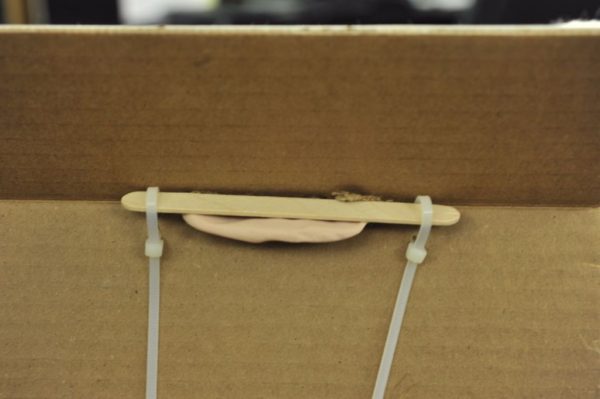
So I used the high tech materials of Zip Ties and Popsicle Sticks… and it worked perfectly!
Kaitlyn: Back to Basys
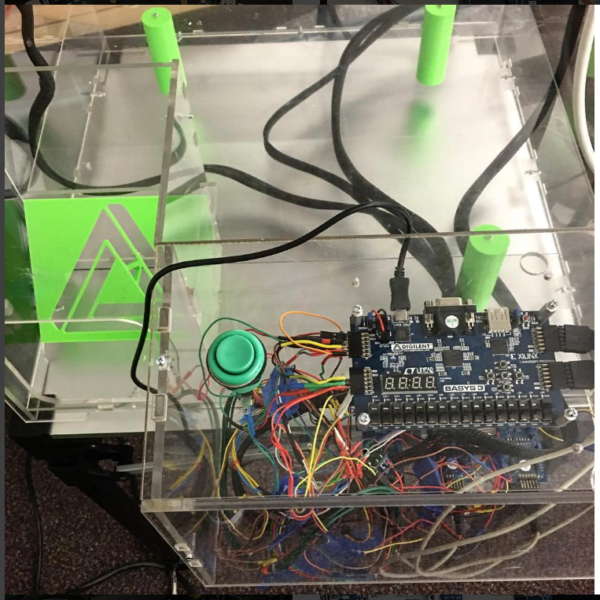
After having the Claw Game at three shows the Basys 3 had seen a lot: shipping, debugging, angrily throwing it against the wall (kidding… maybe). Needless to say the USB port had seen a lot of stress. So at the end of setting up one show I had all the demos running, everything placed and it was time to plug in the Claw Game. I very satisfyingly plugged in the USB cable, and the inside of the USB port popped off the board. So I quickly ripped the Basys 3 off the FPGA board, reprogrammed it, re-plugged in all the wires into the Pmod ports and got it up and running.
BONUS STORY- Kaitlyn Had One Job
When we were developing the Zybot Larissa left on a trip and I was told that the Zybot better be done by the time she came back, and I better not wreck the Zybo. Well, we finished the Zybot by the she got back, but in the process I wrecked a Zybo, specifically I plugged in power supply backwards and fried the regulator. On an unrelated note, at a later note I learned that the Basys 3 is protected against this… we don’t talk about that. Then when I was getting the motors going I accidentally back powered one of the FPGA pins and fried that. So in summary, to build the Zybot, I destoryed 2 Zybos, shorted 2 VRMs, and used a lot of hot glue.
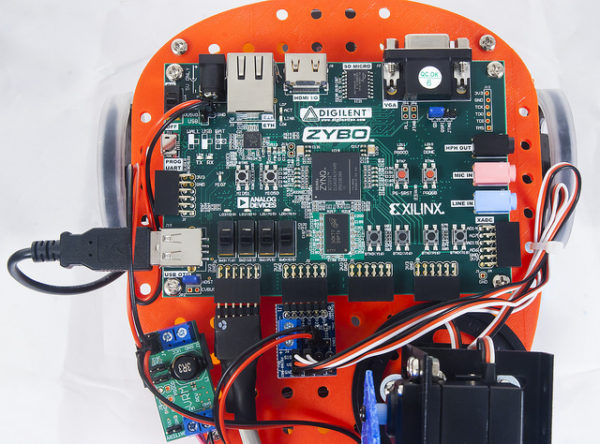
Just remember, it is okay to make mistakes. As they say, necessity is the mother of innovation and nothing inspires immediate creativity quite like something suddenly breaking/catching on fire!

