Microcontrollers can be utilized in a wide variety of applications, including musical applications. In keeping with this theme, I’m going to take a look today at how to create my own adjustable metronome using Digilent’s chipKIT™ Starter Kit.
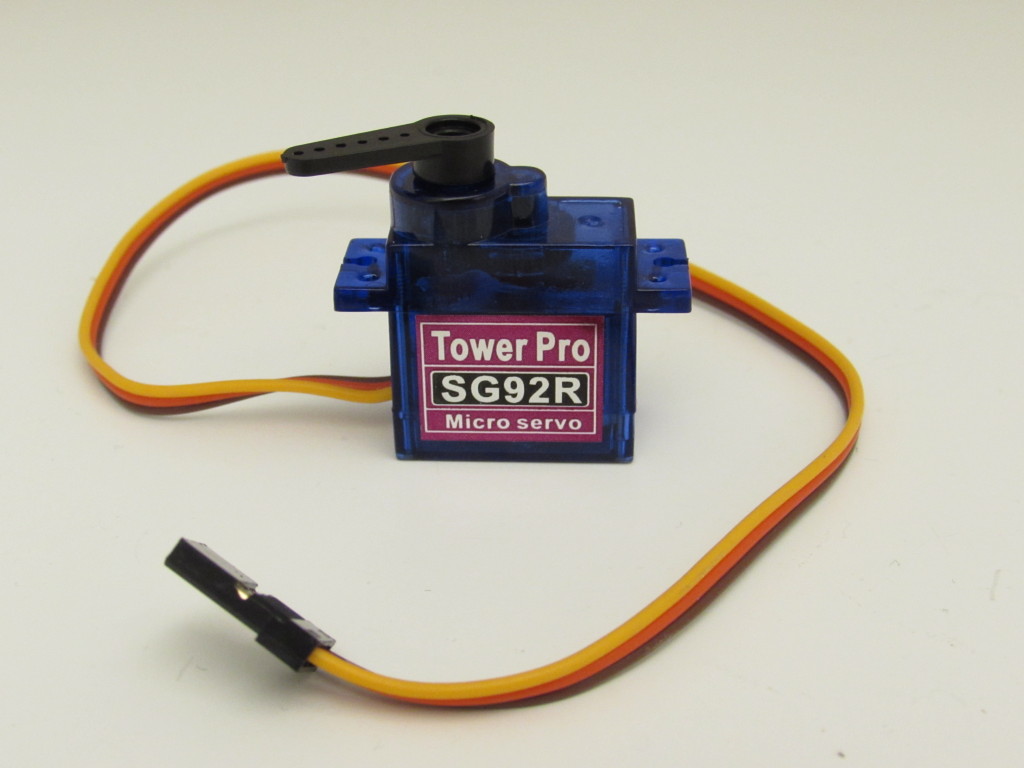
The primary visual piece of the metronome is the servo motor. For those of you who aren’t familiar with servo motors, they are a type of motor that has precise control over where the servo arm is rotated. This is in contrast to a DC motor, which does not have precise control over the amount of rotation but can spin much much faster than servo motors. Our particular servo motor, an SG92R micro servo, is able to rotate between 0 and 180 degree angles. This is perfect for a metronome.
A potentiometer controls how fast the metronome is moving. But exactly how fast (or slow) can it go? According to the TowerPro website, the fastest that the servo arm can move is 60 degrees every 0.1 seconds. Keeping in mind that a “beat” occurs at every 0 or 180 degree angle, and after a bit of math, we can see that this is gives us a maximum tempo of 200 beats-per-minute (bpm), which is a pretty solid pace.
Before we get into how slow our metronome can go, I want to clarify how this works. We won’t physically slow down the servo arm; that’ll always keep going at the 60 degrees/ 0.1 second pace (at least in our setup). What we will be doing is telling the servo arm to move a smaller distance that it is otherwise capable of moving. This means that if we tell the servo arm to only move 30 degrees in 0.1 seconds, it will get to its destination in 0.05 seconds and then wait for another command for the remaining 0.05 seconds. If we give the servo small enough time intervals, this phenomenon will give the appearance that the metronome is moving slower when it really is just stopping and starting a lot.
That being said, we could, in theory, have the metronome go as slow as we want it to. But after talking to some more musically inclined friends, I decided to make the slowest tempo be 50 bpm. This is slower than a ticking clock, so any slower would mean you most likely writing a dirge for your own funeral, which I imagine would not be terribly fun. Hence the lower limit of 50 bpm.

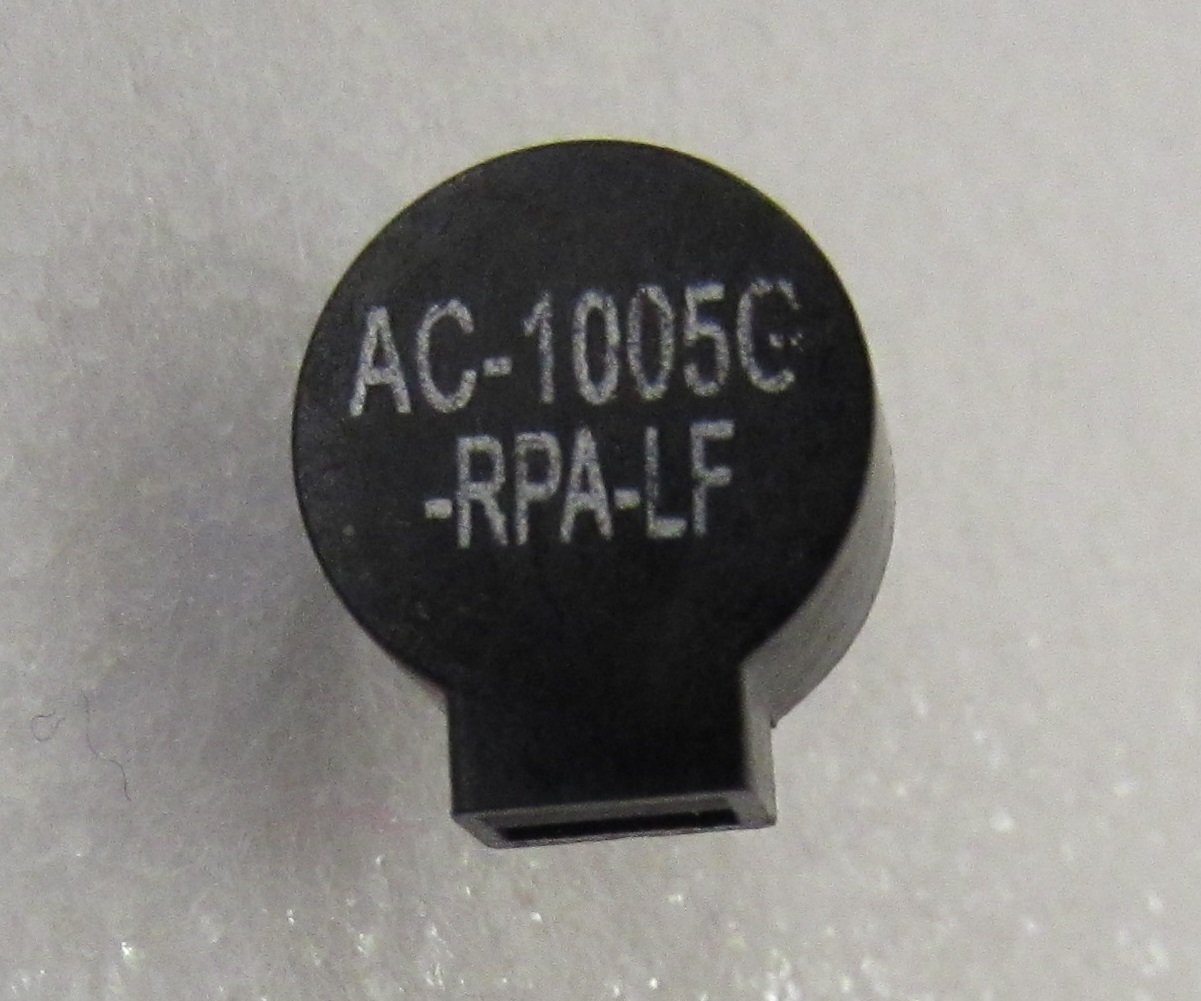
The speaker buzzer is what will create the traditional “tick” that is associated with metronomes. Speaker buzzers work because of the piezoelectric element inside of them. Piezoelectric elements are a type of material that changes its shape when an electric current is applied (or conversely for some piezoelectrics, produce an electric current when pressure is applied).
This phenomenon can be taken advantage of by turning the current to the speaker buzzer on and off at various rates to make the element in the buzzer vibrate and thus produce sounds of different frequencies. You could even make some music with a speaker buzzer! However, we do not want to have the servo motor visibly stopping while the speaker is buzzing at every 0 and 180 degree mark, so we will end up only allowing enough time for the speaker to produce an audible “click”, which is more appropriate for a metronome anyway.
Finally, we can use the chipKIT Basic I/O Shield to display what the current bpm of our metronome is operating at. Check out the demo video for a closer look of the metronome in action.


2 Comments on “Making Your Own Metronome”