Today I’m going to take a look into how to make a digital thermometer using parts from the chipKIT™ Starter Kit.
As Martha mentioned back on May 19th, the chipKIT™ Starter Kit has some components that can be used in some more advanced projects, like the negative temperature coefficient (NTC) thermistor and the seven-segment display which we can use for a digital thermometer. For those of you who might not know or would like a refresher, a thermistor is a type of a resistor that changes it’s resistance in accordance with the ambient temperature. The NTC portion in our thermistor means that as the temperature goes up, the resistance of the thermistor goes down. It is then possible to measure this changing resistance by using a voltage divider circuit and figure out the temperature.
The other component I mentioned, the seven-segment display, is the “digital” in digital thermometer. The Starter Kit’s particular seven-segment has four digits that we can use to display the temperature. However, seven-segment displays work by lighting up one (and only one) digit out of the four available at any time. Although this seems rather counter-intuitive for displaying the temperature, there is a nice trick to use to circumvent this problem. If one cycles through displaying each of the individual digits fast enough, our brains won’t be able to notice that only one digit is being displayed at a time; rather, it will look like they are all displaying at the same time. Pretty convenient, isn’t it?
But back to the temperature. One can convert the voltage drop across the thermistor into temperature by using what is called the B-parameter equation. However, the temperature that is reported is in the Kelvin temperature scale, which if you’re like me, don’t have any real idea of what 300 Kelvin feels like without turning it into something more familiar, like Fahrenheit. Luckily, this is pretty easily done within the MPIDE code. So you can now turn the temperature into Fahrenheit, Celcius, or for the really ambitious, a temperature scale of your own invention!
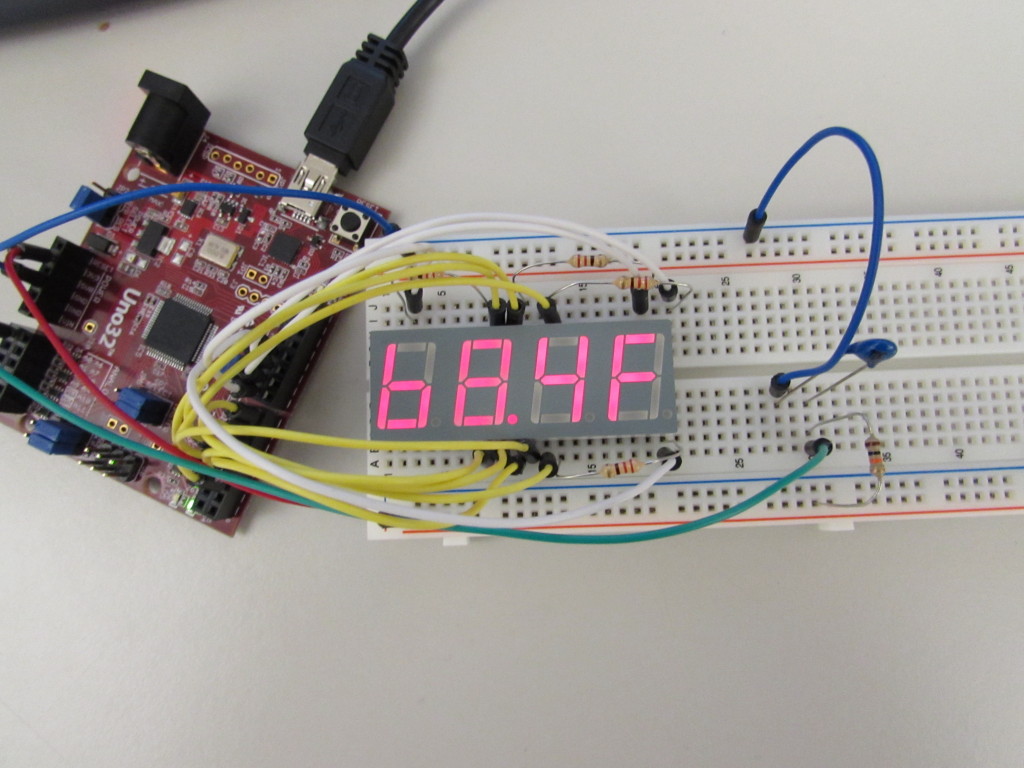
Here’s a picture of the final circuit showing the cozy 68.4 °F here at Digilent.


One Comment on “Digital Thermometer”