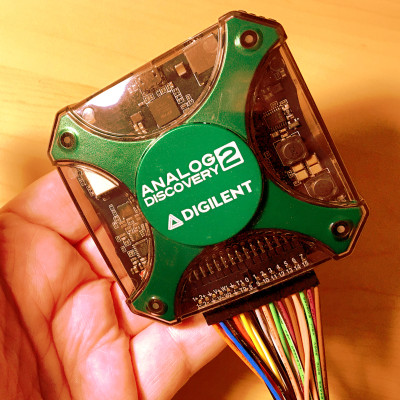
I have heard a lot of talk recently of this fancy new instrument known as the Analog Discovery 2, or even ” The AD2″ (as the kids call it these days). As someone who considers themselves relatively interested (albeit a beginner) in the world of electronics, I have decided to take it upon myself to explore, attempt to learn about, and find use in this mysterious tool. This blog series will document the journey through my personal learning process with this device, as I use the available resources to valiantly attempt to accost this valuable tool into my electronics arsenal.
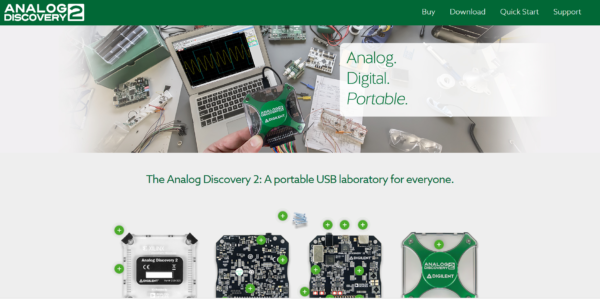
My first step is to fire up the Google machine and set sail to the high seas of the internet to figure out a little bit more about what exactly is this thing. After a cursory search of Analog Discovery 2, I am directed to this crisp looking homepage.

My first question upon encountering this site is basically what exactly would I use this for? Like, what does it do? After exploring the Quick Start tab I encountered the following.
“The Digilent Analog Discovery 2 is a multi-function instrument that comes with everything you need to measure, visualize, generate, record and control analog and digital signals.”
Well then. That seems to be pretty clear, but I still am finding myself wondering… when would I use this device?

Fortunately, in addition to internet access I also have access to the invaluable resource known as Kaitlyn. I sat down with her briefly and got some valuable insight about the many instances in which I would use this device.
Miranda:” So I think I have got the idea when it comes to what the device does and can do, but I am still a little bit confused about what scenarios I would actually use this in. Do you have any ideas?”
Kaitlyn: “The Analog Discovery 2 is useful when you need to understand a project on the signal level, to see if correct values are being sent… for example, I recently used it when my Pmod MIC wasn’t working. It turns out I had set the clock signal as an input not an output and I would not have known this if I was not able to physically see what was coming in and out- thanks to the AD2.”
Miranda:” I recently heard of it being used by a friend of mine for interpreting signals from an old PDA keyboard. He was attempting to do a project with the nifty folding mechanics of the keyboard, but needed a tool to read the signals. I can think of quite a few similar instances I have encountered in my personal hobby experience, so this definitely seems to be a good thing to learn.”
Kaitlyn: “That is a good example of when you could use it! It is certainly a useful tool for hacking and making, or just general electronics exploration and learning.”
Miranda:” It just does so many useful things, where would you recommend a beginner start when learning to use this tool?”
Kaitlyn: “Well if you would like to get started there is a getting started guide, which will take you all the way from opening the box to taking your first measurement. But it overall is definitely my go to tool for electronics.”
Miranda : “Well I am definitely sold, thank you for your help and I will see you later! And by later I mean next time I have a burning question about this tool. So maybe in like two hours.”

My next steps are to order my own Analog Discovery 2, and then in the meantime I will be checking out the WaveForms 2015 software for free!
If you have any questions, or would like some help with your own projects please feel free to head over to the Digilent Forum and ask away. And make sure to stay tuned for the next installment: Taking the First Measurement!


I use the Discovery-2 now, its a very good kit,
if there is any way to up the frequency range to 4 or 6 GHz of the Network analyzer part?
Thank you
Hello!
From what I understand The network analyzer goes up to 10MHz. But if you have further questions please head over to the Digilent Forum and they can help you there!