

We’ve posted plenty of projects before that make use of Vivado. But how do you begin using it? This Instructable provides a guide to getting started with using Xilinx’s Vivado CAD with the Digilent Nexys 4. Alex uses Verilog to create the logic design. The Digilent Intro to Verilog Project provides an introduction to logic design.

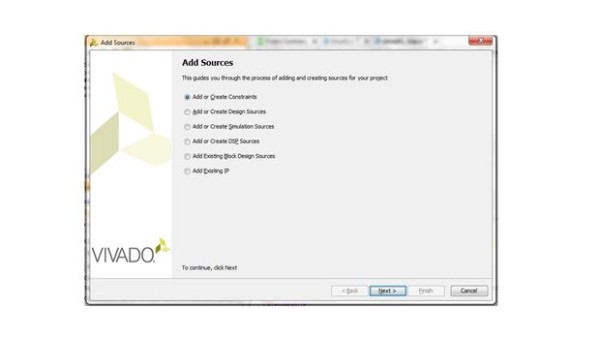
Logic design and Verilog are the bases of this tutorial. This Instructable covers rudimentary steps like downloading and opening the files from Xilinx. Once software has been downloaded, you will open a new project. After creating that new file, you will add inputs and outputs. Alex discusses all the modules and constraints you’ll have to deal with to create a project. Once the software has been calibrated, it is time to target and calibrate the hardware.
At that point, you should be able to run Vivado smoothly on your Nexys 4! If you have any questions, leave a comment here or on the Instructable.