The Digilent Wiki is the host of all demo projects, tutorials and documentation for all Digilent products. If you are looking for information on a specific product, you’ll want to visit that product’s resource center. Recently, we remodeled the resource center of the Analog Discovery 2, and with the introduction of the Digital Discovery, repeated some important features.
Specifically, we have the Getting Started Guide and Tool Walk-arounds. Today I’ll focus a little bit on the Getting Started Guides. As an example I’ll use the Digital Discovery, although you’ll also find a Getting Started Guide for the Analog Discovery 2. The link to each getting started guide is on its respective resource center on the Digilent Wiki.
On the landing page of the Getting Started Guide you’ll read a little bit about the device itself.
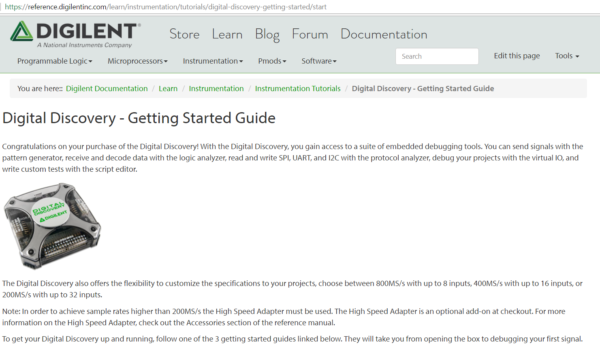
Then you’ll scroll down and select the operating system that you are running. WaveForms 2015, the software that runs the Digital Discovery, Analog Discovery 2, and Electronics Explorer Board, are Mac, Windows and Linux compatible.

Once you select your operating page, you’ll be taken to the correct Sub-Getting Started Guide. You can see all of the steps when you get to the page, and click them to expand.
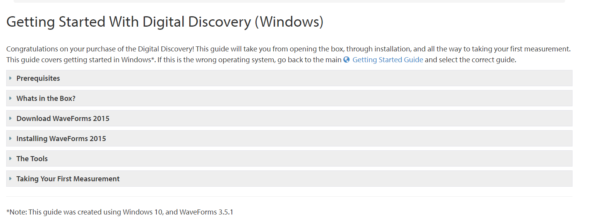
The first step is to check for prerequisites. In general, this will just be an internet connection.

The next step is to download WaveForms 2015, it’s a pretty small download so it doesn’t take too long. Make sure to pay attention to the version requirement, if there is one.

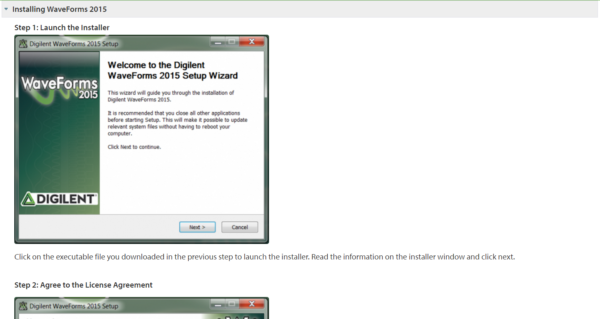
Next you’ll install WaveForms 2015, also super quick. It took me less than 60 seconds to download and install WaveForms 2015 on my Windows machine.
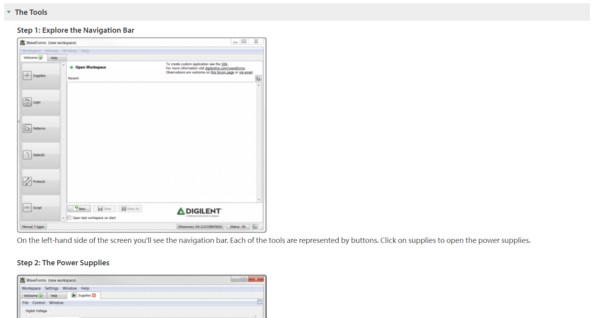
The next step is to learn a little bit about each of the tools. Which tools you have depends on which device you have plugged in.
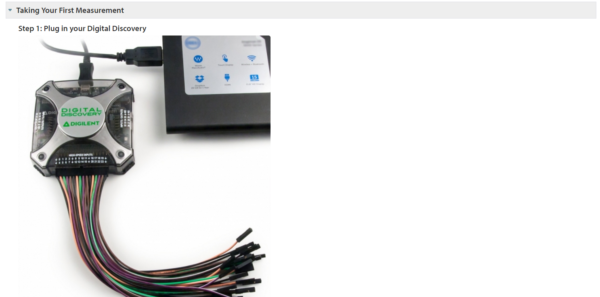
The last step is to take your first measurement. For the Digital Discovery, this involved outputting a counter on the pattern generator, and decoding the decimal values with the logic analyzer.
To view the getting started guides, go to reference.blog.digilentinc.com, click on instrumentation and the device you have. Then click on the getting started guide link in the tutorials section.

