

Recently we launched the Digital Discovery, a high speed debugging tool for embedded projects. On the resource center you’ll find tutorials telling you how to use the Logic Analyzer, but those don’t really tell you why you would use it. One such example is to decode a VGA signal. In this example, I run a script in the Script Editor, that takes the VGA data from the Logic Analyzer, and converts it into an image.
This is just one example of the high speed applications that can be debugged with the logic analyzer and script editor working together on the Digital Discovery.
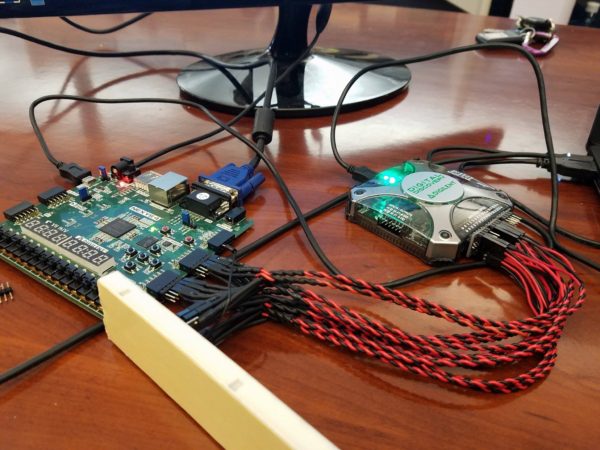
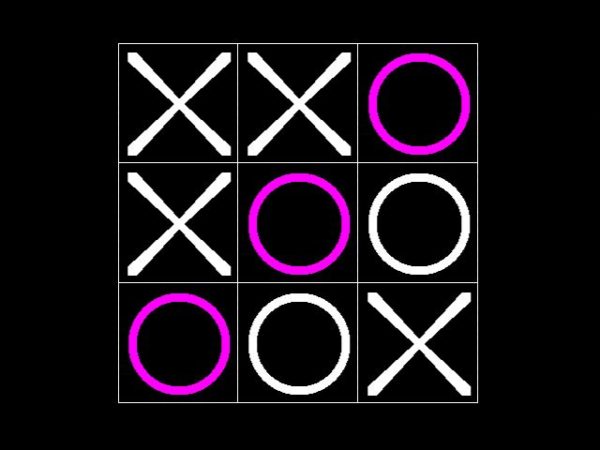
For this example, I have a simple game of Tic Tac toe (written by GitHub user Verdoss) on the Nexys 4. The user plays using the buttons and the game is displayed via VGA. Along with sending the VGA signals to the VGA port, I sent the horizontal sync, vertical sync, and all four bits of the red, green, and blue signals to two Pmod ports on the Nexys 4. Then I hooked up 14 of the Digital Discovery‘s High Speed inputs to the Pmod connectors. Since this application requires selecting 400MS/s as the sample rate, I use the High Speed Adapter and High Speed Logic probes to connect to the Pmod connectors. You can see the whole set up here:
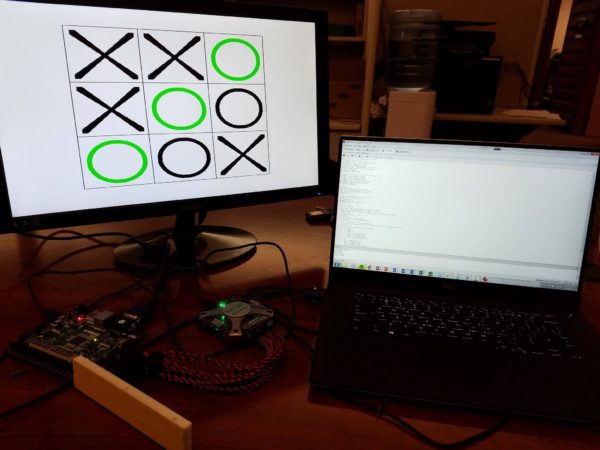
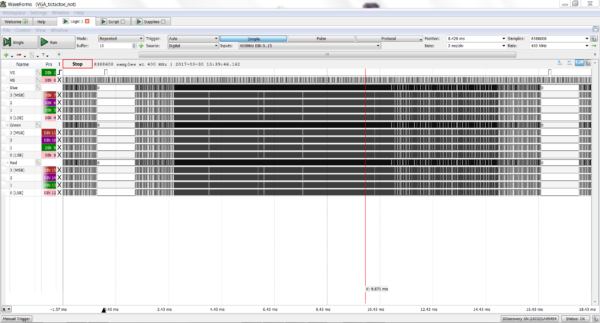
In WaveForms 2015 the Script Editor is used to run a script to control the Logic Analyzer and voltage levels through the power supplies. The script uses the Logic Analyzer to read the VGA lines from the Pmod ports, decodes them and creates an image.
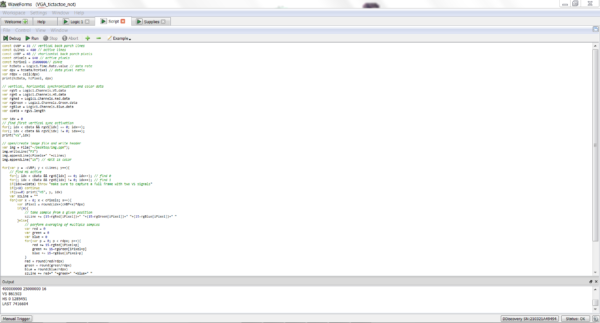
This takes a few minutes. Once it’s done, you can open the image and see what was displayed on the monitor.
This is just one example of the embedded projects that can be aided by the Digital Discovery. To learn more about the Digital Discovery, check out the tutorials and getting started guide on the resource center. For more detailed instructions on this example check out the tutorial on instructables.