

In my project, I used LabVIEW to interface with three Pmod ENC‘s connected to a WF32 to control a LabVIEW project I made called LabForms. This project allows you to access the Analog Scope and WaveGen functionalities of the Analog Discovery 2 through LabVIEW. While the basic version of LabForms works for all versions of LabVIEW after 2014 this particular project only works with LabVIEW 2014.
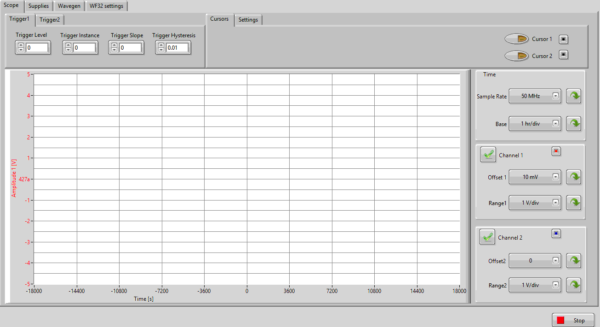
The LabVIEW code uses the LabVIEW driver for the Analog Discovery 2. Refer to my Instructable “Analog Discovery 2 USB Oscilloscope + LabVIEW (2016 update)“, where I walk through the Labforms user interface. The goal of that project was to recreate the results of Digilent Waveforms in LabVIEW.
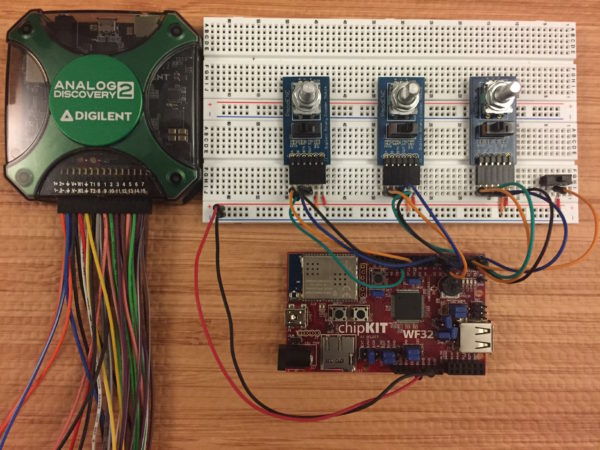
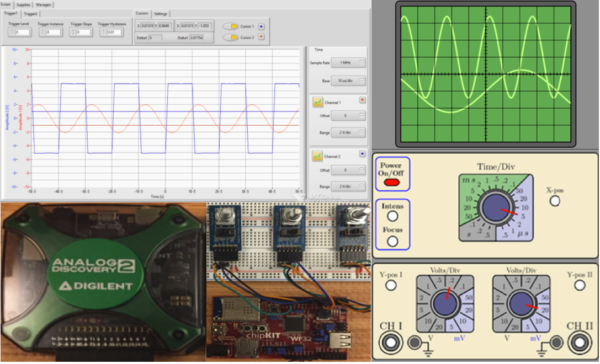
Many people prefer using physical knobs to configure a scope rather than using a mouse. In this project, I will show you how I used Pmod ENC’s and LabVIEW to add physical knobs to the Analog Discovery 2. With these knobs you will be able to control the sample rate, base, range, and offset of both of your scopes.
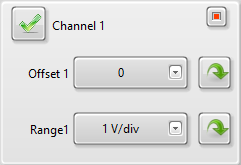
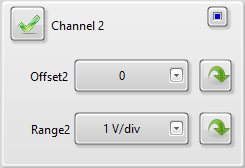
Offset for Channel 1; if it is switched is to the right, it controls offset for Channel 2.
The last knob controls range; if it is switched is to the left, it controls range for Channel 1, and if its switch is to the right, it controls range for Channel 2.
Each Pmod ENC has an integral push button in the encoder shaft. This button toggles between “standard” and “fine” adjustment modes. In standard adjustment mode, when the encoder shaft is rotated, it scrolls through the list of preset options in that specific field.
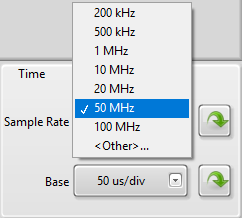
When you switch to fine adjustment mode you will be able to make finer adjustments. If you select the settings tab you can select the size of the fine modes increment.

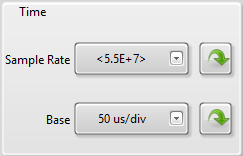
Since sample rate was set to 50 MHz (5E+7 Hz) and its increment was set to a tenth of that value, one click to the right will increase the value 5 MHz (5E+6 Hz) to 55 MHz (5.5E+7).
Thank you for reading my project rundown, and if you are interested in making this project yourself but don’t have the right supplies, you can purchase the LabVIEW physical computing kit with chipKIT WF32. This kit includes a copy of LabVIEW 2014 home edition, a WF32, and everything you will need to run LINX 3.0 and start making projects. As always, please comment with any questions or comments you may have!
That certainly looks very cool. Do you have a video showing it in action so I can see how it performs?
I don’t currently but I am going to film one soon. I will make sure to let you know when I have it finished.