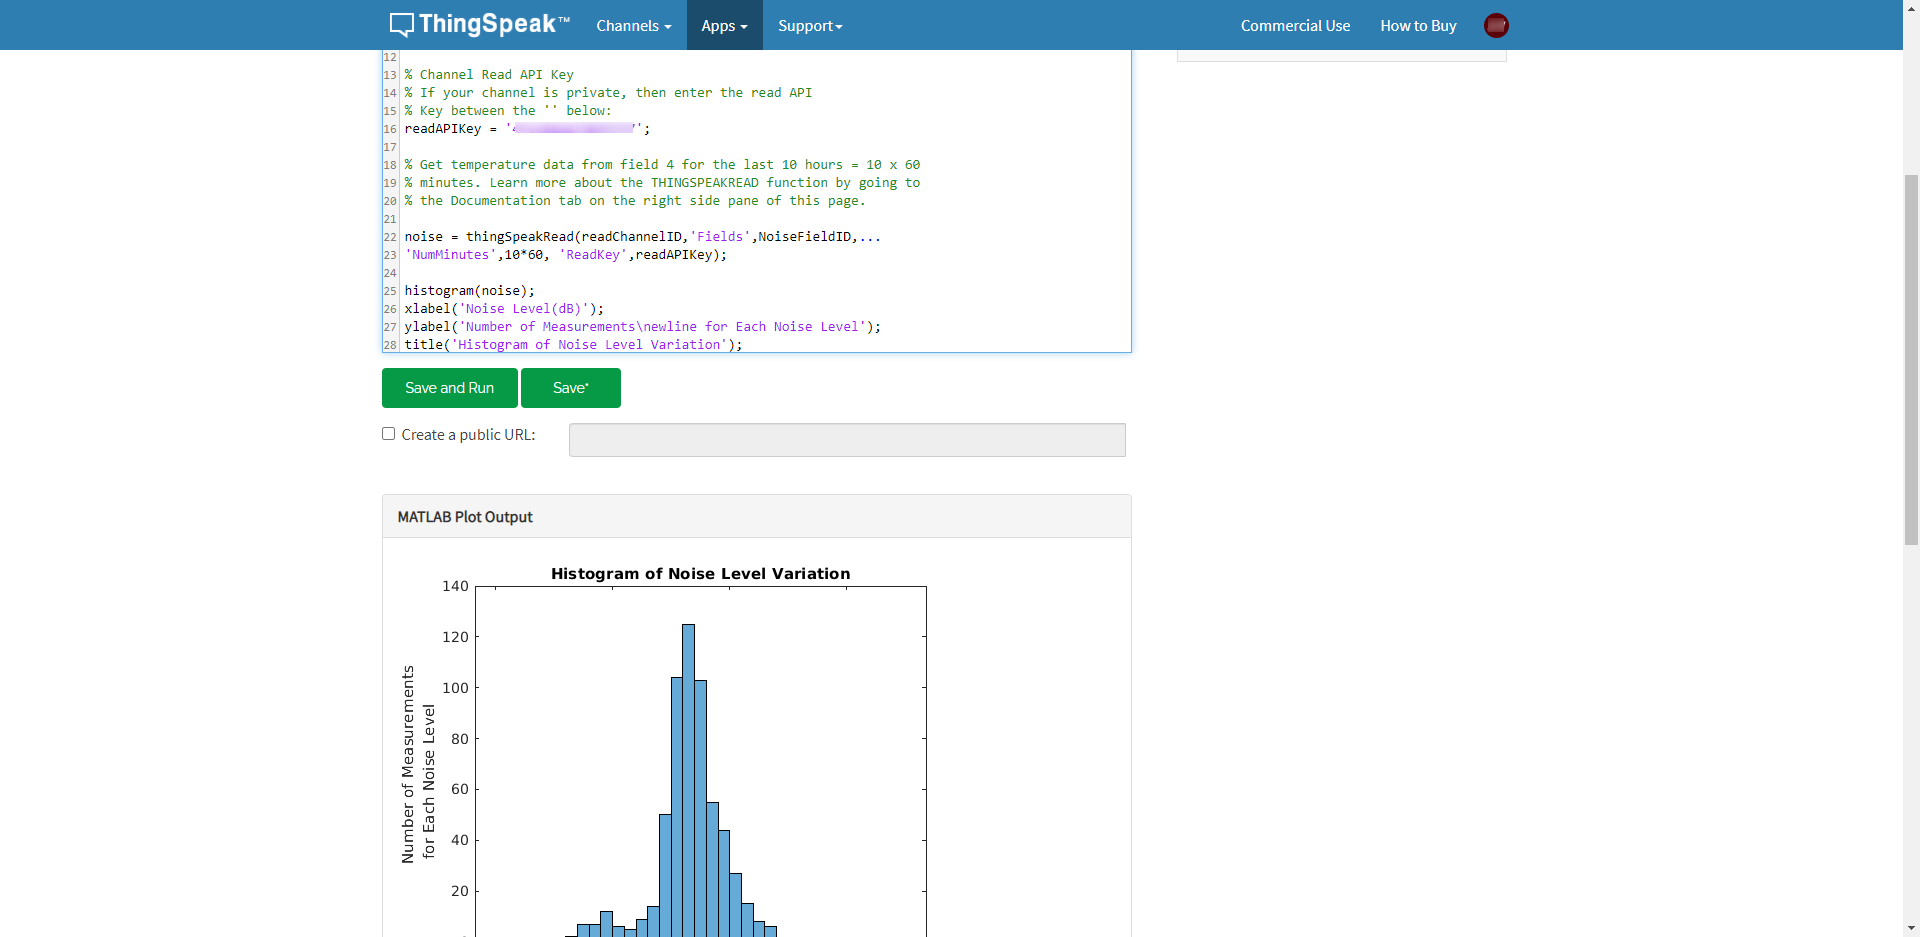
Have you recently acquired a bunch of data and are trying to figure out what to do with it? Using the Analog Discovery Pro 3450‘s (or ADP3250’s, for that matter) unique network connectivity and Linux Mode, you’ll be able to push the data through the interwebs and onto ThingSpeak.com! ThingSpeak, created by MathWorks, is an online platform for collecting, viewing, and analyzing data in the cloud. This guide runs through the steps required to send data captured by the ADP3450/ADP3250 up to ThingSpeak and ends with an example, which uses the Pmod MIC3 to capture a sound wave, then, from the measurements, the Analog Discovery Pro calculates the noise level. The noise level measurements are visualized in four different ways on the ThingSpeak channel.
The first thing(s) you’ll need are a working internet connection, an account at ThingSpeak, and an Analog Pro Device. For this, we’ll use the ADP3450.
Configuring a ThingSpeak Channel
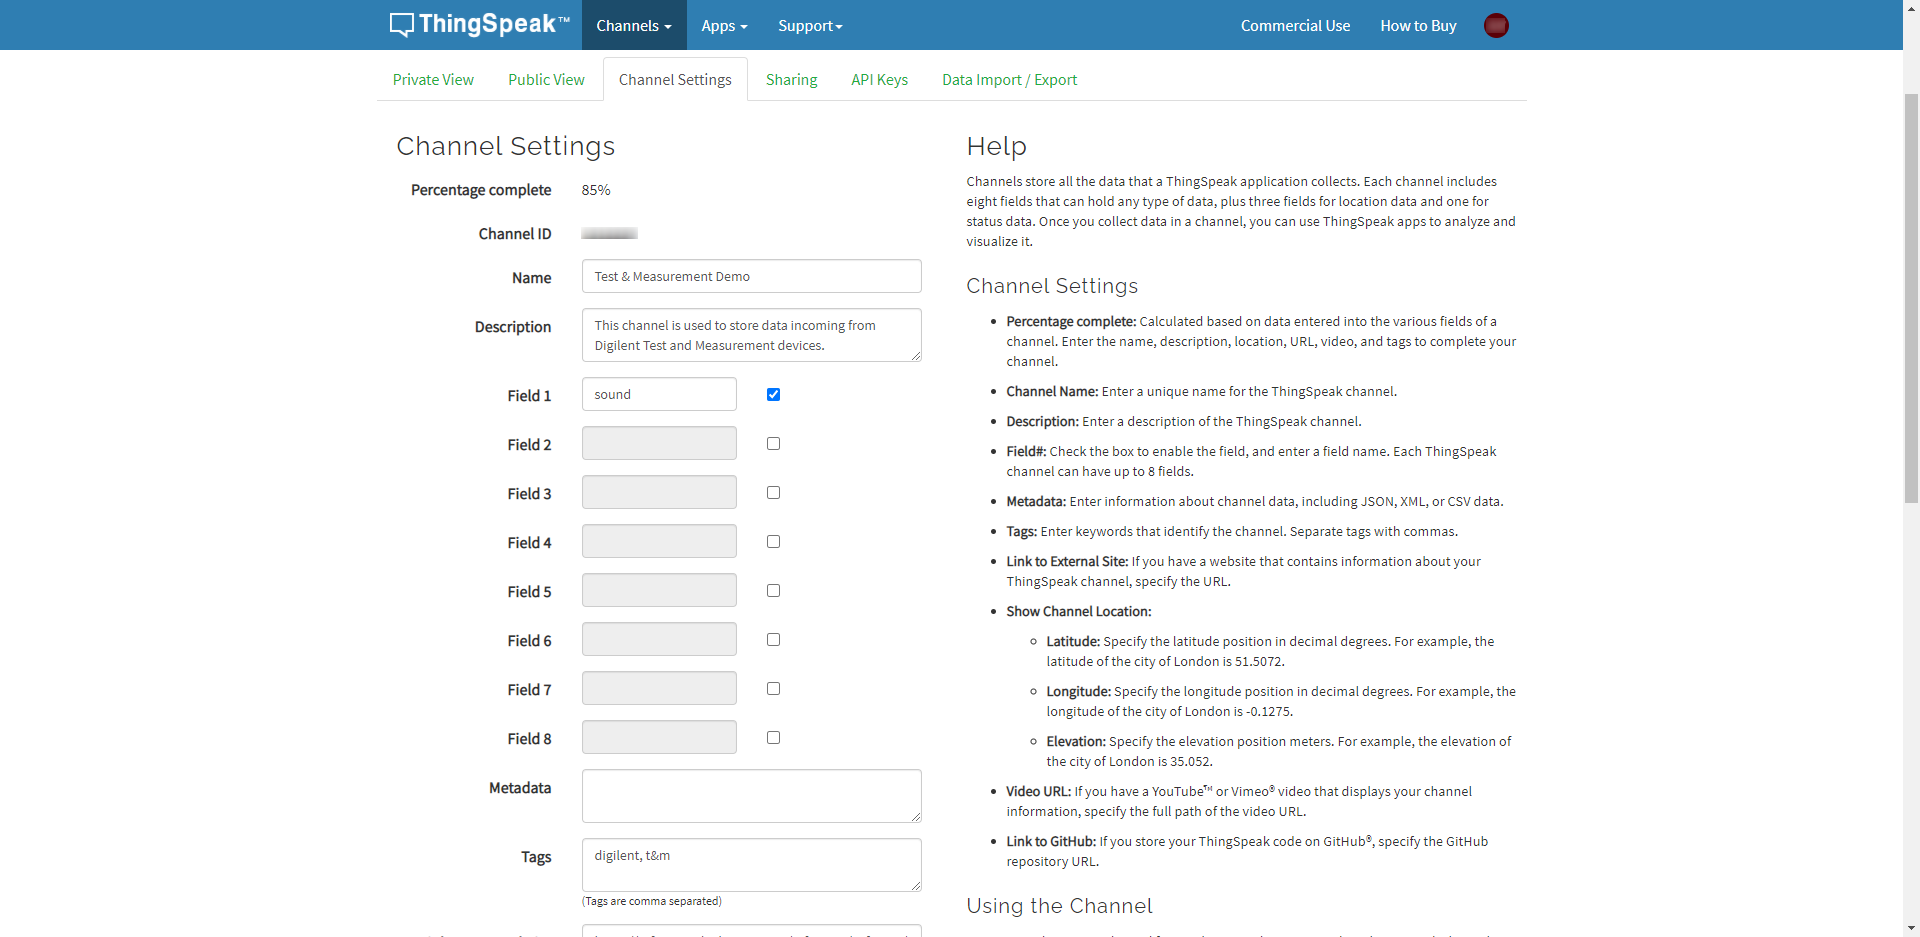
Configure the channel settings, name, and fields. The field will be the containers for your data. Configure a field for every data type that you want to store/process.
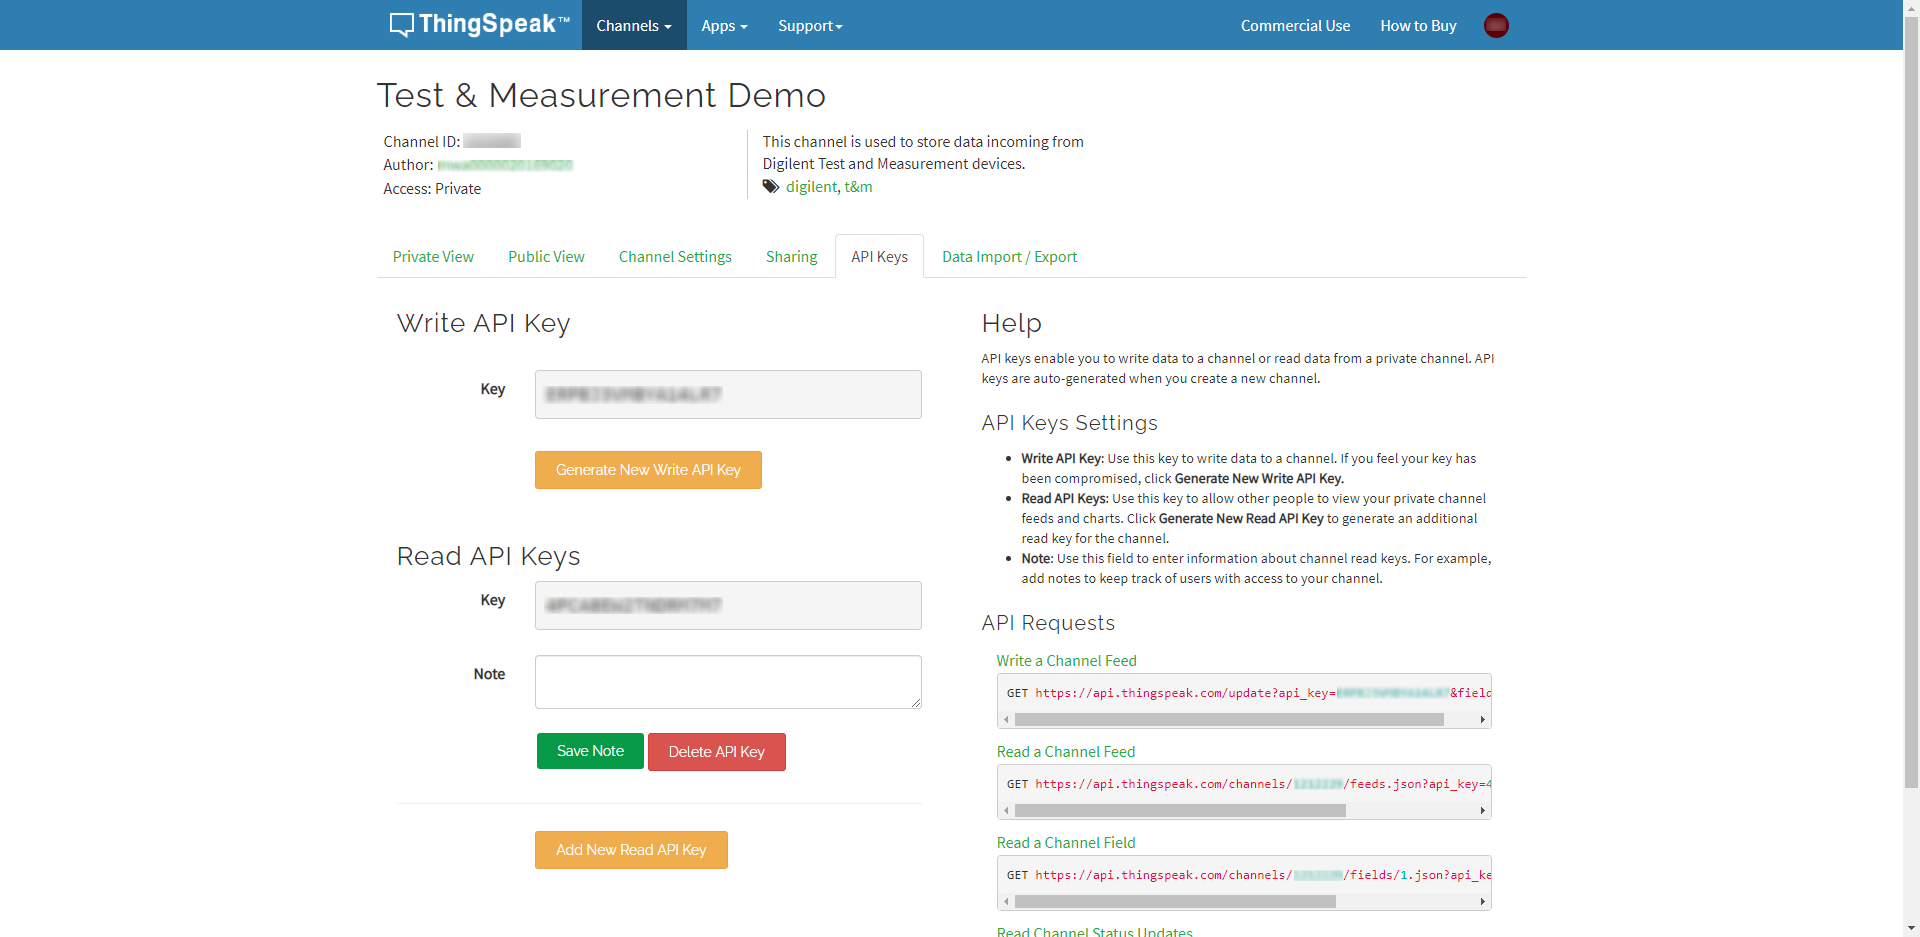
Under API Keys, note the Write API Key that will be needed to push data to the server from the custom application or script. The Read API Key can be used to access stored data.
When uploading data to a ThingSpeak channel, it will be displayed field-by-field on different plots. To modify these default plots, or add other data visualization methods to your channel, you can use the visualization or widget presets, you can modify the MATLAB code of the default plots, or you can write your own code to visualize the data.
To make your visualizations/data publicly available, go to Sharing and select the option you want to set. “iframe” tags can be used to embed graphical elements from ThingSpeak into your webpages.
Hardware Overview
The Pmod MIC3 communicates on a SPI interface which will be connected to the Analog Discovery Pro’s digital I/O lines as follows: SS to DIO line 0, MISO to DIO 1 and SCK to DIO 2. Power to the Pmod is also supplied by the Test and Measurement device used, so the VCC pin of the Pmod should be connected to the VIO pin on Analog Discovery Pro, and the grounds of the two devices should be connected together, as shown in the image to the right.
Prepare a FAT/FAT32 USB drive (while this is the default format for many USB drives, you may need to format it). Copy the Python script (PmodMIC3_to_Thingspeak.py) to the USB drive’s root directory. You can also use your own Python script as well, just copy it to the root directory of the USB drive. Plug the USB drive into the back of the Analog Discovery Pro. As always, before using a Test and Measurement device, it needs to be connected to the host computer. To safely connect it, cases in which the device is used by other software, or is not available from some other reason, should be evited.
Preparing the Script, Running It, and Getting Results
For the entire rundown of getting this project running, read the rest on our ever-so-helpful Resource Center: https://reference.digilentinc.com/reference/instrumentation/analog-discovery-pro-3×50/linux-thingspeak-demo


The link to thingspeak seems broken
Fixed! Thanks for pointing it out!