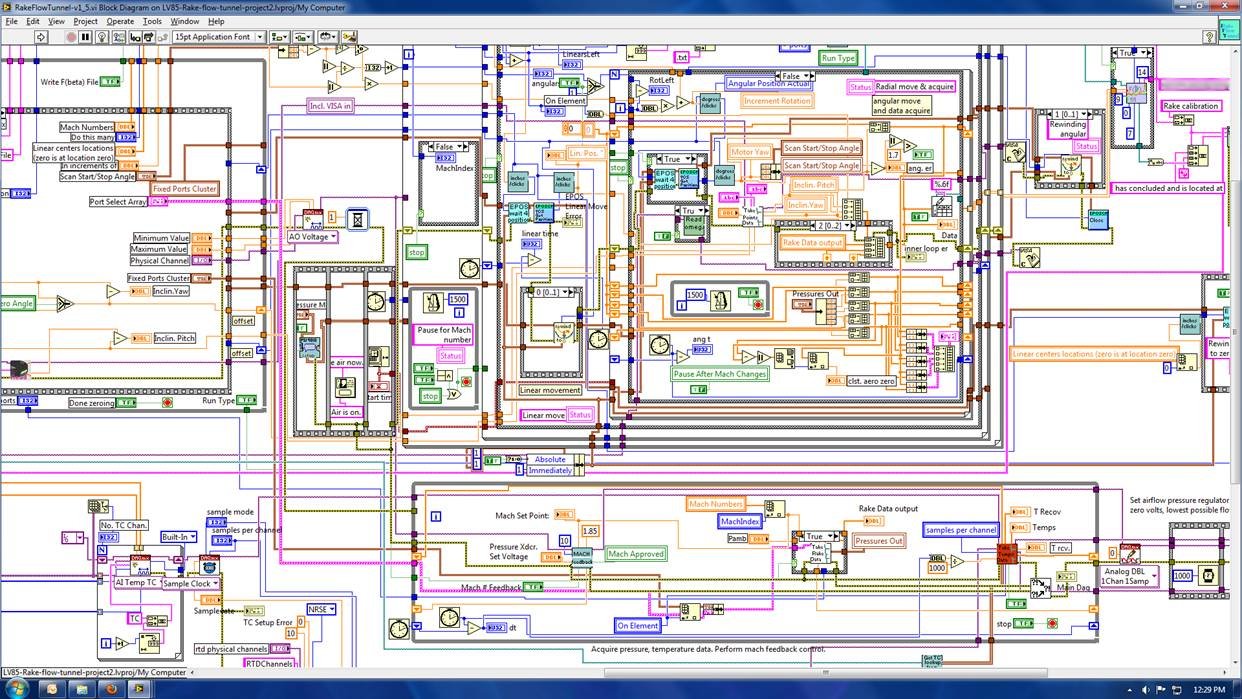
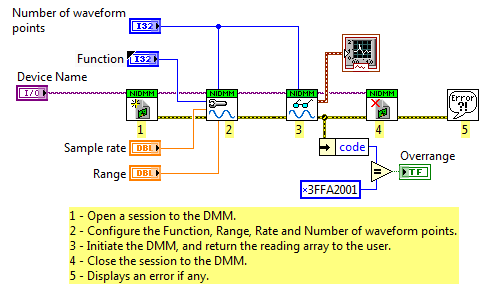
As with any programming language, especially one that is used in as many different countries and on as many different computing platforms as LabVIEW, there’s no substitute for good programming style. Style helps programmers write better code that is easier to use, maintain, and review. When I first started coding in LabVIEW I read a two-part article published by NI called “Rules to Wire by“, this article contains 44 rules for coding in LabVIEW. In this blog post, I summarize some of the most important rules for people just starting with LabVIEW.

Design first, code second.
I know you that have heard this tip numerous times before, but it’s because it really works. Sit down with a few sheets of paper and write what your users require the program to do. Also, draw out what you want your user interfaces or panels to look like. Most importantly, don’t even think about LabVIEW while doing this. In essence, you are creating a Software Requirements Document. The important thing is to know what you ultimately want to achieve.
Plan for reuse
Of course, now that you have written this bit of working code, don’t just throw it away — save it! You might need it again on this or the next project. These also make great examples for new coworkers or anyone else who may need to take over your code in the future. I used to never save test VIs and found myself spending a lot of time recreating them. Considering the cheap cost of megabytes and gigabytes nowadays, there is just no reason not to save. Therefore, save test VIs where appropriate. Make VIs that can stand alone and be reused elsewhere. You should keep notes on what is clever and useful (such as particular control and indicator combinations to achieve special effects).

Keep it clean
No matter what else you do, try to keep your code neat and clean. Not only does this make your code easier to follow for the next person, but neat code is usually good code. In the act of keeping things clean, you will find that you are less likely to make mistakes or forget something. If all of your connector panes are constructed and laid out similarly, wiring becomes a snap. The output on the right of one VI directly connects to the input on the right of the next one. If the connector panes have the same number of terminals, no bends in the wire will be needed either. Never route a wire behind anything!
Comment, comment, comment
As LabVIEW programmers, but there is no substitute for good comments in all of the code that you write. Comment all tricky code, tough algorithms, custom utilities, and so on. Good comments don’t repeat the code or explain it. They clarify its intent. Comments should explain, at a higher level of abstraction than the code, what you are trying to do. Remember that the person who looks at this code six months from now might be you! Anything added now will make that time go so much smoother.
Thank you for reading my blog post, If you need more tips check out NI’s article “Rules to Wire by“. If you are interested in trying out LabVIEW for yourself, you can purchase a copy of LabVIEW 2014 Home Edition which includes everything you will need to run LINX 3.0. Please comment below with any questions or comments you may have.


Thank you so much for sharing this info. I Need to learn Labview quickly.
That was quite useful even for a beginner.
Thank you!