

I recently wrote an Instructable where I used a Raspberry Pi to control a WF32 over WiFi. Today I will share an extensive guide on how to set this up for your own applications!
Step 1: Connecting WF32 to WiFi
-
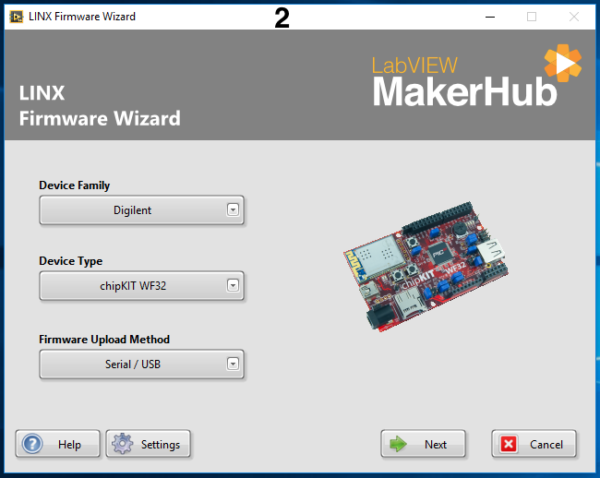
Launch the LINX Firmware Wizard.

- Choose the chipKIT WF32.
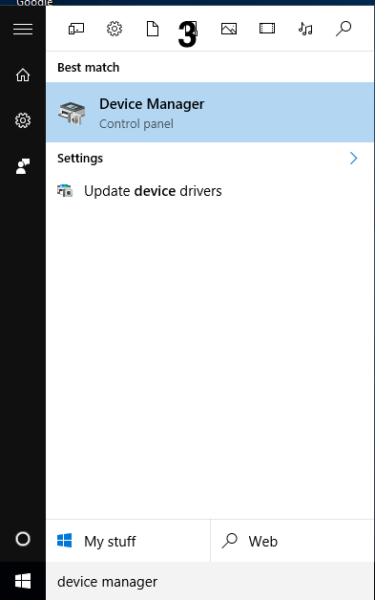
- Go to Device Manager.
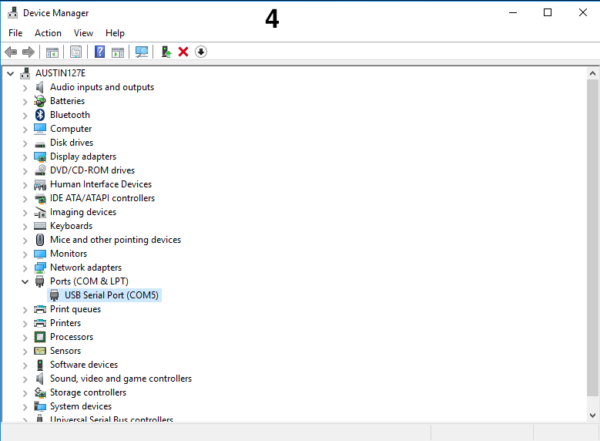
- Click on “Ports(COM & LPT)” to find the WF32’s COM port.
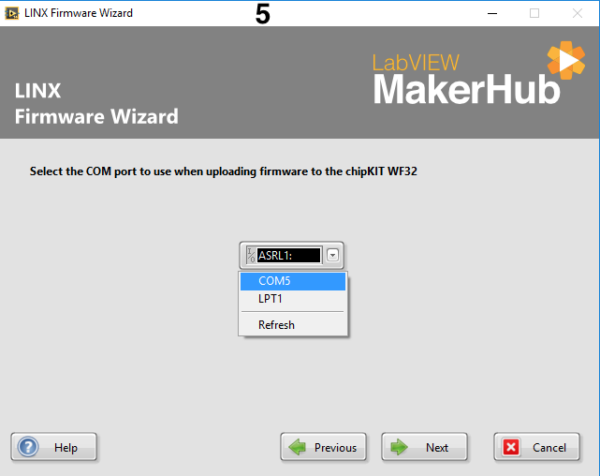
- Select your devices COM port.
- Configure the network settings:
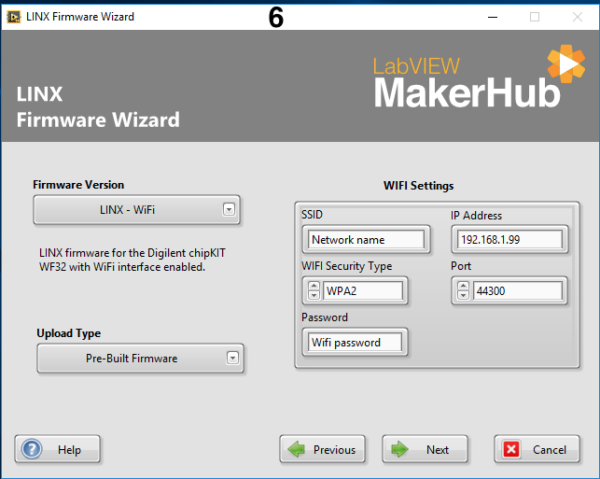
- SSID is the name of your network.
- Assign the chipKIT WF32 an available IP Address. You will need to specify this IP address again later as an input to the LINXInit VI.
- Select the Port to use; unless you have reason to use another; you should select 44300.
- You will need to specify this IP address again later as an input to the LINX Init VI.
- Specify the Wifi security type and passphrase.
- Note: It is recommended that you disable network security to start and then re-enable it after you confirm the LINX connection is working.
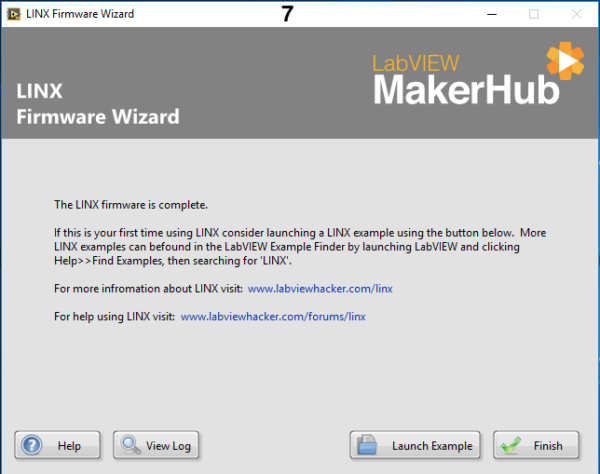
- Click Launch Example.
Step 2: Raspberry Pi Setup
- Download a Raspbian image here.
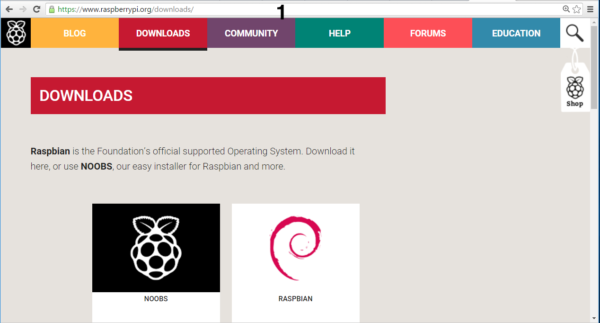
- LINX was developed using Raspbian Jessie.
- Click the Download ZIP button under the RASPBIAN JESSIE image.

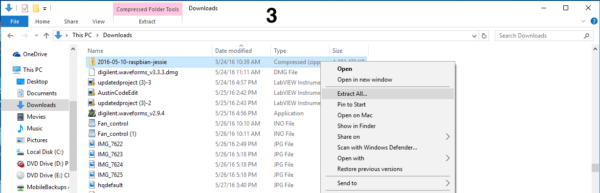
- Extract (unzip) the Raspbian image.
- Google win32diskimager and click on the top link or click here.
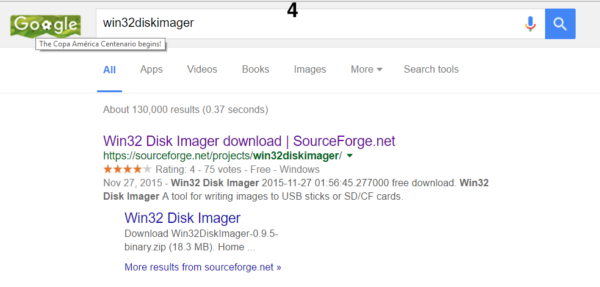
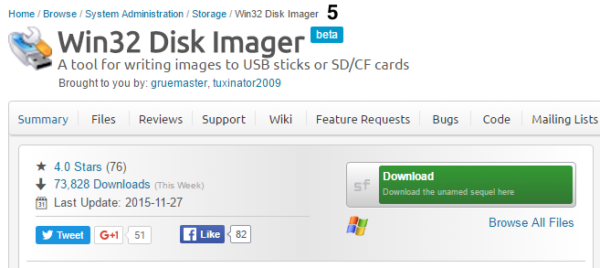
- Download Win32 Disk Imager.
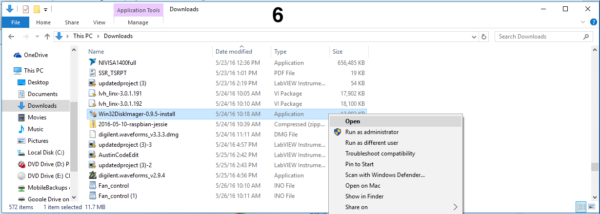
- Open it from your downloads folder.
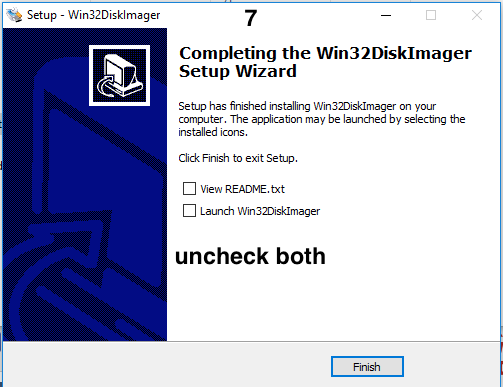
- Complete the installation, but uncheck both the View and Launch boxes after completing the Setup Wizard.
- Open File Explorer and go to This PC.
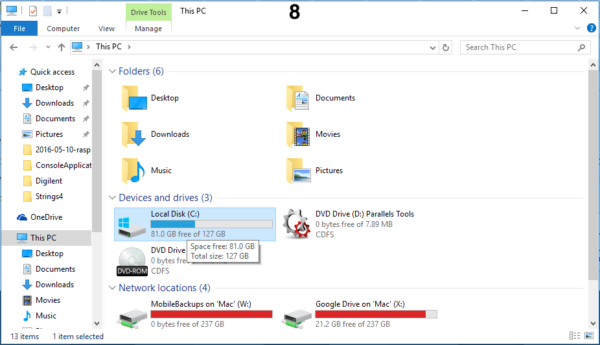
- Select Program Files (x86).
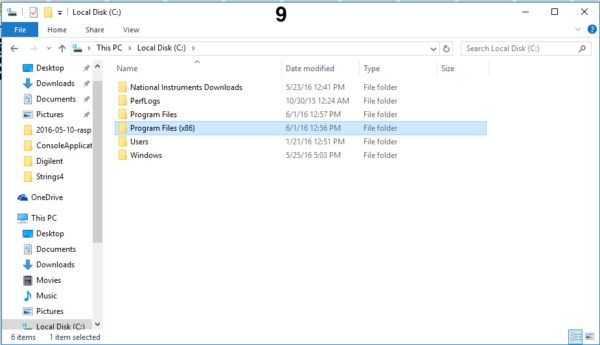
- Select ImageWriter.
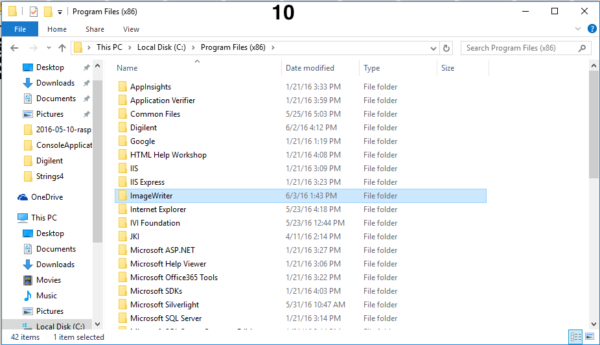
- Then, select Win32DiskImager.
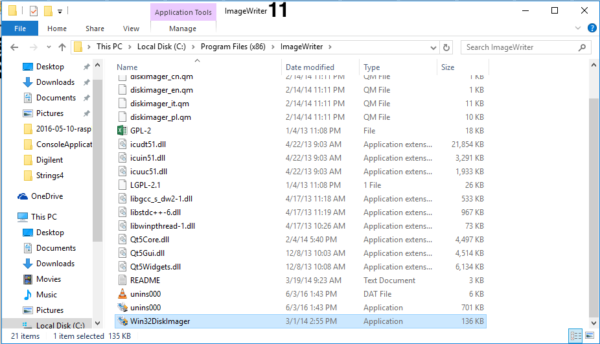
- Click on the folder next to the image file dialog box, and then select your raspbian jessie disk image.
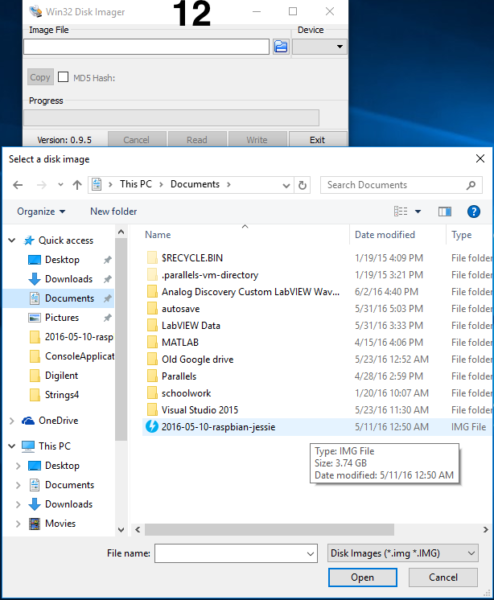
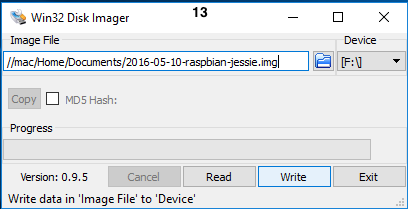
- Insert the SD card into your computer and set the device dropdown so your SD card is selected, then click Write.
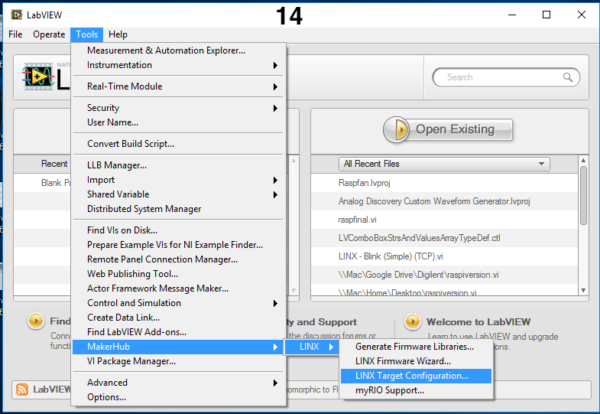
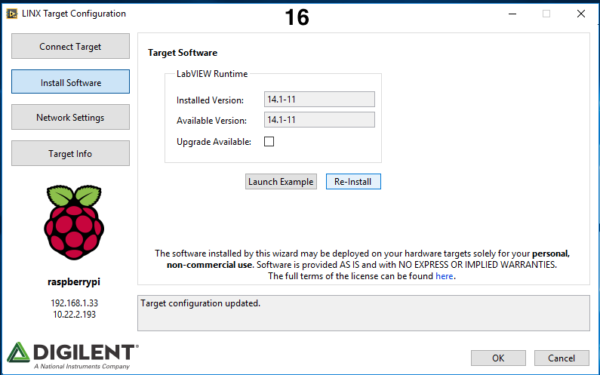
- Connect ethernet to the Raspberry Pi and power on your Raspberry Pi. Launch LabVIEW, and open the Target Configuration Wizard from Tools»MakerHub» LINX»Target Configuration.
- Enter the Raspberry Pi’s Hostname or IP, and a username and password with root privileges, then click connect. (Eventually you will want your Raspberry Pi connected to WiFi, click here if you need help).
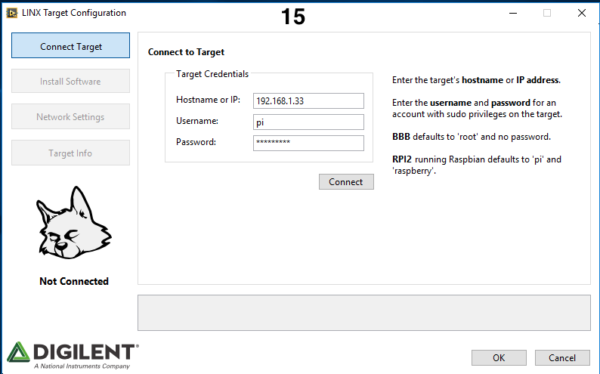
- The default Hostname is ‘raspberrypi.’
- The default Username is ‘pi,’ and the default Password is ‘raspberry.’
- Click the Install Software tab and click Install. Then review any warnings and complete the installation.
Step 3: Raspberry Pi – Deploying a Startup Executable
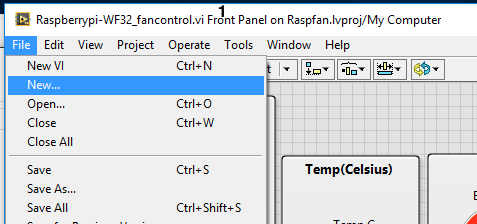
- Open up the LabVIEW project that you want to run and then select File-> New.
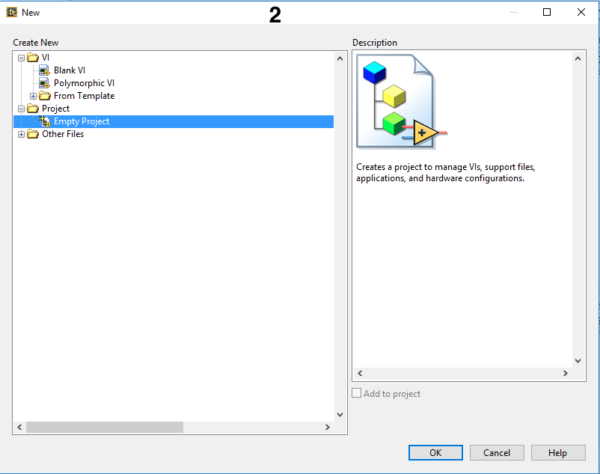
- Select “Empty Project” in the “Project” folder.
- A pop-up will ask you if you want to add the open VI to the new project, select Add.

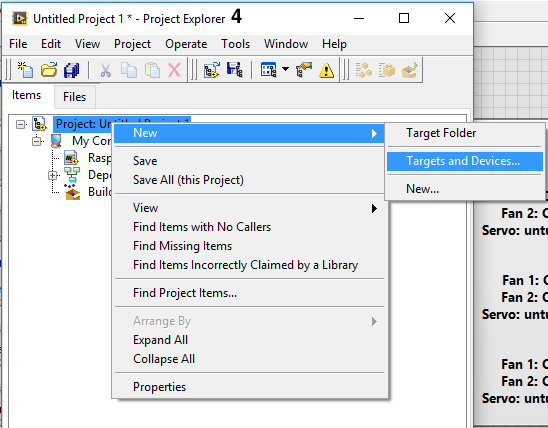
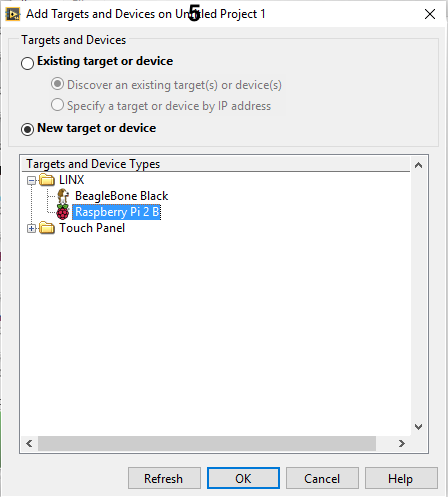
- Right-click “Project: Untitled Project 1” and select “New”» “Target and Devices.”
- Select “Raspberry Pi 2 B” in the LINX folder and click OK.
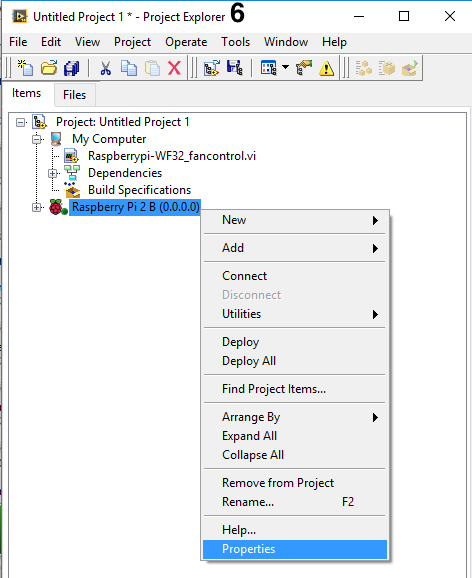
- Right click “Raspberry Pi 2 B” and select Properties.
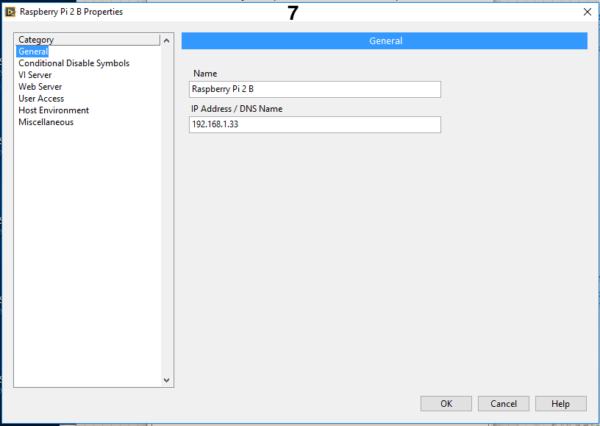
- Under the “General” category enter the IP address for your Raspberry Pi (this should be the one you set in a previous step).
- Next step is to open up a pin-out diagram for the Raspberry Pi 2 for later use. From the front panel, select Help»MakerHub»LINX»”Pinout – Raspberry Pi B.”

- Next, enter the correct values for the TCP settings, RPI settings, and the WF32 settings for the project you are going to use(mine is shown below).
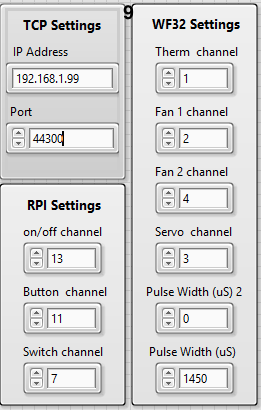
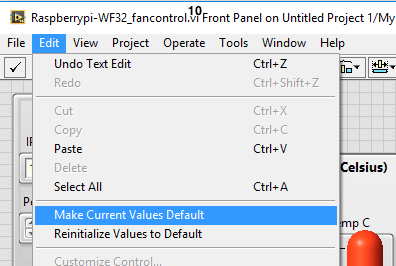
- To make sure these values don’t change, click Edit»”Make Current Values Default.”
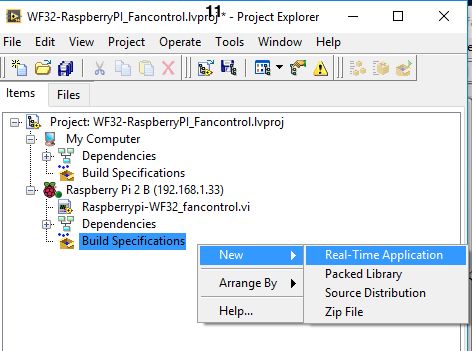
- Pull the project you selected into the Raspberry Pi 2 section and right click Build Specifications (mine is called “Raspberrypi-WF32_Fan_Control”). Then choose New»Real-Time Application.
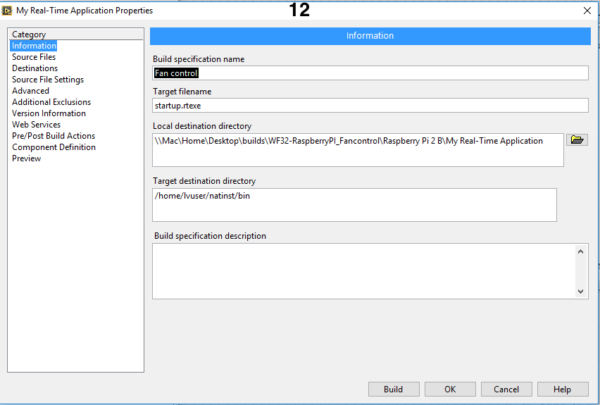
- Rename the build specification.
- Click the Source Files category on the left side of the dialog box.
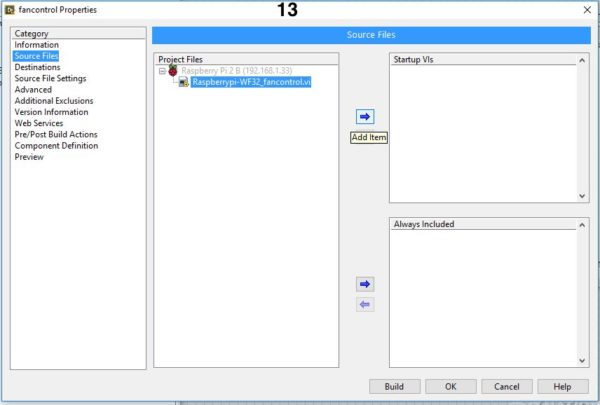
- Under Project, Files select the top level VI (“Raspberrypi-WF32_Fan_Control” for me) and click the right arrow to add it to Startup VIs. Click OK.

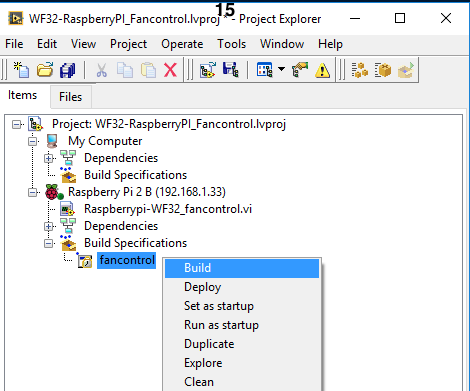
- Right click the new build specification and choose Build.
- Click Done.
- Right-click the new build specification and choose Run as Startup.
- Click Yes to reboot the target. The VI will now run whenever the target is powered on.
My next post will show you the LabVIEW project I made using these steps. Thank you for reading, and feel free to comment with any questions you may have.