

Are you trying to set up a MicroBlaze processor on your Nexys board? This Instructable by skyberrys tells you how to do so on a Nexys 4. This uses Vivado 2014.1, though instructions should be similar (though there might be variations) if you have a different version.
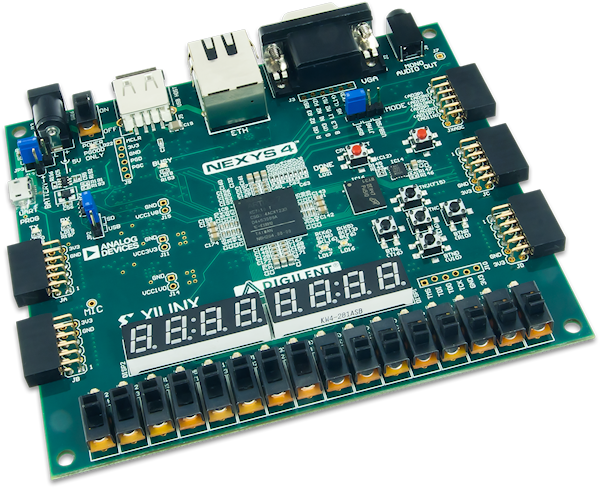
MicroBlaze is a soft microprocessor core designed for Xilinx FPGAs. It’s implemented entirely in the general-purpose memory and logic fabric of the FPGA in question. To do this project, you simply need your Nexys 4, Vivado, and a computer.
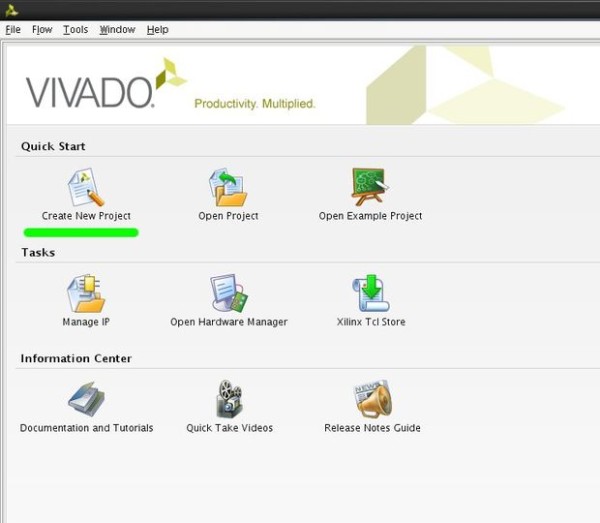
Start by opening Vivado and creating a new project. Name it and select “RTL Project” from the options presented. Select the FPGA, then create the processor! You then have to name your design. Click on “Add IP” and select the MicroBlaze IP. After you run the block automation, select debug and UART. Connect the processor and add your constraints, then create HDL wrappers. Now it’s time to export your design and do a demo “Hello World” project. Program the FPGA, and run that project on MicroBlaze!
For more in-depth instructions, see the Instructable. Let us know if it worked differently for you on a different board!