

Hello and welcome back to the Digilent Blog!
There was a point in my life in the not too distant past where I looked at an LED and a microcontroller sitting at my desk with the goal of blinking the LED with the microcontroller. After picking up each piece individually and setting them back down said to myself, “alright, now what?” Although the phrase is usable almost anywhere, this phenomenon is commonly known as “starting from square 1.” In my experience, the most frustrating part about “square 1” is figuring out how to move on to square 2, since it usually seems to me that most tutorials presume you are starting on at least square 3 or 4. My goal today is to present the first few squares involved for getting started with microcontrollers, and show where you can find some helpful resources to move on to the next square.
Before we get into the list of projects though, please note that this is far from a complete list and is not necessarily in the order that you might imagine it to be (except for the first project). There are literally hundreds of introductory projects that you could do with a microcontroller, but I decided to highlight just a few of them to help people get started.
Project 1: Blink the proverbial (and literal!) LED
This is the “Hello, World!” project (the first project people tend to do for computer science) of microcontrollers and one of the hardest ones to figure out if you literally have no idea what to do with the microcontroller and LED that are taunting you from your desk. In this Learn Module by Digilent, you learn how to get an LED attached to a breadboard and microcontroller along with explanations of why pieces of the circuit are arranged the way they are (i.e. why isn’t the LED flipped the other direction?).
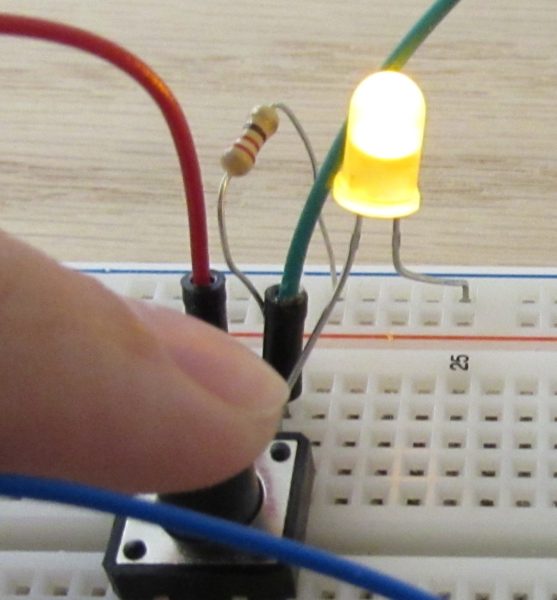
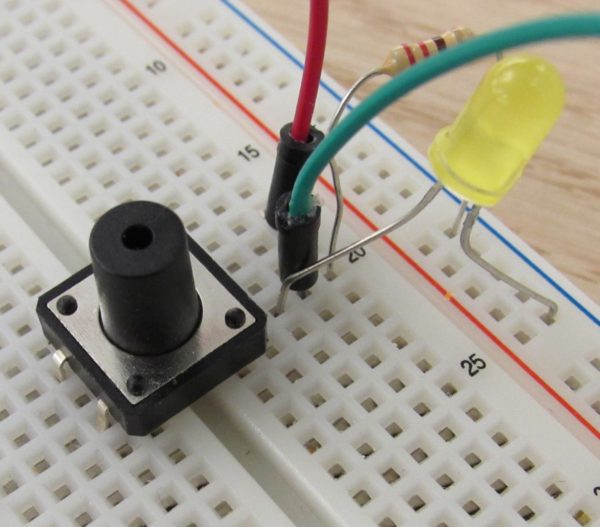
You can also take the Blinking LED project one step further by incorporating a button so that when you press a button, the microcontroller turns on the LED as explained in this Learn Module.
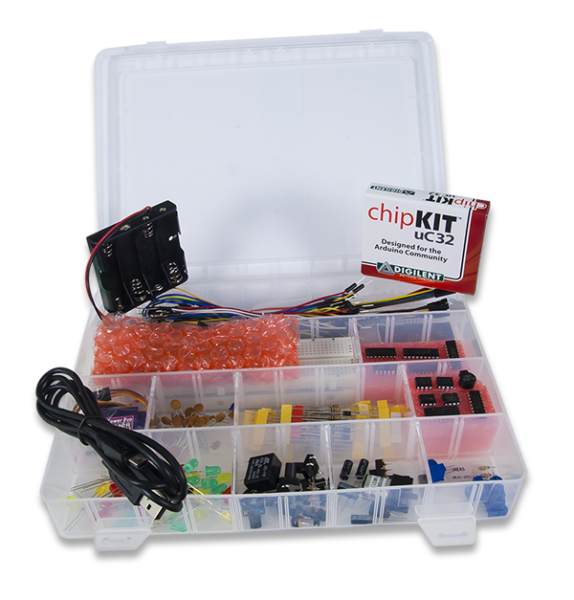
You may have noticed that both of these projects use a Uno32, which has since been depreciated from Digilent’s product line, but fear not! All of the circuit principles presented are applicable to any microcontroller and the code is easily portable between MPIDE and the Arduino IDE.
Project 2: Controlling the brightness of an LED
While blinking a LED is nice, the whole act of turning the LED on and off at different rates does get a little boring after a few minutes. Try a project where you get to manually change the brightness of the LED by using a potentiometer or through PWM!
Project 3: Running a seven-segment display
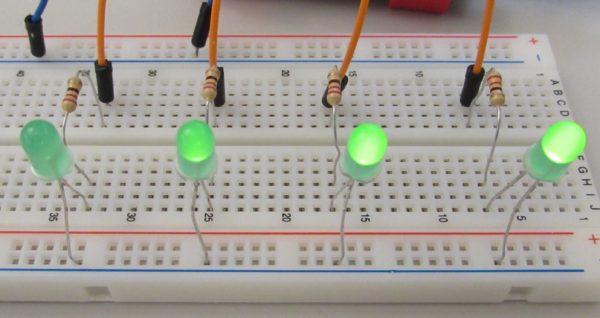
Okay, so you have mastered the LED and now want to do something a little more complicated… but not a project that jumps from square 2 to square 5. Using a seven-segment display is a great next step since you are essentially using multiple LEDs simultaneously and can practice displaying some numbers. Or perhaps you want to take it one step further and have it so that when you press a button, the seven-segment display increments its count by one. (See what I did there?)
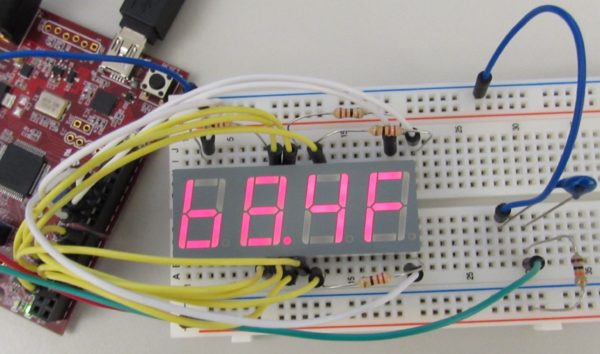
Project 4: Showing temperature on a seven-segment display
How about we show something practical on the seven-segment display rather than how many times we’ve pressed the button? By creating a voltage divider, we can determine the temperature from a thermistor and show the temperature on the seven-segment display.
Again, these are just a few introductory projects that can actually be worked on from square 1 without too much stress. Next time, we can look at some resources for some more intermediate projects that are a few squares farther, but are still manageable in the early stages.
Do you have any other great resources that you know of for first time electronics users?