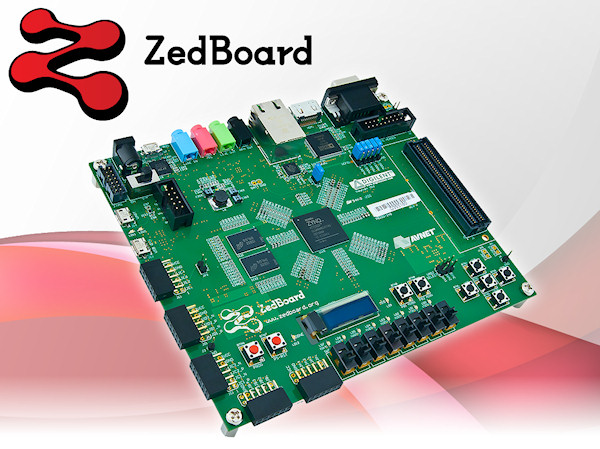
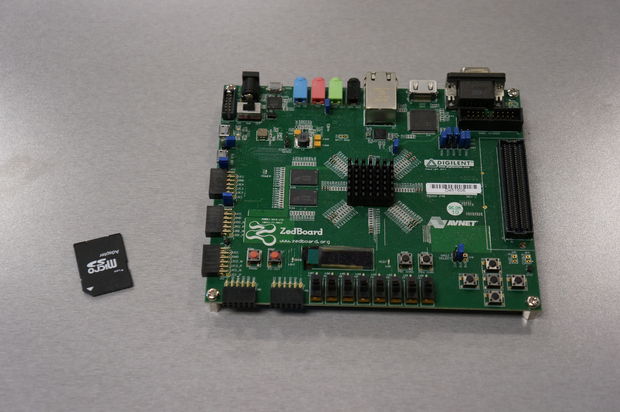
Getting started with Linux on the ZedBoard is usually fairly straightforward. Normally, you use the first stage boot loader (FSBL) to read files and then pass control to the U-Boot boot loader.The boot loader does its thing and Linux boots. In the words of Instructables author jameyhicks, “U-Boot adds two capabilities to the boot process that the Xilinx FSBL does not have. (1) It reads files used at boot time from the SD Card instead of requiring them to be included in the boot.bin, and (2) it has a command line, in case you want to modify boot parameters at boot time.” But what if you don’t need either of those capabilities? Then you can boot Linux directly from the FSBL, saving you time and reducing the number of files that need to be maintained.

For this Instructable, you need a ZedBoard, an SD card, a Linux machine (or Linux VM or a Mac), a git client and the knowledge of how to use it, and the Android NDK version r9d or newer.

Get everything together, then download Zynq-Boot. Make the bootbin file for the ZedBoard, bootbin.zedboard. Then create the sdcard.zedboard file. Copy the files to the ZedBoard, and then boot it.
If you love Linux, this promises to be a great project. Let us know your thoughts on this project!


i am facing issue the tera term is not showing any thing about .the done led is not blinking .
the oled is not displaying the digilent .when last time i am working with it is working file.
please help me ,i have no idea about it.