

We’re excited to relaunch DASYLab, a powerful software tool for data acquisition and analysis with new rent-to-own licensing options. DASYLab provides a simple graphical dataflow-oriented approach to acquiring and processing data and includes a large suite of configurable modules that can be chained together to form complex tasks. It could, for example, use an external device to acquire data from a sensor, pass that data through an FFT, analyze the FFT results to look for notable spikes, then display results and even send remote alerts, all represented through a worksheet of only a few simple blocks.
Alongside this relaunch we’re introducing beta support for Digilent Analog Discovery devices. While, today, DASYLab is typically paired with Measurement Computing data acquisition (DAQ) devices, we believe its ability to simplify your measurement tasks can be equally useful for owners of an Analog Discovery by providing a suite of configurable modules to manage data processing and data flow after acquisition, including FFTs, filters, through to using that data for subsequent control of external systems or messaging and alerts.
For a sense of the performance that you can expect out of this system, we’ve successfully run continuous measurements with minimal loss of data in the 10s of kilohertz range. At the time of writing, support for Analog Discovery devices consists of an Analog In (AI) Record module, which uses WaveForms SDK under the hood to repeatedly pull data out of the Analog Discovery and send it off to other modules in the DASYLab worksheet for processing. Sample rates don’t have an arbitrary limit applied, but while data can be sampled at the full specified rate of the device, choosing a sample rate that is too high may result in dropped samples. More on this later, when we briefly discuss the Measurement Setup view.
In this post, we’ll walk you through the basics of connecting your Digilent hardware to DASYLab and performing a simple measurement.
Getting Started with DASYLab and an Analog Discovery
To begin, make sure you have the latest version of DASYLab installed. You can download a free trial from DASYLab® – Digilent Reference. You can find installation instructions in the Quick Start Guide: https://files.digilent.com/manuals/QS-DASYLab-MCCDRV.pdf.
Install Beta Analog Discovery Support
To let DASYLab talk to your Analog Discovery, you will need two additional pieces of software alongside your DASYLab installation:
First, because DASYLab relies on WaveForms SDK to communicate with these devices, you’ll need the latest version of WaveForms installed (3.23.4 or newer). You can download it from the My Products section of our site, here: https://cloud.digilent.com/myproducts/waveform?pc=1&tab=2.
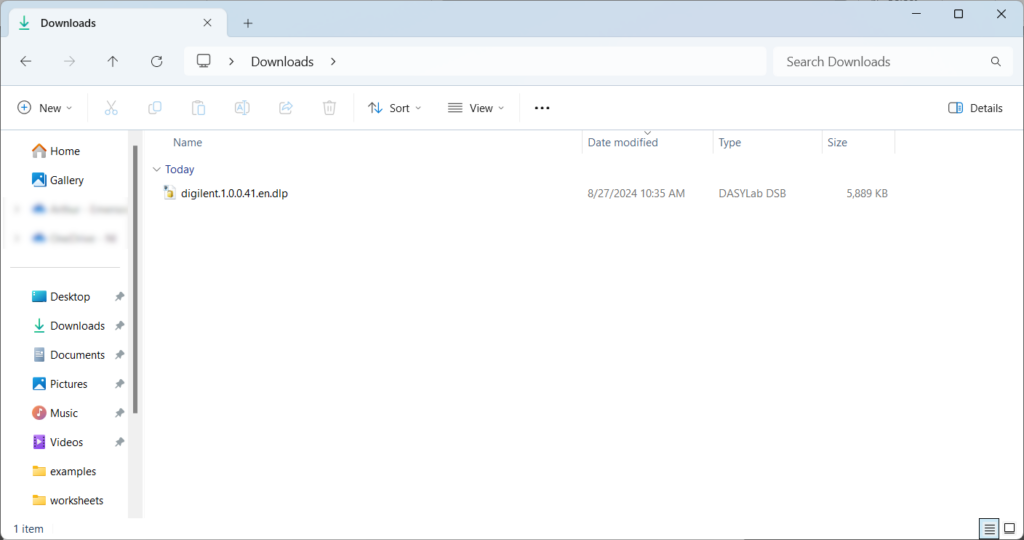
Second, the Configurator package for beta Analog Discovery support in DASYLab is available for download from our GitHub, here: digilent.1.0.0.42.en.dlp.
With the configurator package downloaded, double-click on it to fire up the Configurator tool, a separate application installed alongside DASYLab, which is used to manage addon packages.
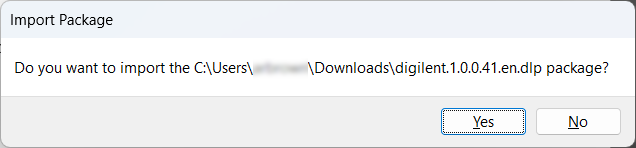
When prompted whether to allow the package to make changes to your system, and on whether to import the package, select Yes to continue.
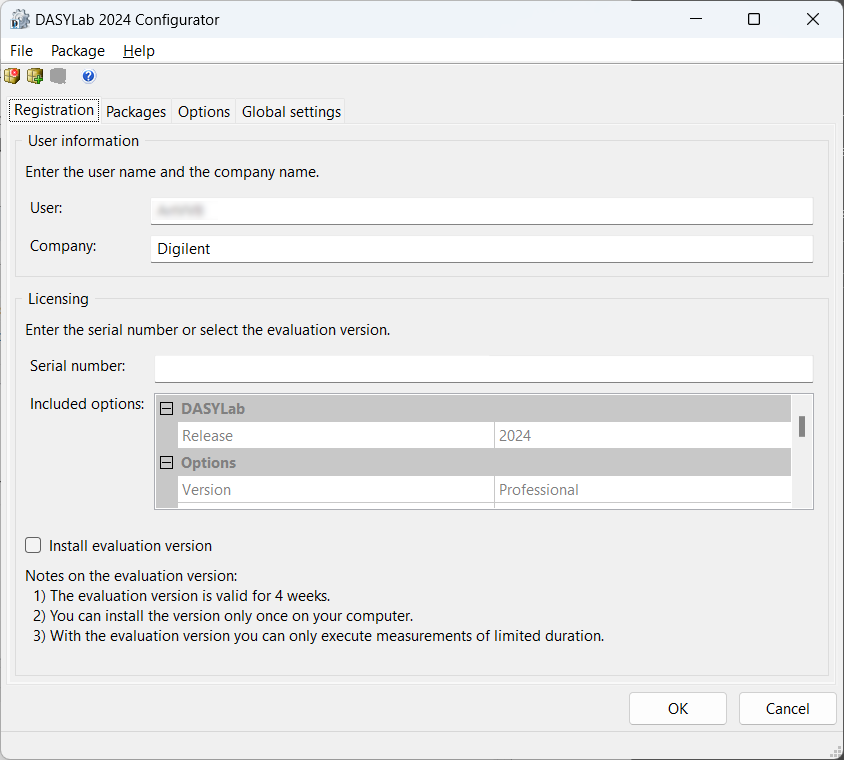
The Configurator initially opens onto a Registration tab. If you’ve already purchased a license, you can enter the registration key that you would have received via email (typically within 24 hours of your purchase) into the “Serial Number” field here. Otherwise, you can skip this step and open the Packages tab – you can always get started with a 30-day trial and come back to add your license key later.
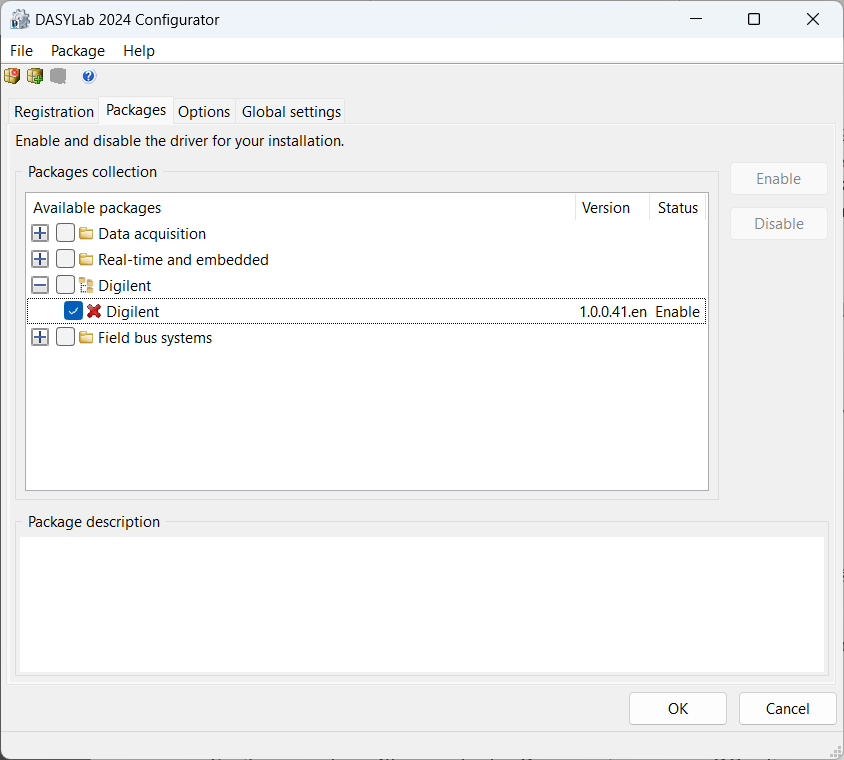
To install Digilent support, navigate to the Packages tab, open the Digilent dropdown in the list of available packages, and check the box to enable Digilent support. Click OK to save your changes.
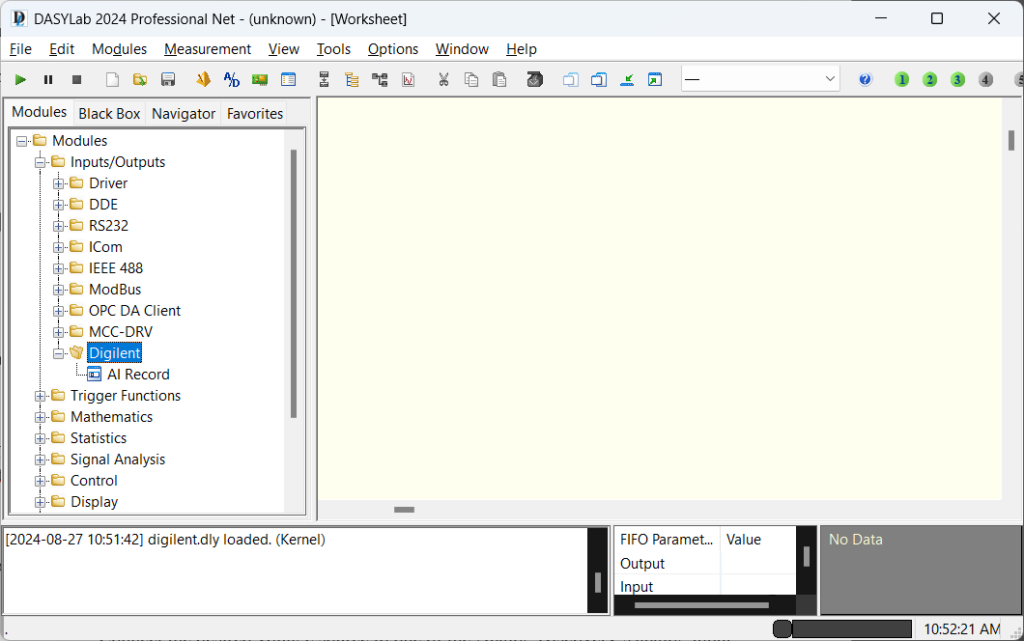
To verify that Digilent support is now enabled, fire up DASYLab proper.
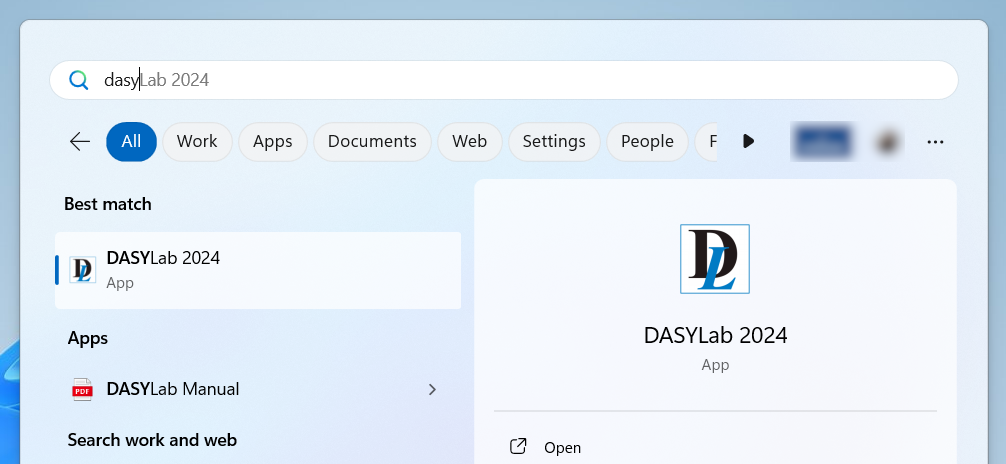
If Digilent support was installed properly, under the Inputs/Outputs folder in the Modules pane, you should see a Digilent folder with an AI Record module listed, and the message “digilent.dly loaded.” should appear in the log.
If you have interest in seeing how the configurator package works, check out the sources in its GitHub repository, here: waveforms-dasylab-module (GitHub). You can also check out our guide on creating your own DASYLab modules with Python scripts, here: [add link when its done].
A Simple Example: Measuring Voltage with an Analog Discovery
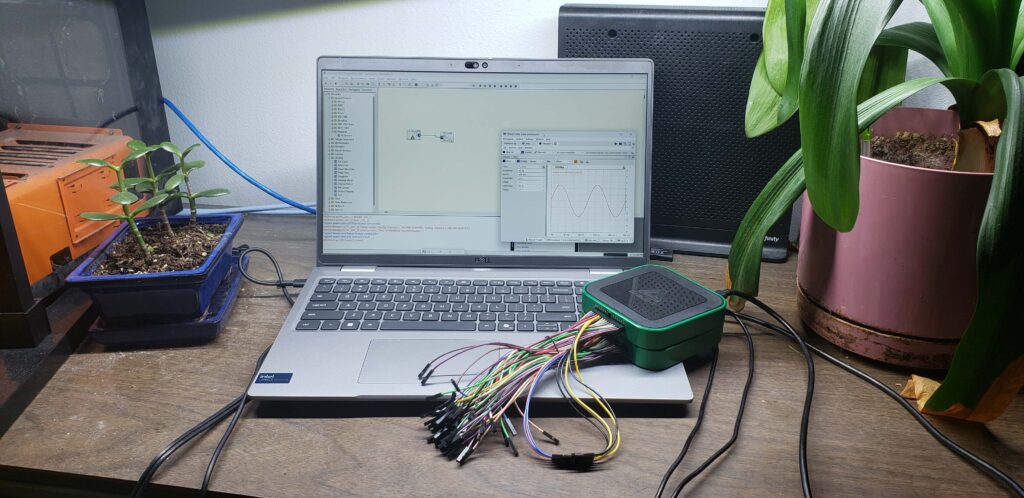
For this example, I used an Analog Discovery 3 controlled by DASYLab to measure a 10 Hz sine wave generated by a second Analog Discovery 3’s AWG outputs, controlled by WaveForms software. The second AD3 isn’t required – you can and should use whatever signal source you have available or want to measure. Make sure to connect your device/s to your computer using the appropriate cables. To set up a simple measurement, follow the instructions below, which are also demonstrated in a short video clip.
1. Configure Your Analog Discovery:
Connect the desired voltage source to one of the Analog Discovery’s analog input channels. Here you can see my setup, with two AD3s stacked on top of each other, with one device’s AWG channel 1 looped back to the other’s Scope channel 1:
2. Create a New DASYLab Project:
When you launch DASYLab, a fresh worksheet will automatically be opened.
3. Add a Digilent Device Module:
Drag and drop the Digilent AI (Analog Input) Record module onto the DASYLab workspace. This module will serve as the interface between DASYLab and your Analog Discovery.
4. Configure the Digilent Device Module:
Open the module you just added by double clicking on it. Make sure your device is selected in the dropdown menu, and select the appropriate input range. Note that even if the default settings are okay for you, you need to open up the module configuration window for DASYLab to confirm which device you’re connecting to.
5. Add a Display Module:
Drag and drop a display module (e.g., a graph or numeric indicator) onto the worksheet. This will show the measured voltage. When a display module is added to the worksheet, an additional window will pop up to display the data passed to it. This window can moved around or minimized as needed.
6. Connect Modules:
Connect the output of the Digilent device module to the input of the display module.
7. Start the Measurement:
Press the start button in DASYLab to begin acquiring and displaying data.
Configuring the Sample Rate
As mentioned in the introduction to this post, sample rates can be adjusted. The AIRecord module uses the sample rate defined for the DASYLab measurement to configure the Analog Discovery’s clock, setting its sample rate in hardware. The module then runs freely, reading new data whenever its available. You can configure the sample rate used in your own measurements through the Measurement Setup window in DASYLab. The “sampling rate” field, as seen in the screenshot below, can be used to directly set the sample rate for the entire measurement, indirectly setting the Analog Discovery’s rate. Here we can see that the device will sample at 10 kHz. You aren’t limited to selections present in the dropdown – the desired sample rate can be typed into the text field.

Processing Data
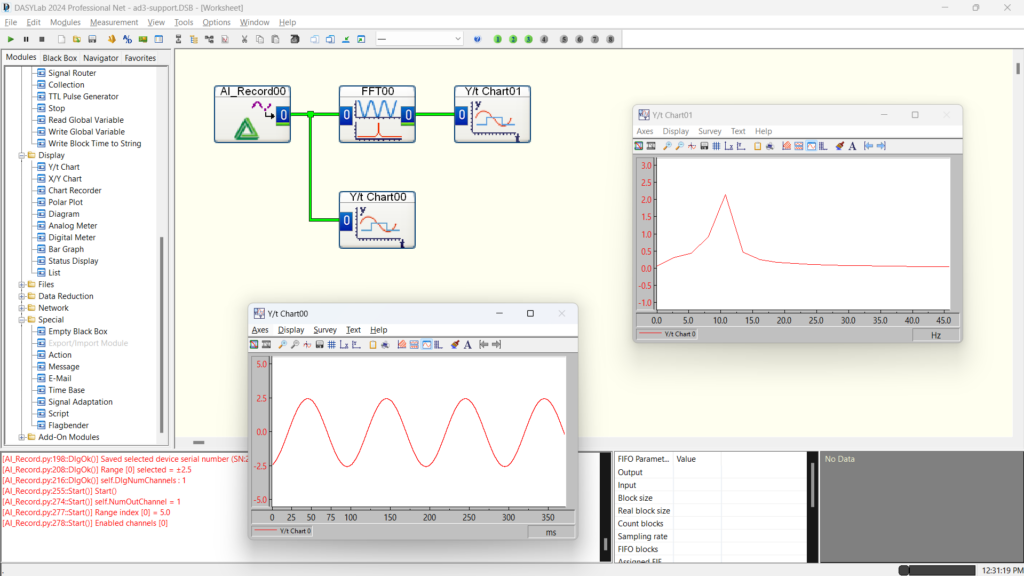
Performing an FFT on acquired data is as simple as dragging an FFT module into the worksheet, connecting it to the AI Record module, and connecting its output to another display module:
Access Built-in Example Worksheets:
Once you’ve done a simple measurement, the rest of DASYLab opens up. To explore some of the other possibilities, you can check out the included example projects, which can be found in the “examples” folder, easily available when using the File → Open menu option:
This is just a brief introduction to the capabilities of DASYLab and its integration with Digilent hardware. We encourage you to explore the software further and experiment with different setups. For updates on any new development on DASYLab support for Analog Discovery, or to suggest further improvements or changes, you can follow this feature in the Digilent Idea Space: https://digilent.frill.co/b/xmn425vl/feature-ideas/support-analog-discovery-devices-in-dasylab.