Table of Contents
Nexys 4 DDR GPIO Demo

Overview
The Nexys 4 DDR was rebranded as the Nexys A7 starting with Revision D starting in 2018. Updated releases of this particular demo project, usable by all versions of both the Nexys 4 DDR and the Nexys A7 can be found in the Nexys A7 Resource center.
Description
The Basic User Demo project demonstrates a simple use of the Nexys4-DDR's GPIOs and UART port. The behavior is as follows:
- The 16 User LEDs are tied to the 16 User Switches.
- The 7-Segment display counts from 0 to 9 on each of its 8 digits. Also, single anodes of the 7-Segment display are blanked by holding BTNU, BTNL, BTND, or BTNR. Holding the center button blanks all the 7-Segment anodes.
- An introduction message is sent across the UART when the device is finished being configured.
- A message is sent over UART whenever BTNU, BTNL, BTND, or BTNR is pressed.
- The Tri-Color LEDs cycle through several colors in a ~4 second loop.
- Data from the microphone is collected and transmitted over the mono audio out port.
- The demo is reset whenever BTNC is pressed.
Features Used
| Not Used | Used | |
|---|---|---|
| 16 user switches | X | |
| 16 user LEDs | X | |
| Two tri-color LEDs | X | |
| 5 User Push Buttons | X | |
| Two 4-digit 7-segment displays | X | |
| 4 Pmod ports | X | |
| Pmod for XADC signals | X | |
| 12-bit VGA output | X | |
| USB-UART Bridge | X | |
| Serial Flash for Application Data | X | |
| USB HID Host With Mouse | X | |
| USB HID Host With Keyboard | X | |
| Micro SD card connector | X | |
| PWM audio output | X | |
| PDM microphone | X | |
| 3-axis accelerometer | X | |
| 128MiB DDR2 | X | |
| Temperature sensor | X | |
| 10/100 Ethernet PHY | X |
Prerequisites
Hardware
- Nexys 4 DDR FPGA board
- Micro-USB cable
- Set of headphones or a speaker
Software
- Vivado Design Suite 2016.4
- Newer versions can be used, but the procedure may vary slightly
- Nexys 4 DDR Support Files
- These files will describe GPIO interfaces on your board and make it easier to select your FPGA board and add GPIO IP blocks.
- Follow the Wiki guide: Vivado Board Files for Digilent 7-Series FPGA Boards on how to install Board Support Files for
—–
Downloads
Download and Launch the Nexys 4 DDR Basic User Demo
1) Follow the Using Digilent Github Demo Projects Tutorial. This is an HDL design project, and as such does not support Vivado SDK, select the tutorial options appropriate for a Vivado-only design. Return to this guide when prompted to check for extra hardware requirements and setup.
2) In order to fully use the demo, you will need to connect a serial terminal to your Nexys DDR. Plug your board into your computer with Micro USB cables attached to the PROG+UART port and make sure the board is turned on. Then open a serial terminal (such as TeraTerm) on your computer. In the terminal application, setup the serial port to connect to the appropriate port for your board, with a baud rate of 9600. Then return to the Github Projects Tutorial to finish programming and running the demo.


Using the Nexys 4 DDR Basic User Demo
1. Switches and LEDs
For this section, all the switches are tied to their corresponding LED. Every time a switch is toggled, the LED directly above it will toggle with it. If the center push button is pressed, all the LEDs will be tied to ground .
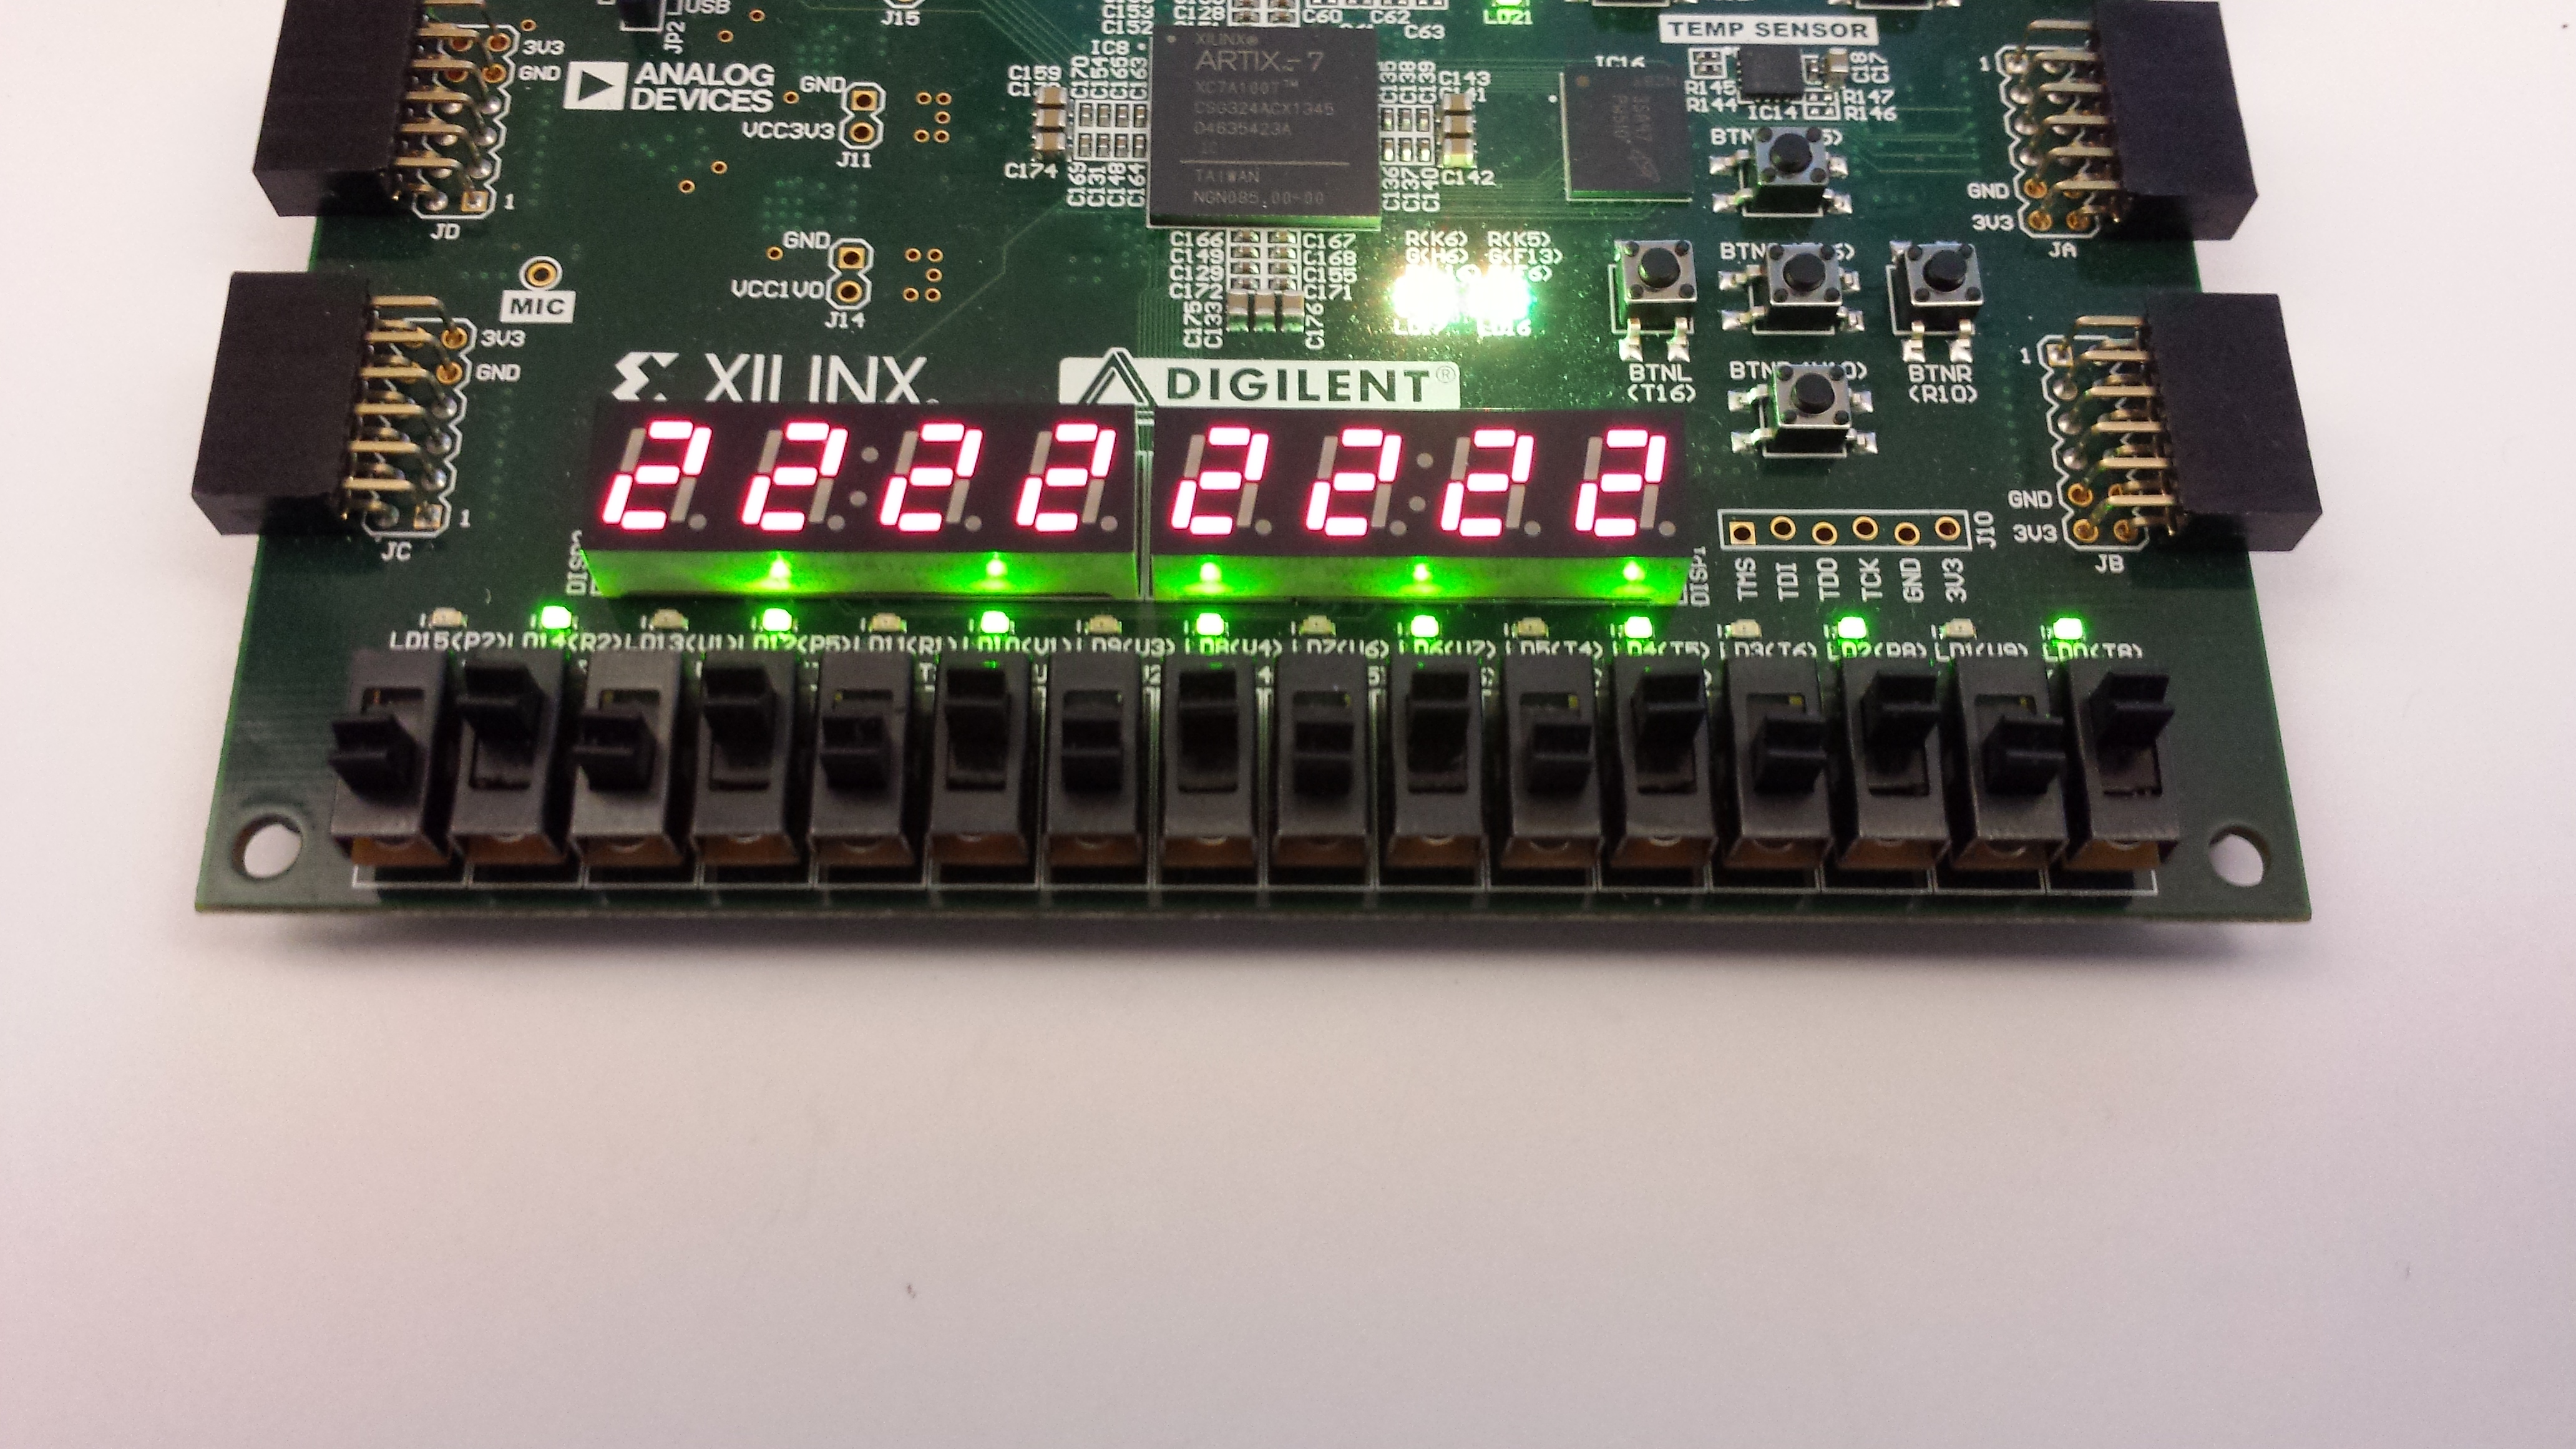


2. Seven Segment Display
The 7-Segment display counts from 0 to 9 on each of its 8 digits. This count is reset when the center button is pressed. Also, single anodes of the 7-Segment display are blanked by holding BTNU, BTNL, BTND, or BTNR. Holding the center button blanks all the 7-Segment anodes.


3. Tri-Color LEDs
The two tri-color LEDs are set to gradually change colors at all times. The user cannot affect them in this demonstration.
4. Microphone to PWM Output
The microphone which is next to Pmod connector JC, records audio data and sends it to the mono audio output located at J8. To listen to the mics output, you will need to plug in headphones or a speaker.
