Nexys Video HDMI Demo

Overview
Description
The Nexys Video HDMI Demo project demonstrates usage of the Nexys Video's HDMI in and HDMI out ports. . The behavior is as follows:
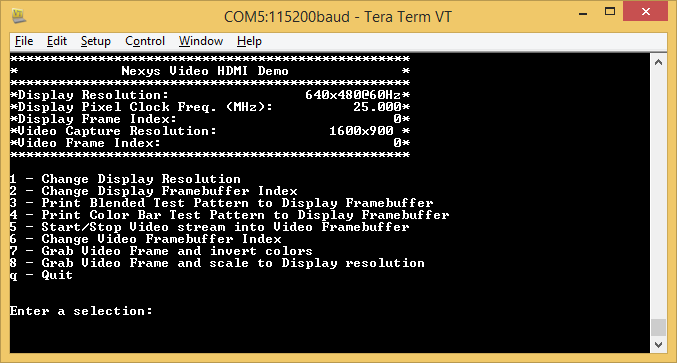
- A menu is displayed over UART at 115200 baud.
- There are 3 video buffers that can hold video data, as well as an input pointer and an output pointer.
- The input pointer chooses which display buffer to write to (Test pattern or input stream from HDMI in).
- The output pointer chooses which display buffer to display through the HDMI out port.
- The output resolution is controlled independent from the input data. This output resolution can be changed using the menu.
NOTE: The drawing functions (Functions 3, 4, 7, and 8) were designed for the Zynq processor. In its current state, these functions run VERY slowly on the Microblaze processor, so it is advised not to use these functions for the time being. It is possible that the floating point calculations are slowing these functions down. This should be fixed in a later release.
Features Used
| Not Used | Used | |
|---|---|---|
| 8 user switches | X | |
| 8 user LEDs | X | |
| 128×32 monochrome OLED display | X | |
| USB-UART Bridge | X | |
| 160-pin FMC LPC connector | X | |
| Micro SD card connector | X | |
| HDMI Sink and HDMI Source | X | |
| DisplayPort Source | X | |
| Audio codec w/ four 3.5mm jacks | X | |
| 6 user push buttons | X | |
| User EEPROM | X | |
| 10/100/1000 Ethernet PHY | X | |
| 512MiB 800Mt/s DDR3 Memory | X | |
| Serial Flash | X | |
| Four Pmod ports | X | |
| Pmod for XADC signals | X | |
| USB HID Host | X |
Prerequisites
Skills
- Basic familiarity with SDK
Hardware
- Nexys Video FPGA board
- 2 Micro-USB cables
- Nexys Video Power Supply
- 2 HDMI cables
- HDMI compatible Monitor
Software
- Vivado Design Suite 2016.4
- The project must be generated in 2016.4
- Xilinx SDK 2016.4
- Newer/older versions can be used, but the procedure may vary slightly
Board Support Files
- Nexys Video Support Files
- These files will describe GPIO interfaces on your board and make it easier to select your FPGA board and add GPIO IP blocks.
- Follow the Wiki guide: Vivado Board Files for Digilent 7-Series FPGA Boards on how to install Board Support Files for Vivado.
Downloads
Download and Launch the Nexys Video HDMI Demo
Follow the Using Digilent Github Demo Projects Tutorial. Since this is a Vivado SDK Project, you can either directly launch SDK and import the hardware handoff, or you can generate a bitstream in Vivado before launching SDK. Select the hardware handoff options in the tutorial if you don't want to modify the project block design later. Return to this guide when prompted to check for additional hardware requirements and setup.
Plug one end of one of your HDMI cable into your monitor and the other into the Nexys Video's HDMI OUT port. Plug the other HDMI cable into your computer and the HDMI IN port.
Tip
Your cables do not need to be HDMI-HDMI cables, HDMI-DVI or any number of other passive adaptors will work just fine.
Using the Nexys Video HDMI Demo
View the Menu
Option 1. Change the Display Resolution
Option 2. Change the Frame Buffer Index
Selecting option 2 will cycle between the 3 frame buffers to output to the monitor.
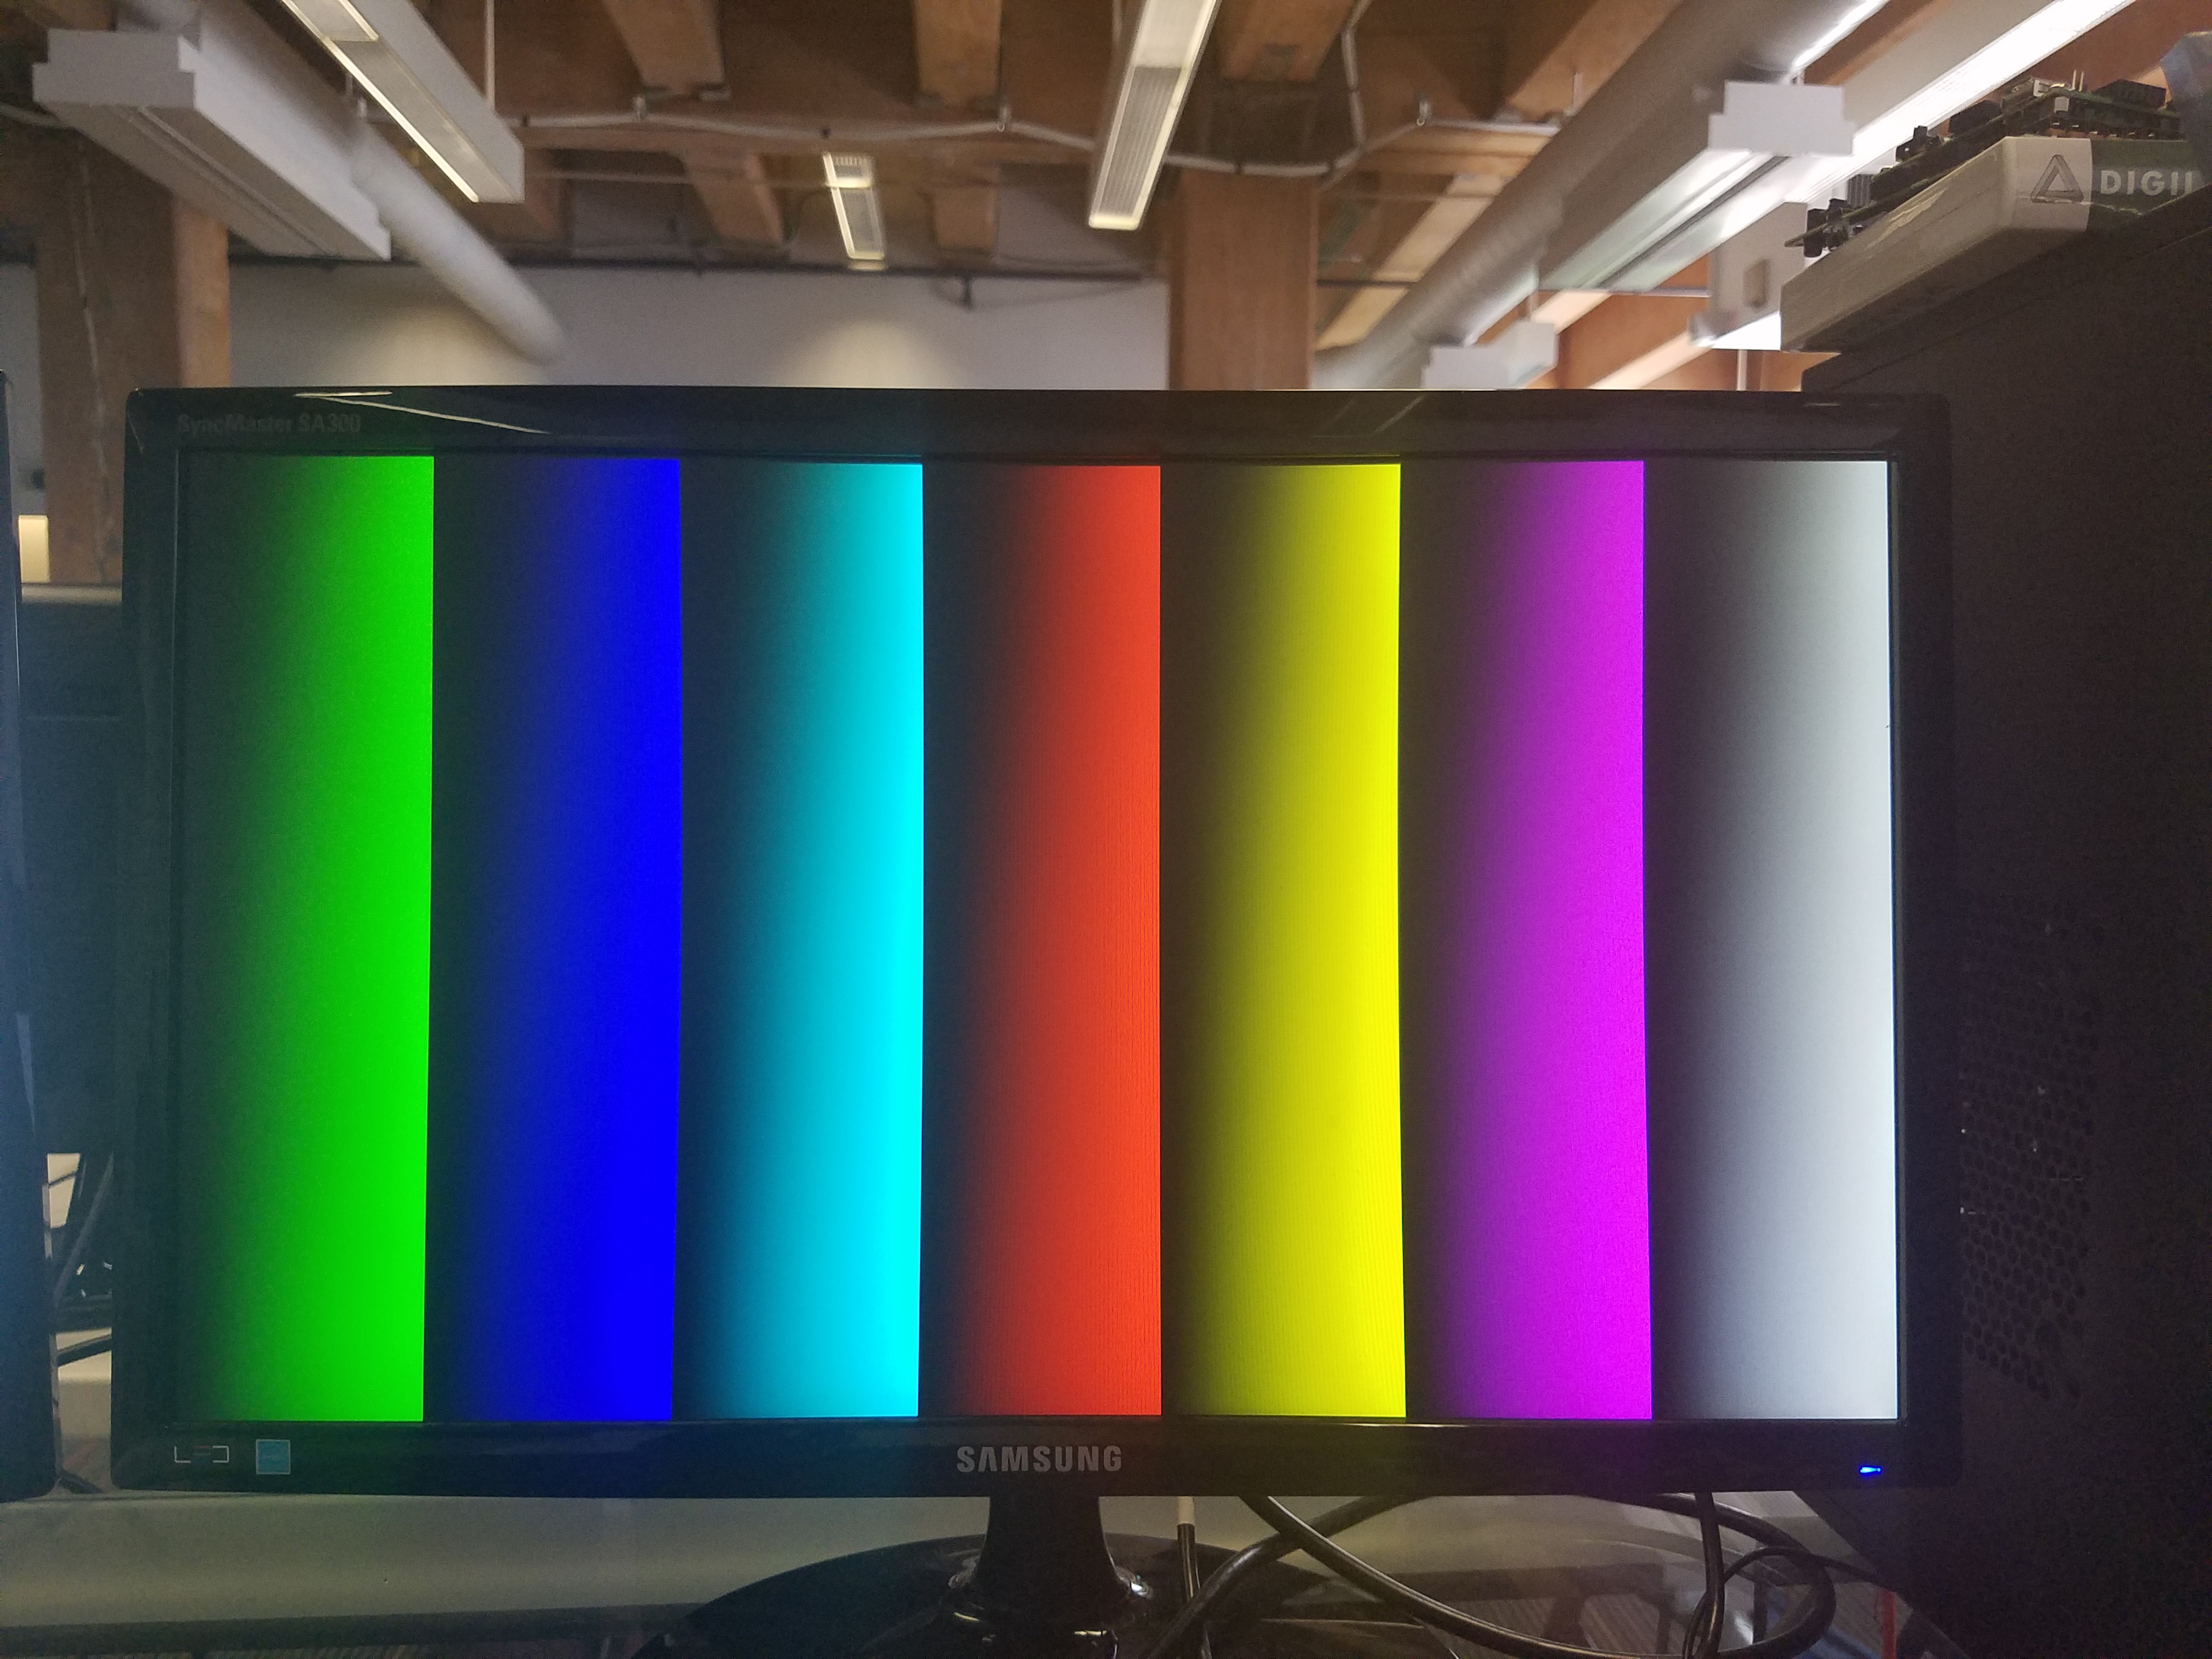
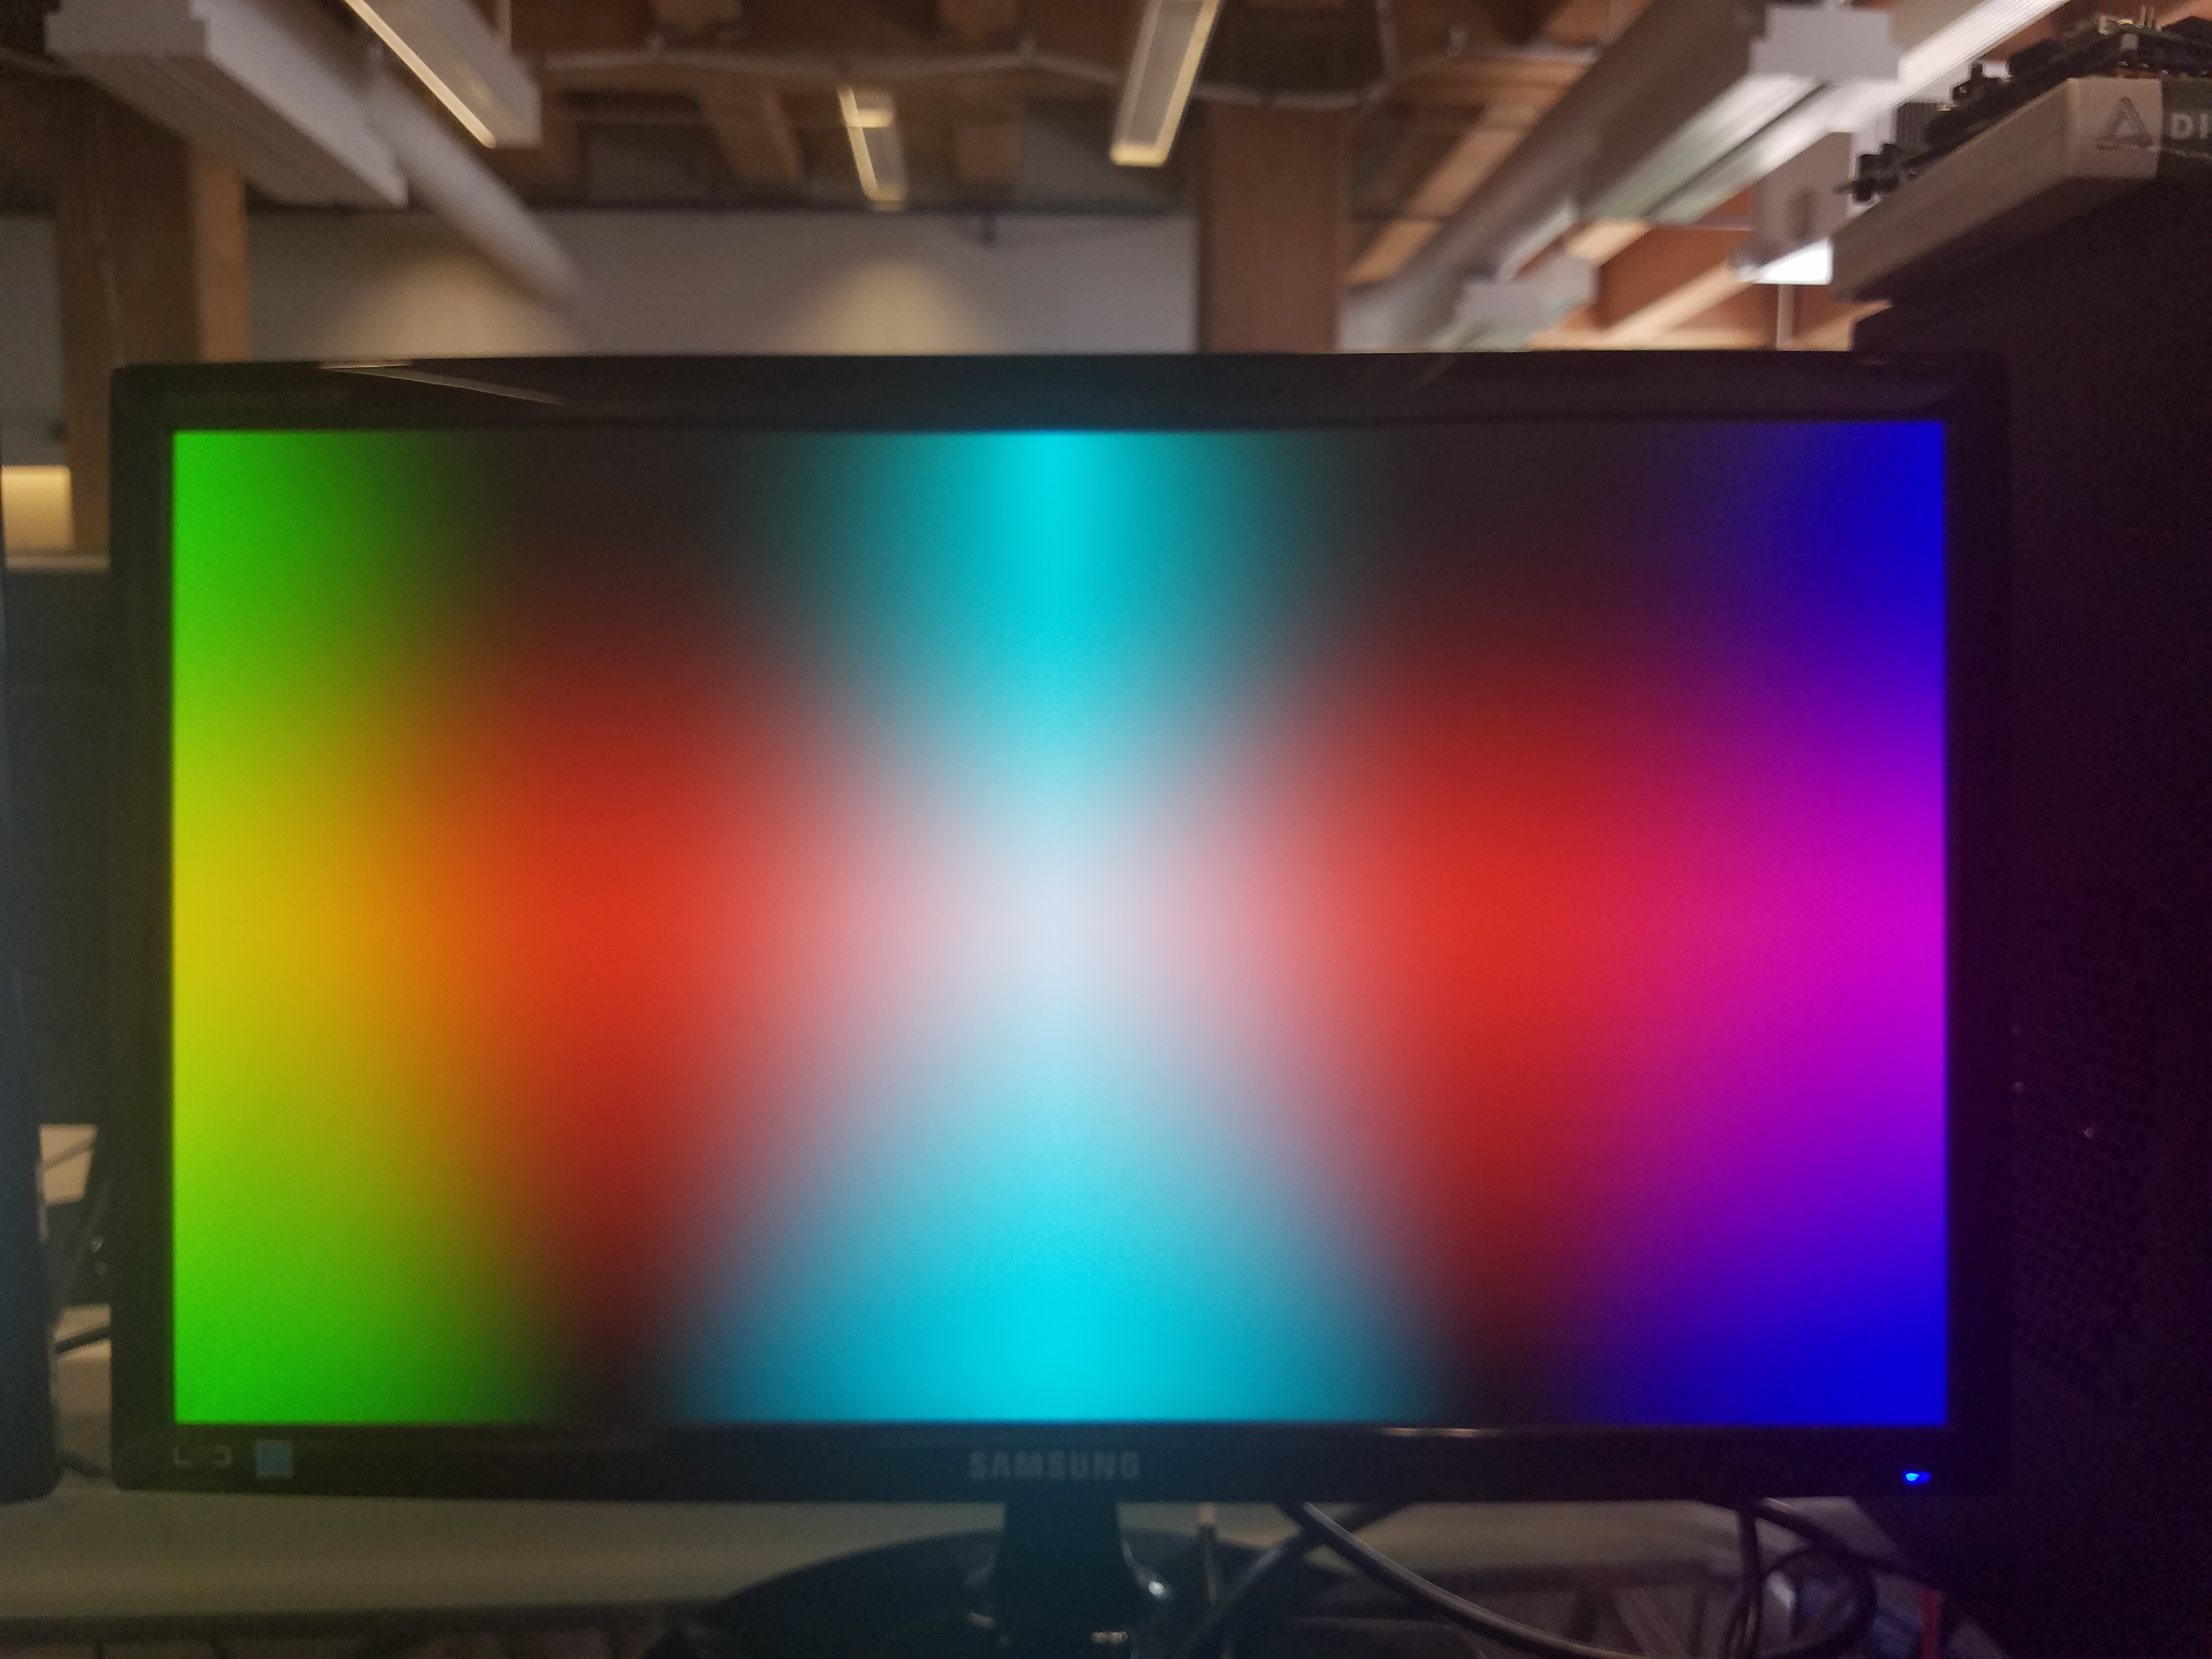
Options 3 & 4. Print Test Patterns
Option 5. Start/Stop Video Stream
This option will start or stop the video data stream from the HDMI input. When streaming, the HDMI input data will be displayed on the current video frame buffer.
Option 6. Change Video Frame Buffer
This option will change the buffer that video input will stream into.

