Nexys 4 DDR Keyboard Demo

Overview
The Nexys 4 DDR was rebranded as the Nexys A7 starting with Revision D starting in 2018. Updated releases of this particular demo project, usable by all versions of both the Nexys 4 DDR and the Nexys A7 can be found in the Nexys A7 Resource center.
Description
The Keyboard Demo project demonstrates a simple usage of the Nexys 4 DDR's USB-HID port and 7 segment display. The behavior is as follows:
* The user presses a key on the keyboard, which sends a keyboard scan code to the Nexys 4 DDR. This scan code is read and output onto the 7 segment display. When a new scan code is read, it is shifted onto the 7 segment display from the right. A scan code of F0xx indicates that key xx has been released.
Features Used
| Not Used | Used | |
|---|---|---|
| 16 user switches | X | |
| 16 user LEDs | X | |
| Two tri-color LEDs | X | |
| 5 User Push Buttons | X | |
| Two 4-digit 7-segment displays | X | |
| 4 Pmod ports | X | |
| Pmod for XADC signals | X | |
| 16-bit VGA output | X | |
| USB-UART Bridge | X | |
| Serial Flash for Application Data | X | |
| USB HID Host With Mouse | X | |
| USB HID Host With Keyboard | X | |
| Micro SD card connector | X | |
| PWM audio output | X | |
| PDM microphone | X | |
| 3-axis accelerometer | X | |
| 128MiB DDR2 | X | |
| Temperature sensor | X | |
| 10/100 Ethernet PHY | X |
Prerequisites
Hardware
- Nexys 4 DDR FPGA board
- Micro-USB cable
- USB Keyboard
Software
- Vivado Design Suite 2016.4
- Newer versions can be used, but the procedure may vary slightly
- Nexys 4 DDR Support Files
- These files will describe GPIO interfaces on your board and make it easier to select your FPGA board and add GPIO IP blocks.
- Follow the Wiki guide: Vivado Board Files for Digilent 7-Series FPGA Boards on how to install Board Support Files for
—–
Downloads
Nexys 4 DDR Keyboard Project Repository – ZIP Archive GIT Repo
Download and Launch the Nexys 4 DDR Keyboard Demo
1) Follow the Using Digilent Github Demo Projects Tutorial. This is an HDL design project, and as such does not support Vivado SDK, select the tutorial options appropriate for a Vivado-only design. Return to this guide when prompted to check for extra hardware requirements and setup.
2) Plug your USB Keyboard into the USB HOST port on your Nexys 4 DDR, then return to the Github Projects Tutorial to finish programming and running the demo.
Using the Nexys 4 DDR Keyboard Demo
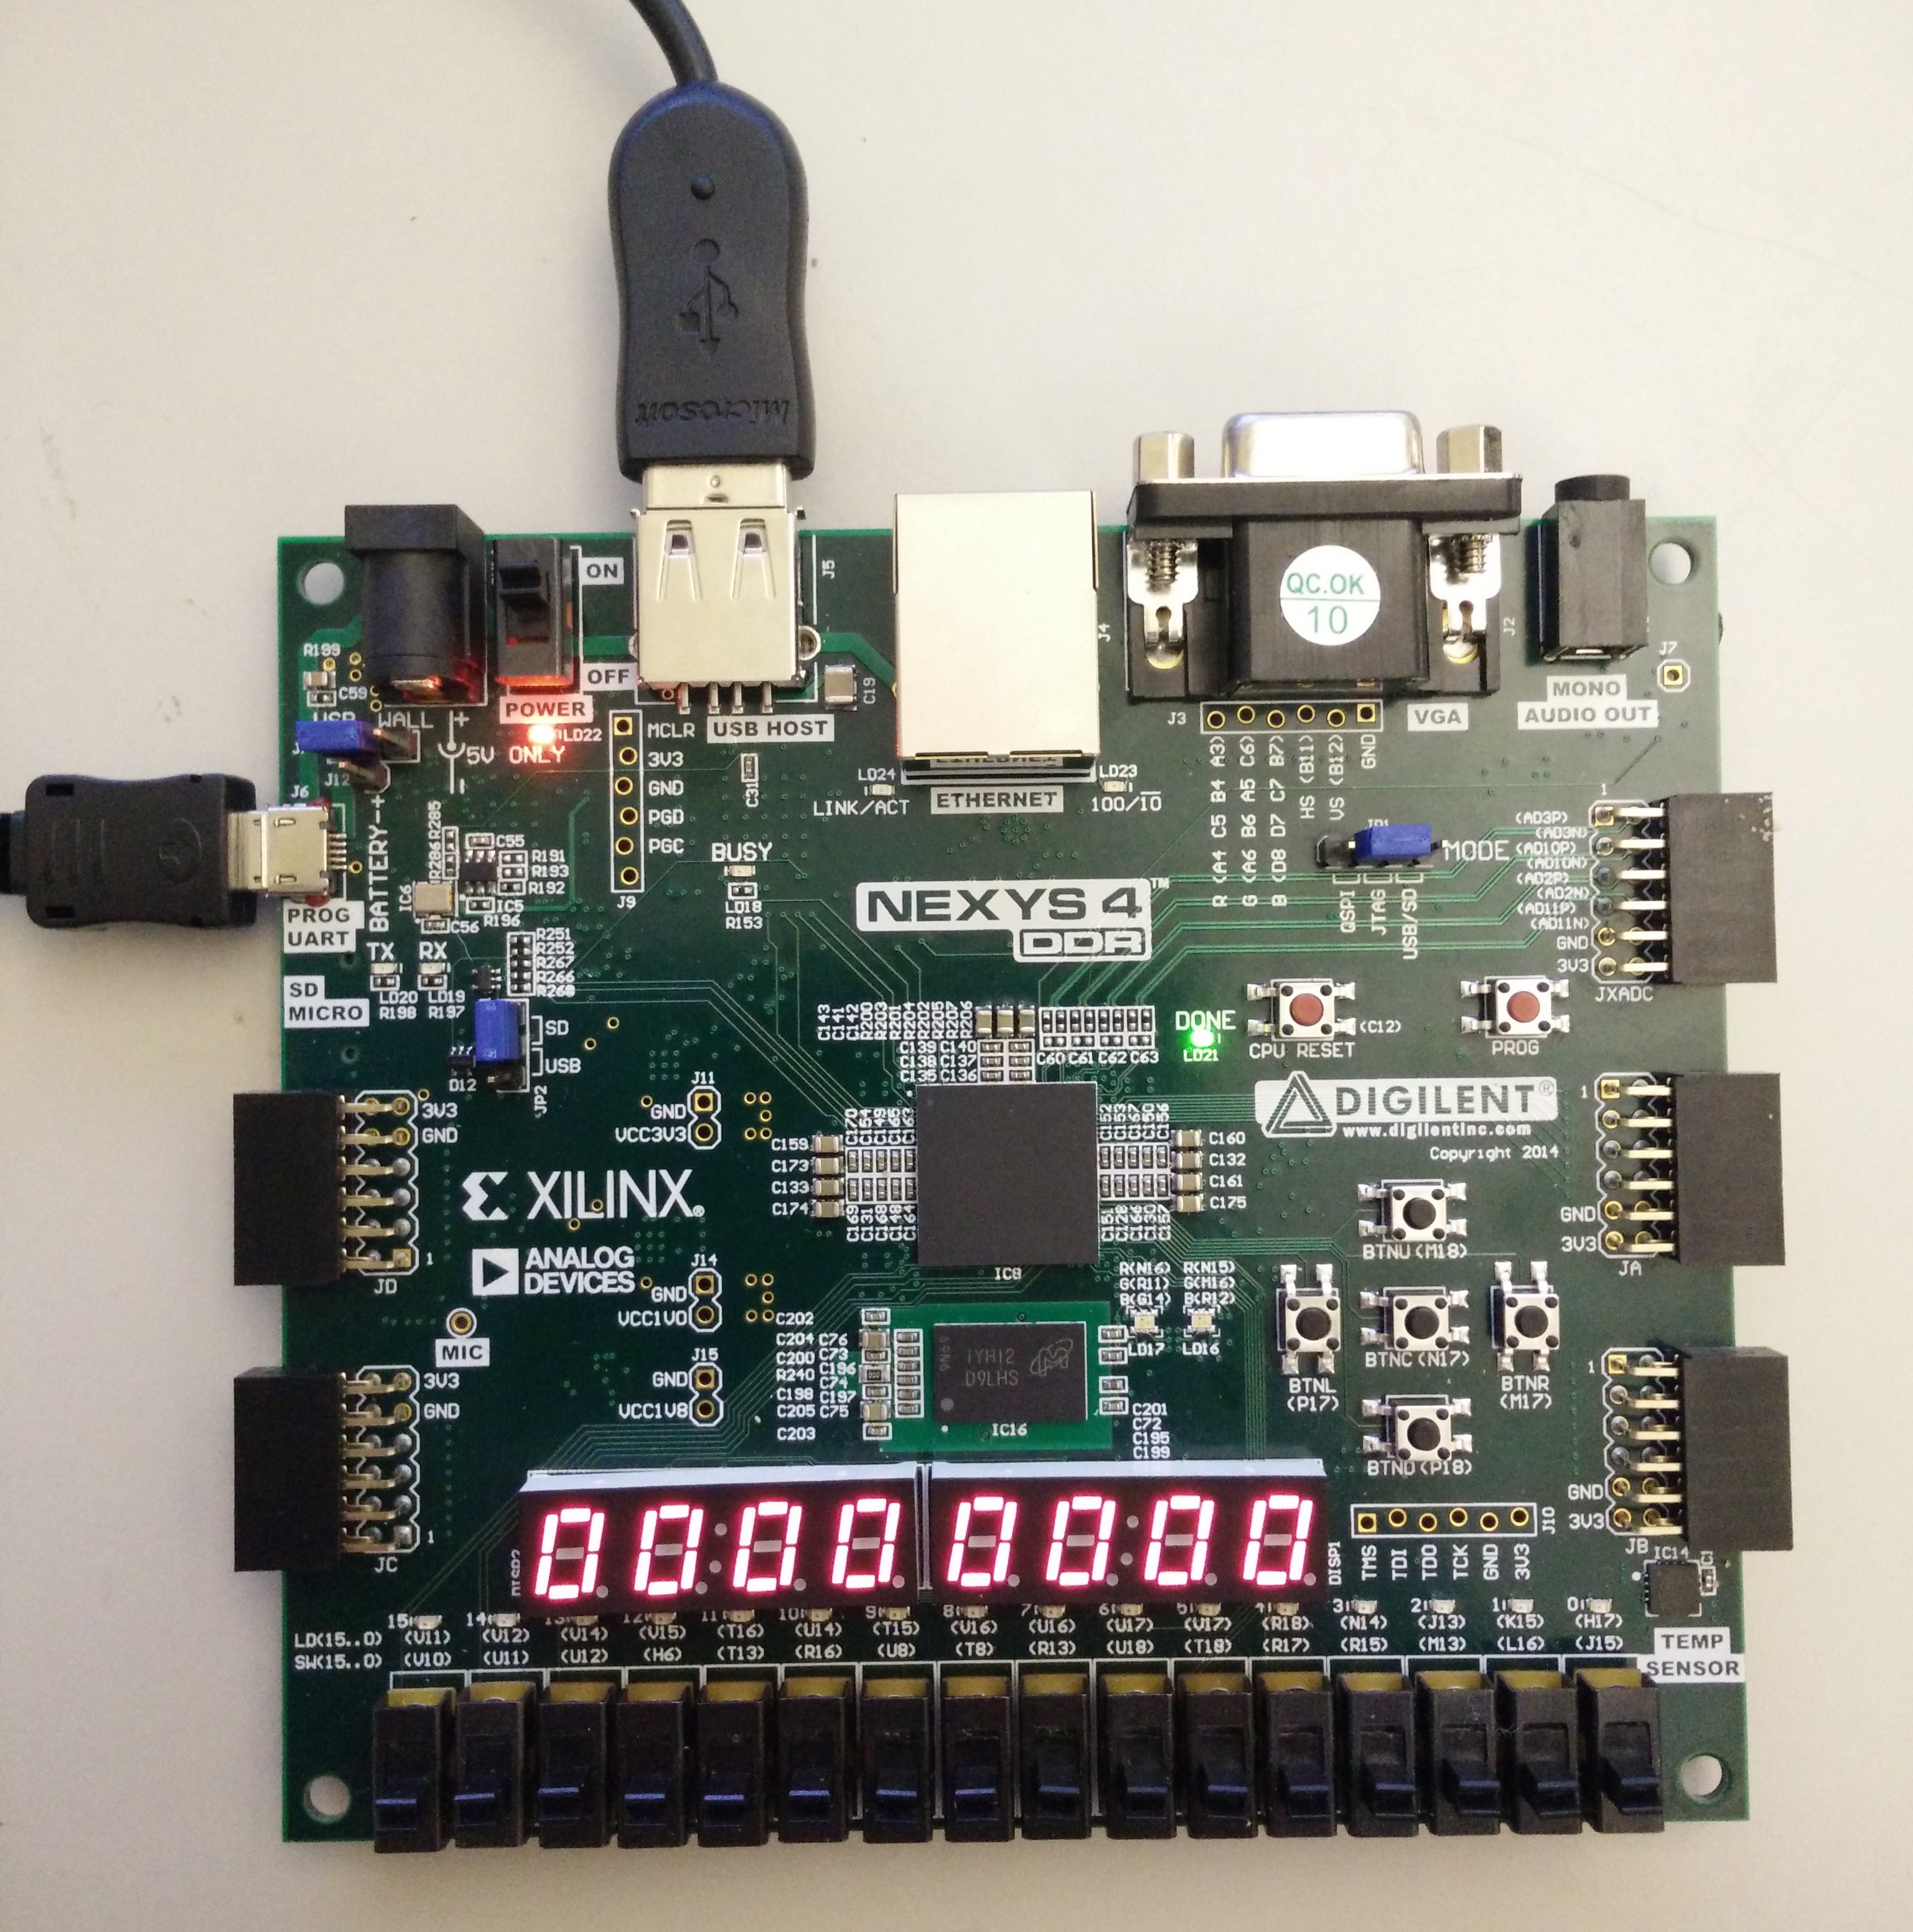
1. Initial State
Initially, the 7 segment display will show all 0's
2. Key Press
When a button is pressed, the value of the scan code will shift onto the 7 segment display. In the picture, 'a' is pressed, so a scan code of “1C” is displayed.

3. Key Release
>When the 'a' key is released, a scan code of “F01C” is shifted onto the 7 segment display. The initial scan code of “1C” is shifted to the left display.

4. Multiple Key Presses
When multiple keys are pressed their scan codes are shifted in order. In this case, Q (“15”) was pressed, followed by W (“1D”).
