Table of Contents
Nexys 4 DDR Music Looper

Overview
Description
This project demonstrates the usage of the Nexys 4 DDR's XADC port, DDR2 memory, and PWM audio output. The behavior is as follows:
- The looper has 8 'banks' that can contain data. The user can record audio tracks to these banks and play them back simultaneously.
- Audio data is constantly sampled at roughly 44.1 KHz through the XADC and output through the headphone jack using PWM.
- When the record button is pressed, the timer on the 7-segment display is started, and the audio data is recorded into one bank.
- If the record button is pressed again, the length of the loop is saved and the audio data is read from beginning to end and mixed with the input signal.
- If the stop button is pressed while recording, the data is overwritten with a blank signal and the data is erased.
- While a bank is playing, the user can record additional tracks on other banks by pressing BTNL or BTNR to select another bank to record to. If the user presses play/record on a bank that is already playing, it will overwrite the audio on that bank.
- The onboard LEDs display which banks are recorded and which banks are still empty.
- Holding the stop button on any specific bank for 1.5 seconds will delete it.
- Pressing BTNU swaps the track you are on. Flipping SW0 to the ON position will allow you to edit which banks are playing on the opposite track. Make sure SW0 is in the off position before you start
- The left 7-segment display shows which bank you are currently on as well as the state of that bank: E for empty, S for stopped, and P for playing. The right 7-segment display shows the time in the current loop.
| Button | Function |
|---|---|
| BTNL | Back one bank |
| BTNR | Forward one bank |
| BTNC | Play/Record |
| BTND | Stop/Erase |
| BTNU | Swap Track |
| Bank State | Description |
|---|---|
| E | Bank is empty |
| r | Bank is recording |
| P | Bank is playing |
| S | Bank is stopped |
Features Used
| Not Used | Used | |
|---|---|---|
| 16 user switches | X | |
| 16 user LEDs | X | |
| Two tri-color LEDs | X | |
| 5 User Push Buttons | X | |
| Two 4-digit 7-segment displays | X | |
| 4 Pmod ports | X | |
| Pmod for XADC signals | X | |
| 12-bit VGA output | X | |
| USB-UART Bridge | X | |
| Serial Flash for Application Data | X | |
| USB HID Host With Mouse | X | |
| USB HID Host With Keyboard | X | |
| Micro SD card connector | X | |
| PWM audio output | X | |
| PDM microphone | X | |
| 3-axis accelerometer | X | |
| Temperature sensor | X | |
| 10/100 Ethernet PHY | X |
Prerequisites
Skills
- Basic Wire Splicing
- We will be cutting an auxiliary cable
- Basic Breadboarding
- There is a small circuit we must construct on a breadboard
Hardware
- Nexys 4 DDR Board
- Micro-USB Cable
- Headphones or Speaker
- Breadboard
- 2 Identical Resistors
- 100pF Capacitor
- Wires
- Electric Musical Instrument (Auxiliary Input)
Software
- Vivado Design Suite 2016.4
- Newer versions can be used, but the procedure may vary slightly
- Nexys 4 DDR Support Files
- These files will describe GPIO interfaces on your board and make it easier to select your FPGA board and add GPIO IP blocks.
- Follow the Wiki guide on how to install Vivado Board Files for Digilent 7-Series FPGA Boards.
Downloads
Set up Hardware
1) Start by cutting off one end of your auxiliary input cord (that plugs into your instrument) and split up the wires.

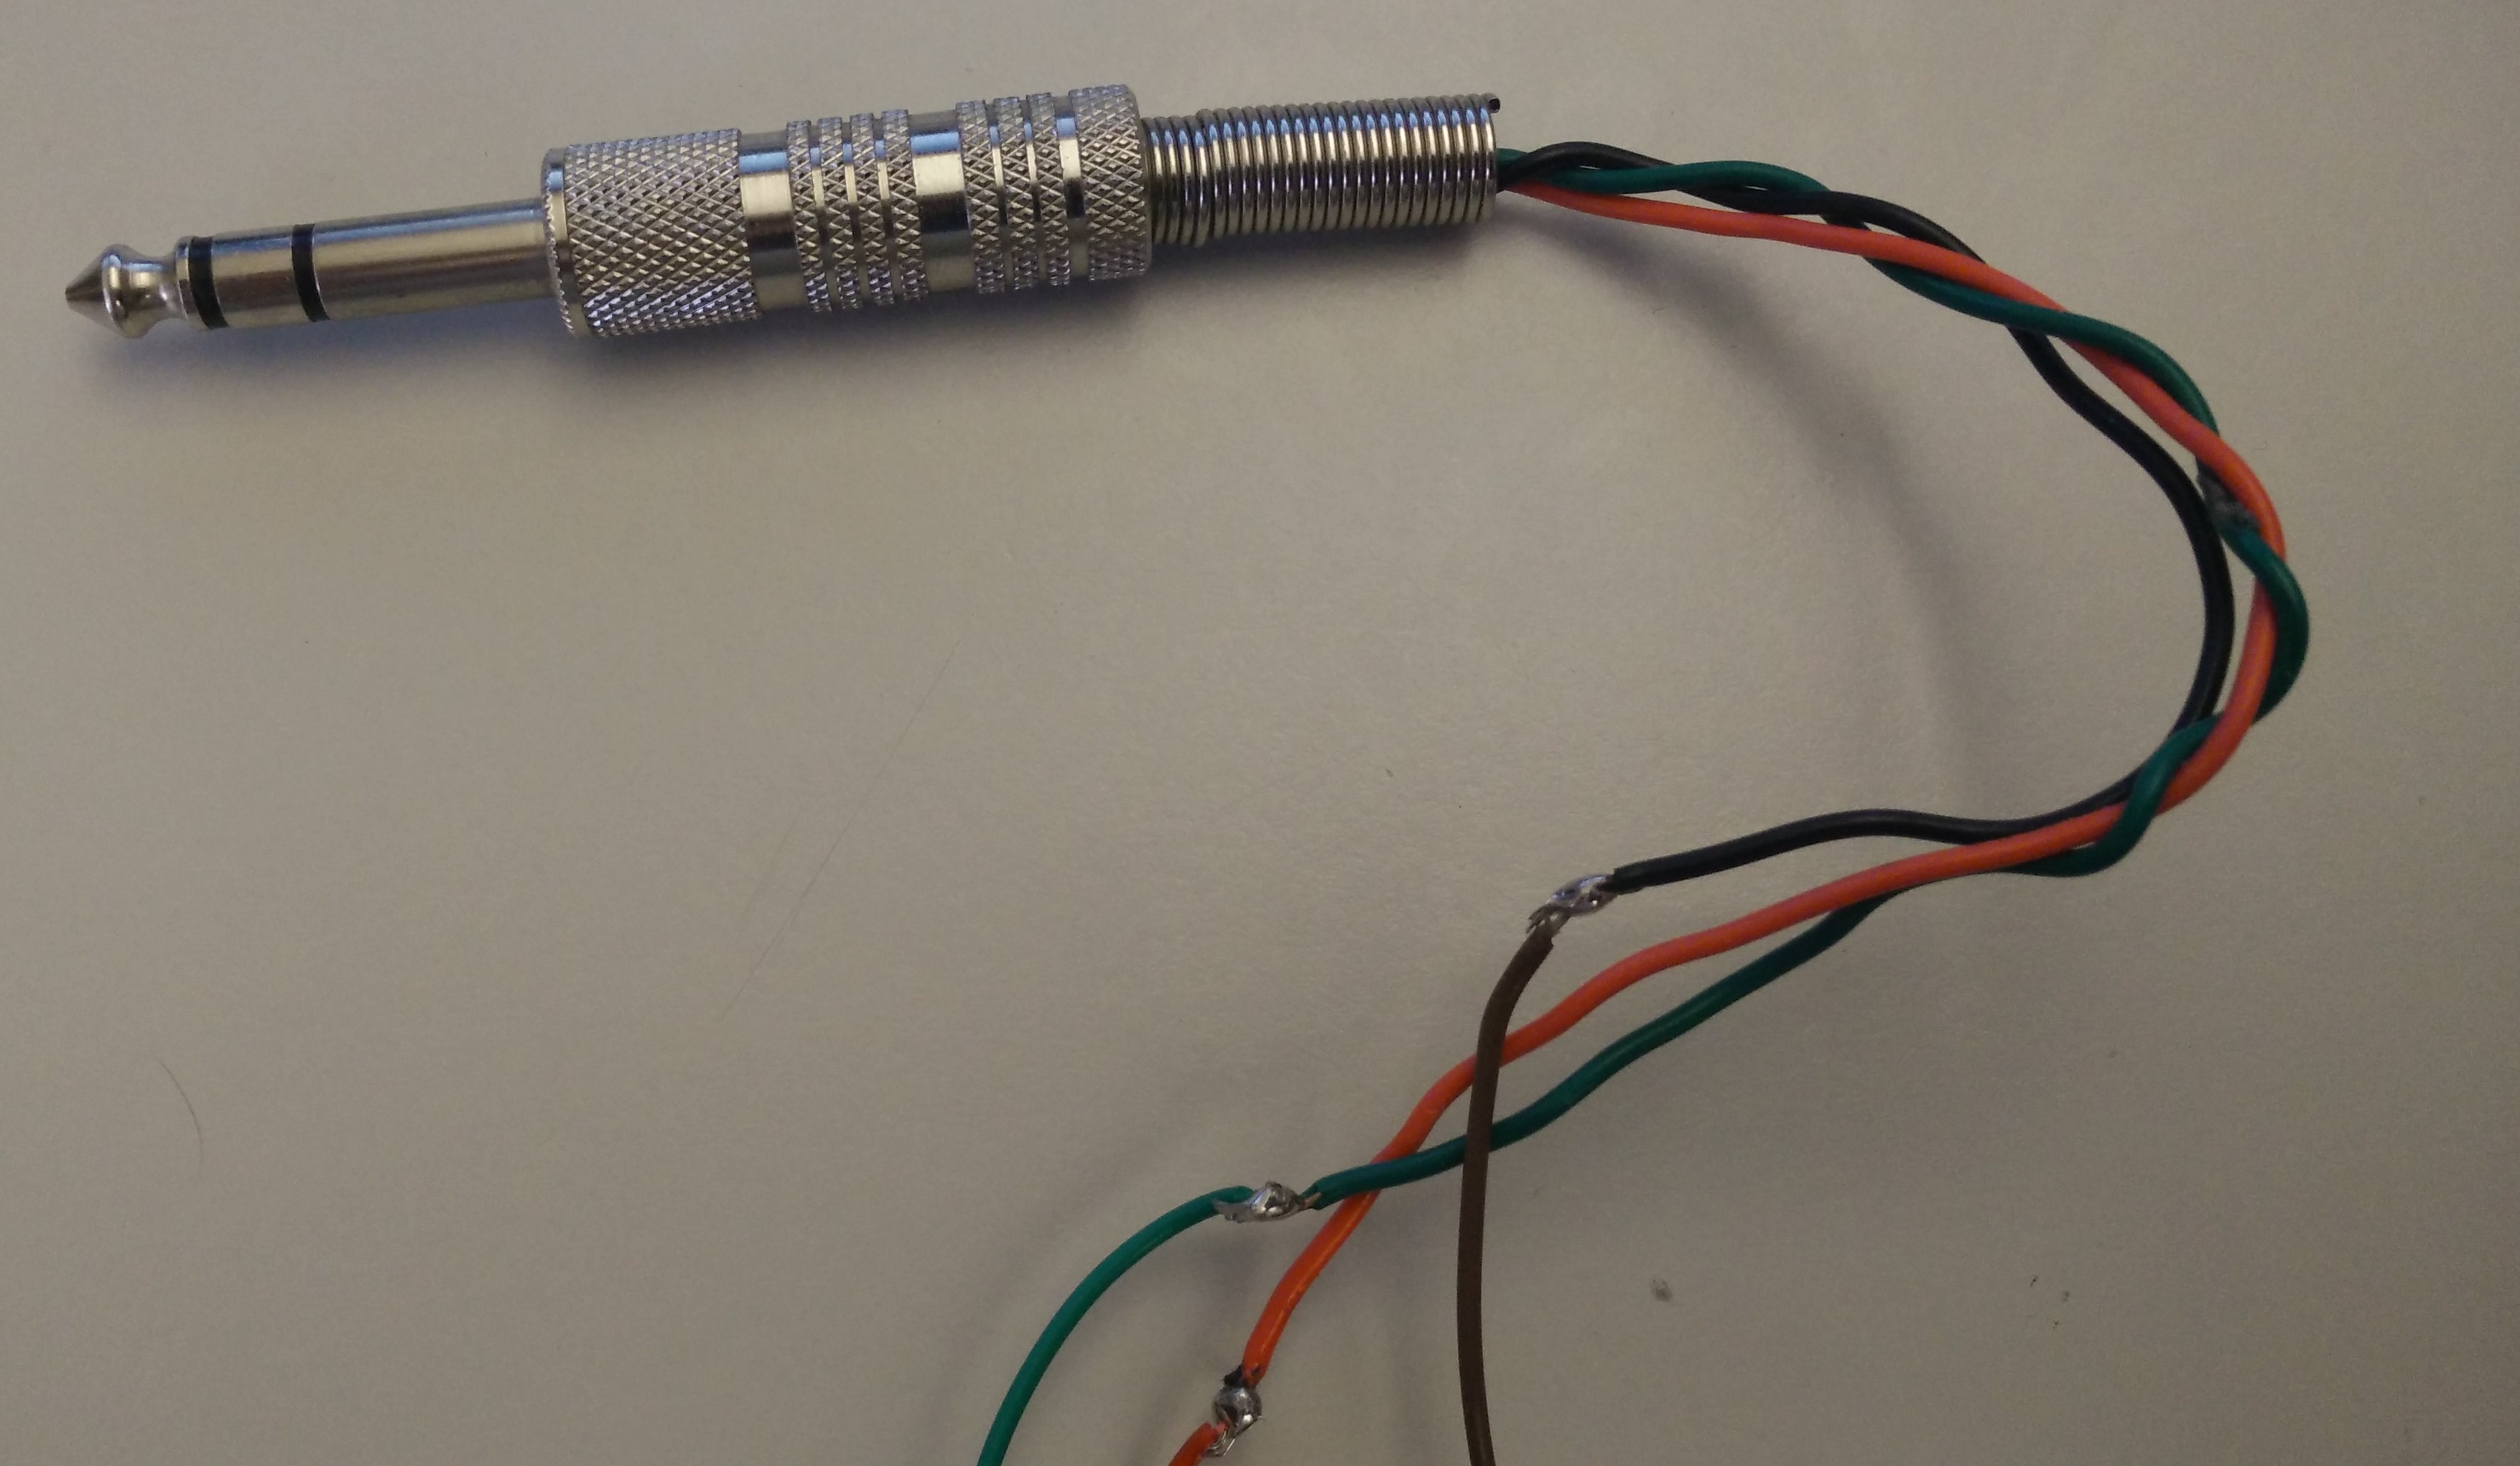

2) The XADC port requires an input wave biased at .5V, so take the 1.0V rail found on J14 and create a voltage divider to get .5V. This is where the ground wire from your aux input will be connected. Connect the positive wire(s) of your aux input to AD3P on the JXADC connector. Put the 100pf capacitor from the aux input to GND to reduce noise. Connect AD3N to GND.

3) Plug in your headphones/speakers to the MONO AUDIO OUT port found on J8 of the Nexys 4 DDR.
Download and Launch the Nexys 4 DDR Music Looper Demo
Follow the Using Digilent Github Demo Projects Tutorial. This is an HDL design project, and as such does not support Vivado SDK, select the tutorial options appropriate for a Vivado-only design. As you have already set up the required hardware, you do not need to return to this guide when prompted to check for extra hardware requirements and setup.
Using the Nexys 4 DDR Music Looper Demo
1. Initial State
In the looper's initial state, you should see bA0E on the left 7-segment display, and four 0's on the right display. bA0E means that you are on 'bA'nk '0' and it is 'E'mpty. The right display is the timer used when recording or playing. The onboard LEDs 0 through 7 should be off, showing that no banks are active.

2. Switching Banks
Press BTNL and BTNR to change the bank to edit. There are 8 banks numbered 0 through 7. Each bank should initially be 'E' for empty.

3. Recording to a Bank
Press the play/record button (BTNC) to start recording to whichever bank you are on. The red LED will turn on LD16, and the 7-segment display will display an 'r' next to the bank. The timer will start to run to let you know how long you have recorded for.

4. Saving the Loop
When you have finished recording, press the play/record button again. The Nexys 4 DDR will start looping the recorded audio data. The 7-segment display will now display a 'P' next to the bank number and LD17 will shine green to let you know a track is playing. The onboard LED corresponding to the bank you recorded to (LED[0] in the picture) will turn on, showing that there is data on that bank.

5, Stoppng the Loop
Press the stop button on a bank that is currently playing, to stop playback on that bank. The 7-segment display will display an “S” which means the bank is stopped but not empty. The onboard “active” LED will stay on, since there is still data in the bank.

6. Recording to Another Bank
Press play again on the previous bank to resume playback, then press BTNL or BTNR to change to another bank that is not recorded on and press the play/record button to start recording to the new bank. The green LED will stay on and the red LED will turn on.

When finished, press play/record again and the bank will be saved. The state will change to to 'P' and the onboard LED corresponding to the bank (LED[1] in the picture) will turn on showing that the bank is active.

7. Canceling a Recording
If, while recording, you want to cancel the recording, you can press the stop button and it will erase the bank.
8. Erasing an Already Recorded Bank
Hold down the stop button for 1.5 seconds to erase the data on the corresponding bank. You will see an 'E' on the 7 segment display showing that the bank is empty, and the onboard LED corresponding to that bank will turn off. Erasing all of the banks will allow you to record a new loop of a different length.
9. Using the Change Track Feature
Flipping SW0 to the on position allows you to edit which banks are playing on the other track. While your loop is playing, press BTNU to swap to the other track at the end of the loop. At the end of the loop, the Nexys 4 DDR will switch to the selection of banks on the other track and will play those back.
10. Resetting the Looper
Press the CPU_RESET button on the Nexys 4 DDR to reset all of the banks to 'E' for empty.
