Getting Started with the Impedance Analyzer Adapter
The Impedance Analyzer Instrument in WaveForms makes it easier to use by the reference resistors and relays that come pre-loaded on the Impedance Analyzer Adapter . The Analog Discovery can automatically select the most appropriate component for the job that it needs to do. When the instrument is started, the Scope and WaveGen are stopped and their status shows “Busy”. The Impedance Analyzer Instrument takes control over these instruments while running.
Inventory
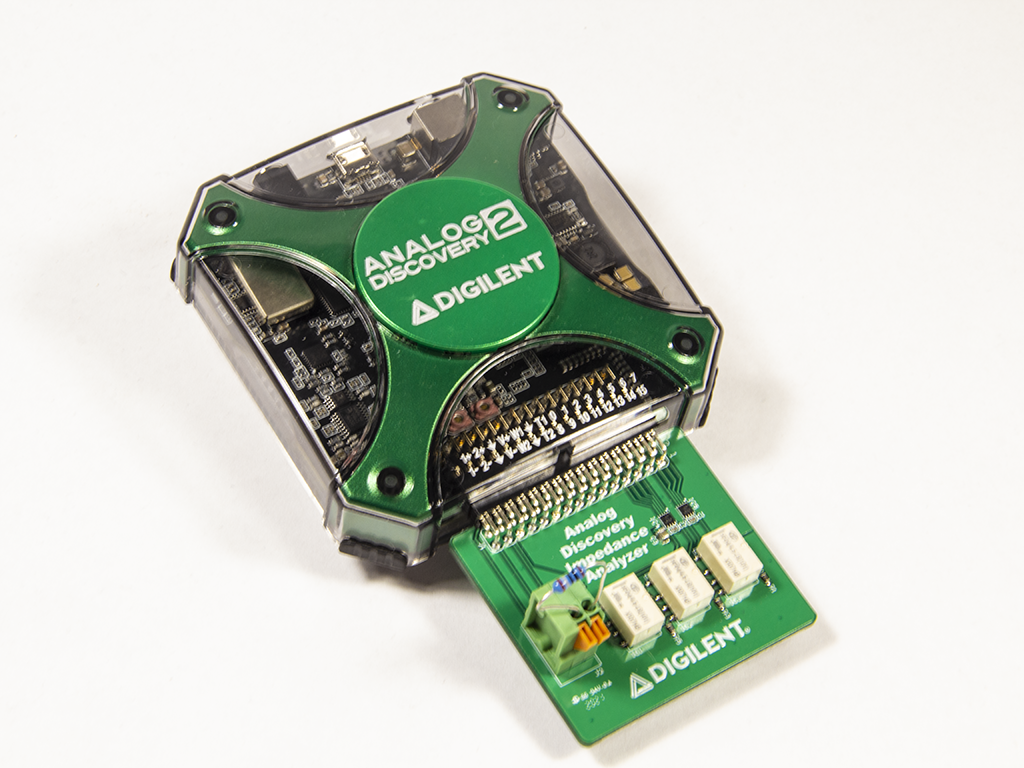
- Your new Impedance Analyzer Adapter
- A computer, with the WaveForms application (version 3.15.22 or later) installed.
- Installation instructions can be found in the WaveForms Getting Started Guide.
1. Opening the Impedance Analyzer Adapter
1.1
Plug in the Impedance Analyzer Adapter and start WaveForms. Please make sure the device is connected. If no device is connected to the host computer when WaveForms launches, you will be presented with the Device Manager. Once you have the device plugged in and turned on, it will appear the Device Manager's list.
- Click on the device in the list to select it
- Click on the Select button to close the Device Manager
Note: “DEMO” devices are also listed in the Device Manager. “DEMO” devices allow you to use WaveForms and create projects without a physical device.
Note: The Device Manager can be opened by clicking on the “Connected Device” button in the bottom right corner of the screen or by selecting “Device Manager” from the “Settings” menu at the top of the screen.

1.2
Double check all of the options listed across the top and select either SINGLE or RUN to perform the measurement.

2. Meter Mode
In Meter Mode, the frequency can be adjusted or the Auto option can be used to select the measurement frequency.

3. Settings
The following items are the settings you can configure when running the Impedance Analyzer Instrument in WaveForms.

- Start: The start frequency for the analysis. Ranged from 10 uHz to 25 MHz
- Stop: The stop frequency for the analysis. Ranged from 10 uHz to 25 MHz
- Steps: The number of steps to be taken during the measurements. Ranged from 1 through 10.001 k
- Amplitude: The voltage amplitude for the measurement. Ranged from 5 mV to 5V
- Resistor: The value of the series resistor for the measurement. Ranged from 10Ω to 1 MΩ
- /Decade: The number of samples per decade. Ranged from 1 to 10.001k
- Order: Selects the measurement circuit between “W1-C1-DUT-C2-R-GND”, “W1-C1-R-C2-DUT-GND”, and “Adapter”.
- Mode: Allows you to select the control mode
- Amplitude: Adjust the Wavegen aplitude
- Constant Voltage / Constant Current: Specify a constant voltage or current for the measurement
- Custom: Use a custom script to automatically adjust the amplitude and resistor values.
- Amplitude: Specify the amplitude of the stimulus signal
- Offset: Specify the offset for the stimulus signal
- Averaging: Specify the averaging mode
4. Options
Under the gear icon, there are additional options to select
- Scale: Selects between linear or logarithmic
- Average: Specify the number of captures to average in each step.
- ProbeRes / ProbeCap: Specify the probe resistance and capacitance. Leave as auto to use the device specific values for the Analog Discovery 2 (43 pF / 1.04 MΩ), Analog Discovery (45 pF / 1.041 MΩ), or Electronics Explorer (22 pF / 1 MΩ)
- Wavegen: Selects which Wavegen channel to use
- Amplification: Specify the external amplification of the signal
- Settle: Specify the settle time (expressed in seconds). The measurement acquisition is delayed by this amount of time in each step after the frequency is changed. This can be used to reduce the alteration effect of resonant circuits (like a speaker).
- Min Periods: Specify the minimum number of generated sine periods to capture
- Warning: Enables or disables the warnings regarding the ratio between the device under test (DUT) impedance and the reference resistor.

Next Steps
For more guides on how to use the Digilent Test and Measurement Device, return to the device's Resource Center, linked from the Test and Measurement page of this wiki.
For more information on WaveForms visit the WaveForms Reference Manual.
For technical support, please visit the Test and Measurement section of the Digilent Forums.